Gabriel at Large

Gabriels face taking shape
Hello again icon friends,
The image above represents a quick sidestep past another effort which ended up in the experience bin. I had started this stage quite pleased with my decision to stretch myself by working on a larger image. I transferred the outline of my final drawing of Gabriel on to A2 sized paper which gave Gabriel the space to outstretched his arm in full.

Transferring the final drawing on to unstretched A2 Fabriano Artistico watercolour paper
On went the image using a sheet of paper which I had rubbed with Armenian red bole (a red pigment) to act as transfer paper. Then I painted lightly over these lines to fix them.

Painting the outline on to the paper
So far so good. However, as I washed over the larger areas, the paper began to cockle.

Image of Gabriel 1
I then got caught up concentrating on the face rather than building up the image lightly and evenly as a whole. I looked at the face in comparison with the original and decided I had gone so far adrift that it was only paper and I should start again, and start properly. I am sparing you a larger image of my first Gabriel who looks rather stern!

Gabriel looking nothing like the original!
So, down to the DIY shop to buy an MDF board cut a little bigger than A2, together with some water colour tape and this time soak the paper in the bath for a few minutes, tape it to the board and let it dry. By this stage I had had enough, so I left the board and wet taped paper flat on the floor overnight and by morning it was dry and had stretched beautifully!

Gabriel with a softer face
This time, I tried to develop the whole figure and garments at the same time. There are numerous mistakes with the garment folds which I realised as soon as we got the handouts on our next Icon session but at least I can see where I have gone adrift.
I have attached Aidan’s handout notes on painting standing figures and garments if you would like to find out more on this subject. I am concentrating on our homework for the time being but will come back to Gabriel in a few more weeks.
Day 7 Aidan Hart’s handout on standing figures 24 Feb 14
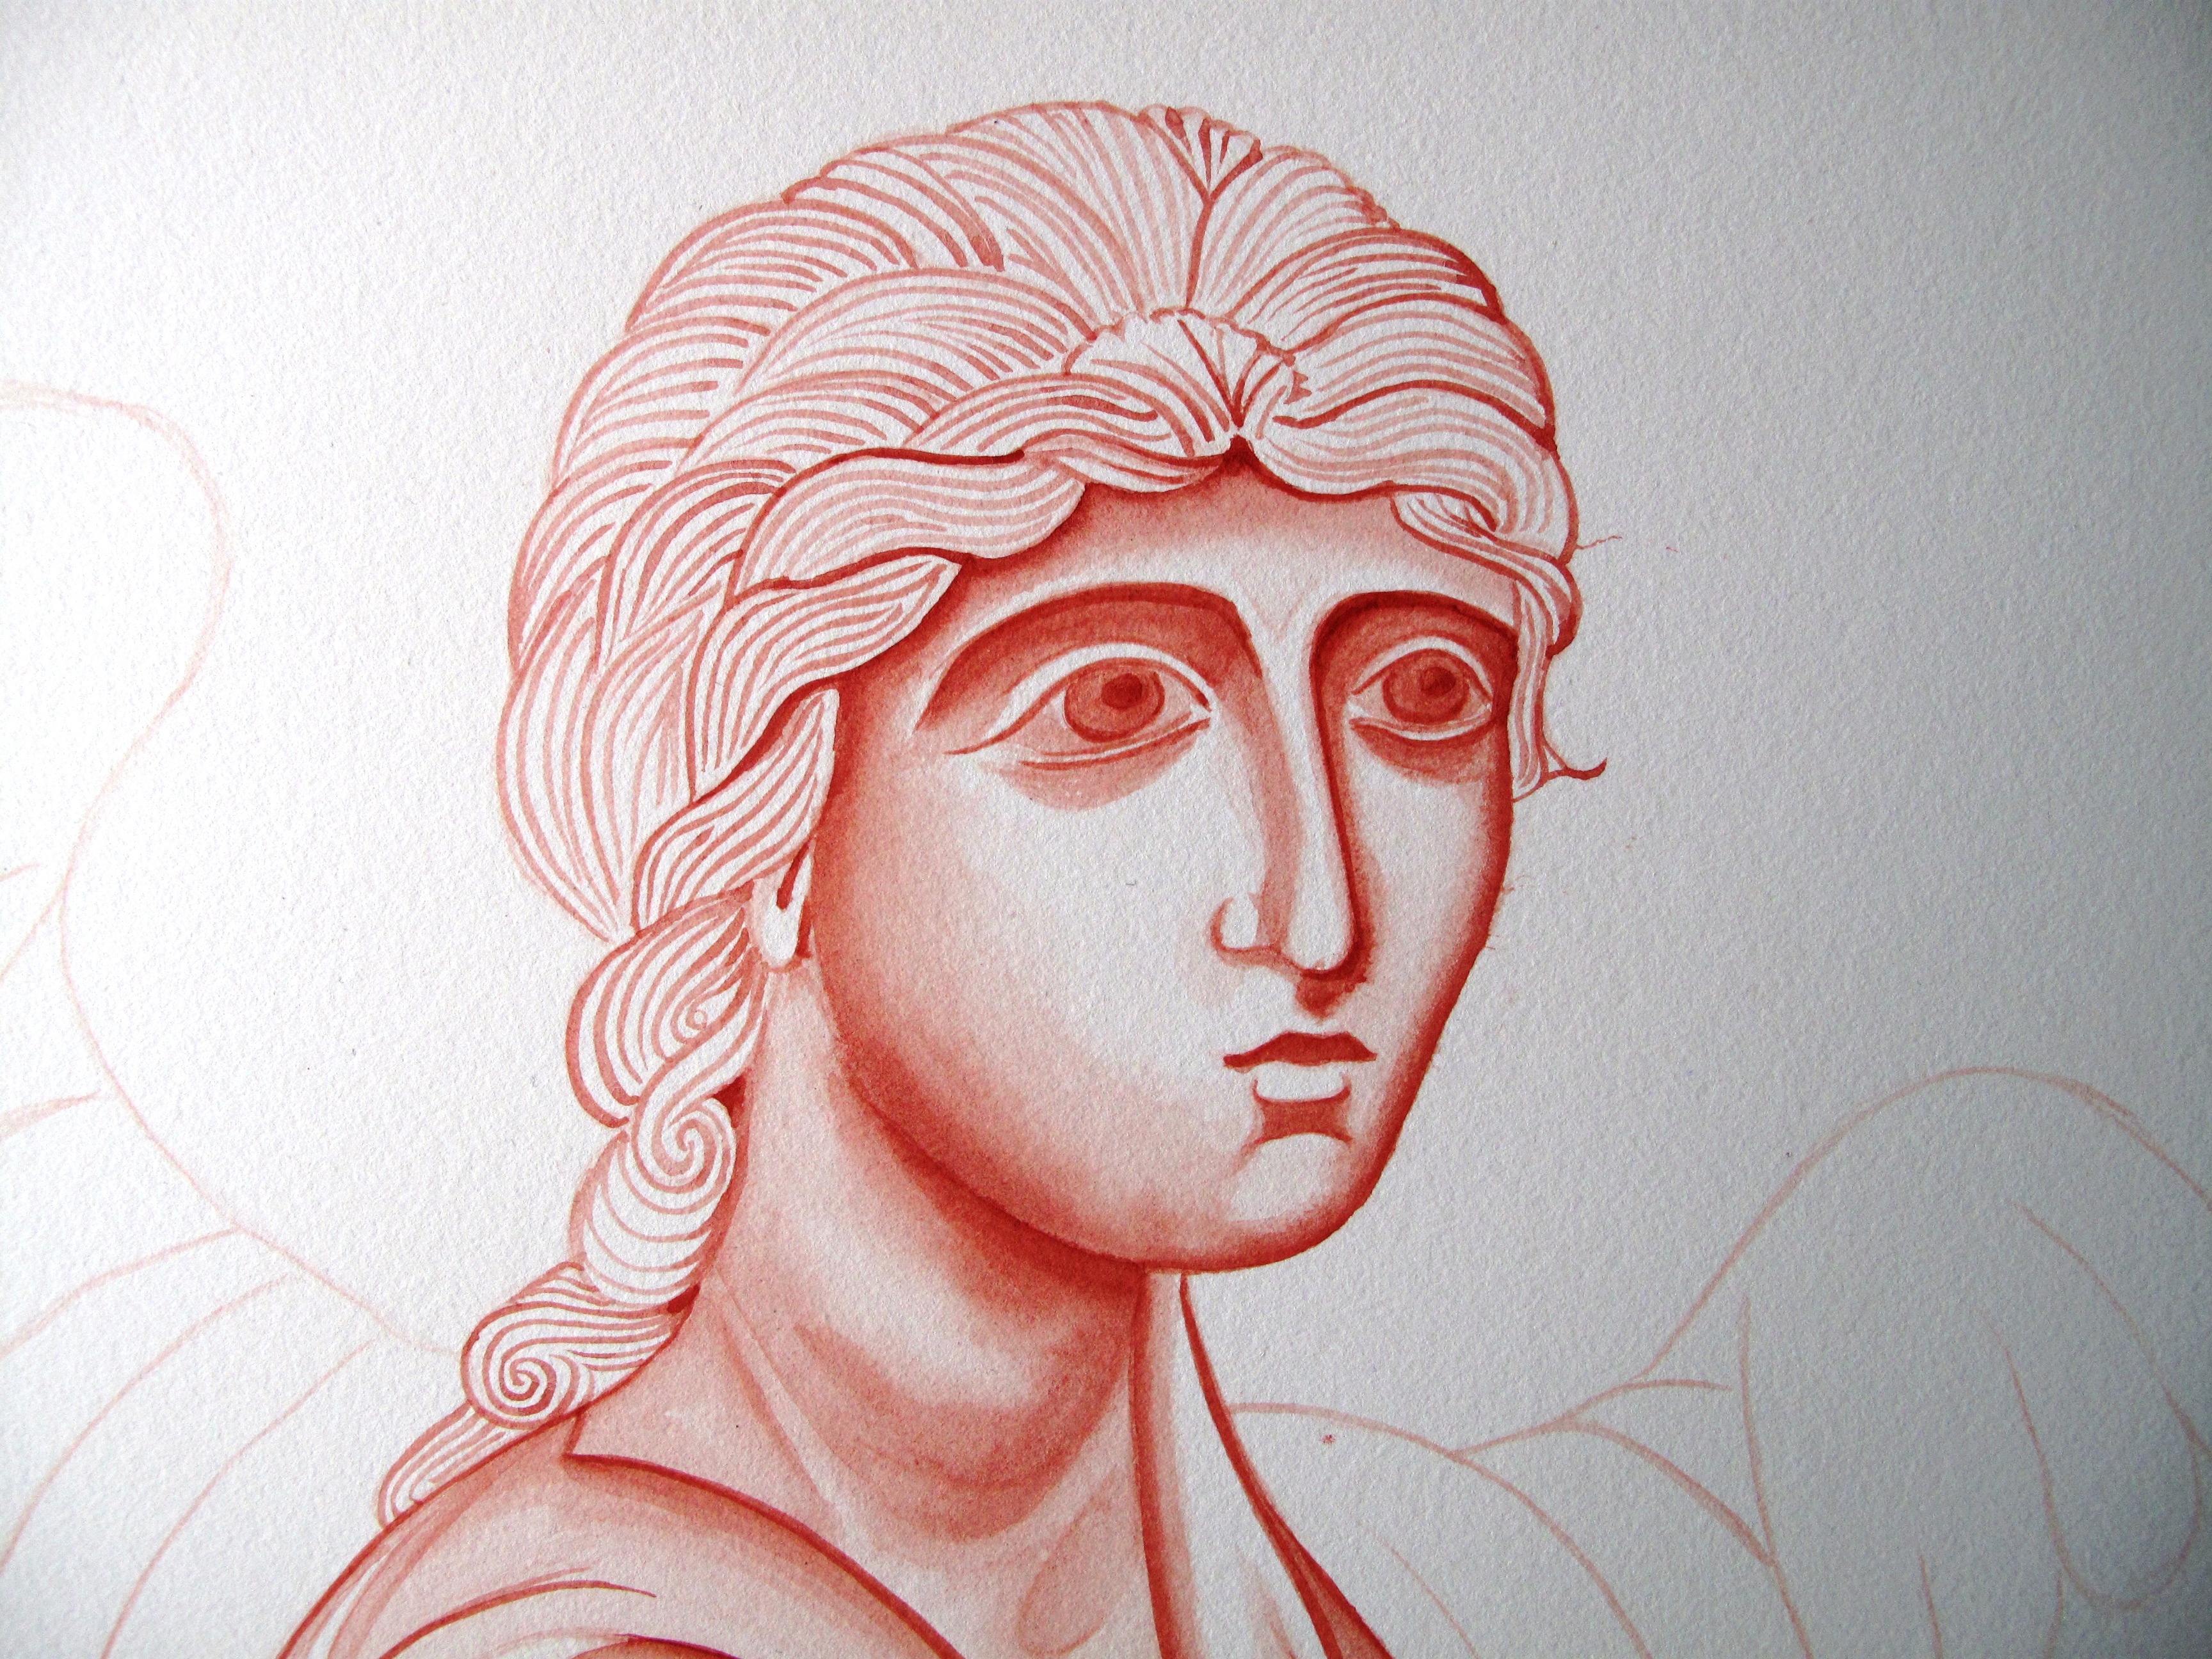
Adding shading to define the forms

Gabriel set on the A2 paper
Thanks for reading!

2 Responses to “Gabriel at Large”
Beautifully complex work!
Thanks Anne!