Icon Diploma Student

Learning to see with the eye of the heart

Posts tagged ‘Religion and Spirituality’

An Archangel for Christmas

Archangel Gabriel on Watercolour Paper.

egg tempera painting

Archangel Gabriel on watercolour paper

Christmas greetings icon friends!

A few lines to say thank you for your companionship during my first year of icon painting. It has been lovely to have your quiet support and interest encouraging me to keep on posting and writing up notes etc!

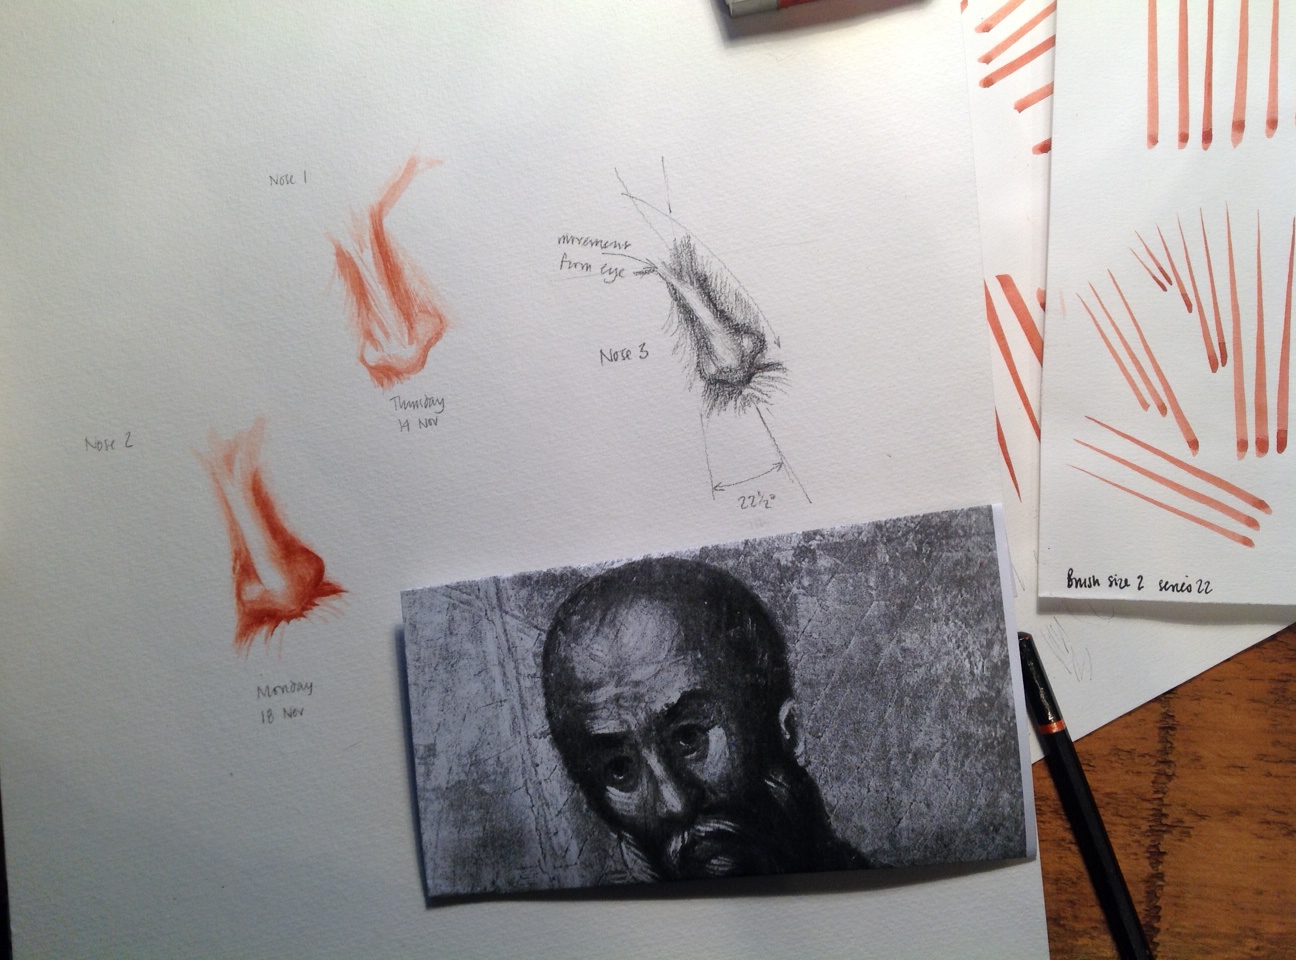
There are a few more video clips of Aidan Hart’s in-class demonstrations over on You Tube and I have written up some supporting notes to go with them. These are not direct transcripts, simply notes to help as you try out the various stages of painting.

https://www.youtube.com/watch?v=N3a6puiMDuQ Aidan Hart demonstrates underpainting for the Membrane Technique Click here for Notes

https://www.youtube.com/watch?v=XaSi-WVHGaY Aidan Hart demonstrates applying flesh membrane to icon bust Click here for Notes

https://www.youtube.com/watch?v=Hr4R8BzMpPc Shadows and highlights on garments using membrane technique Click here for Notes

https://www.youtube.com/watch?v=CiFkJrsDS1s Aidan Hart demonstrating halos

https://www.youtube.com/watch?v=mFG-XxPqiSI Aidan Hart demonstrates painting Mandilion hair

https://www.youtube.com/watch?v=QbwE0QY1aOw Aidan Hart demonstrates painting garments Click here for Notes

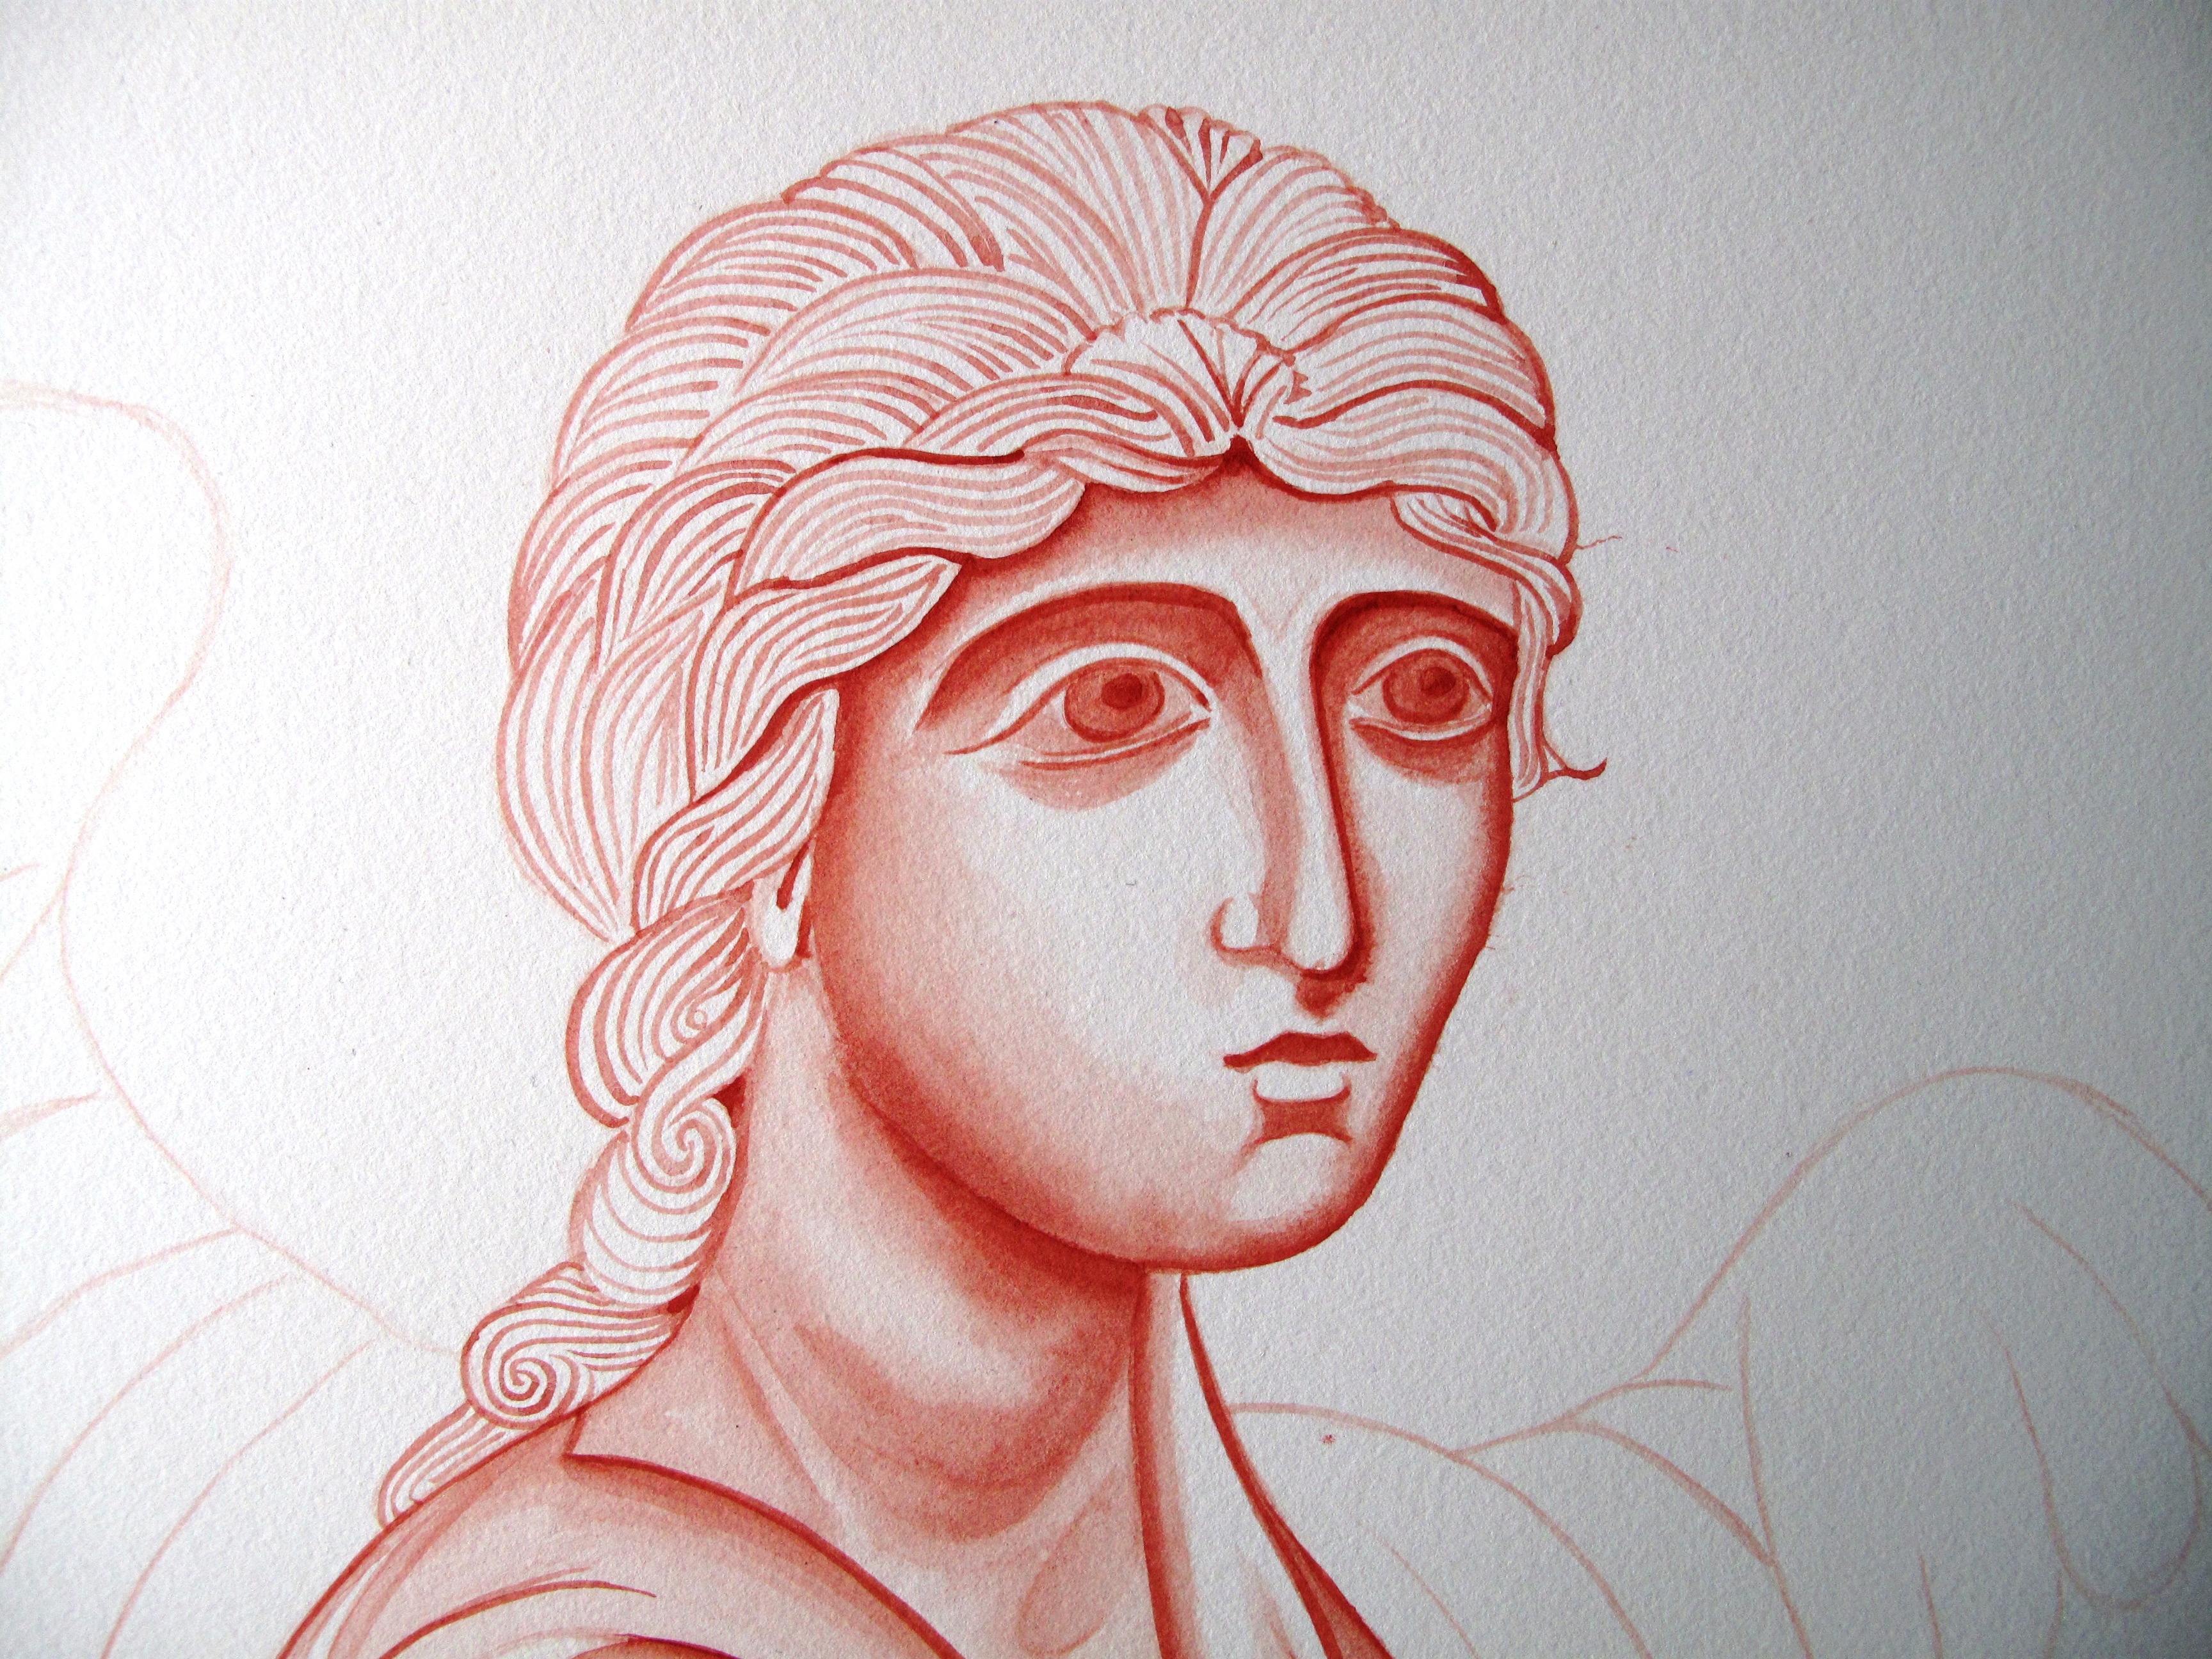
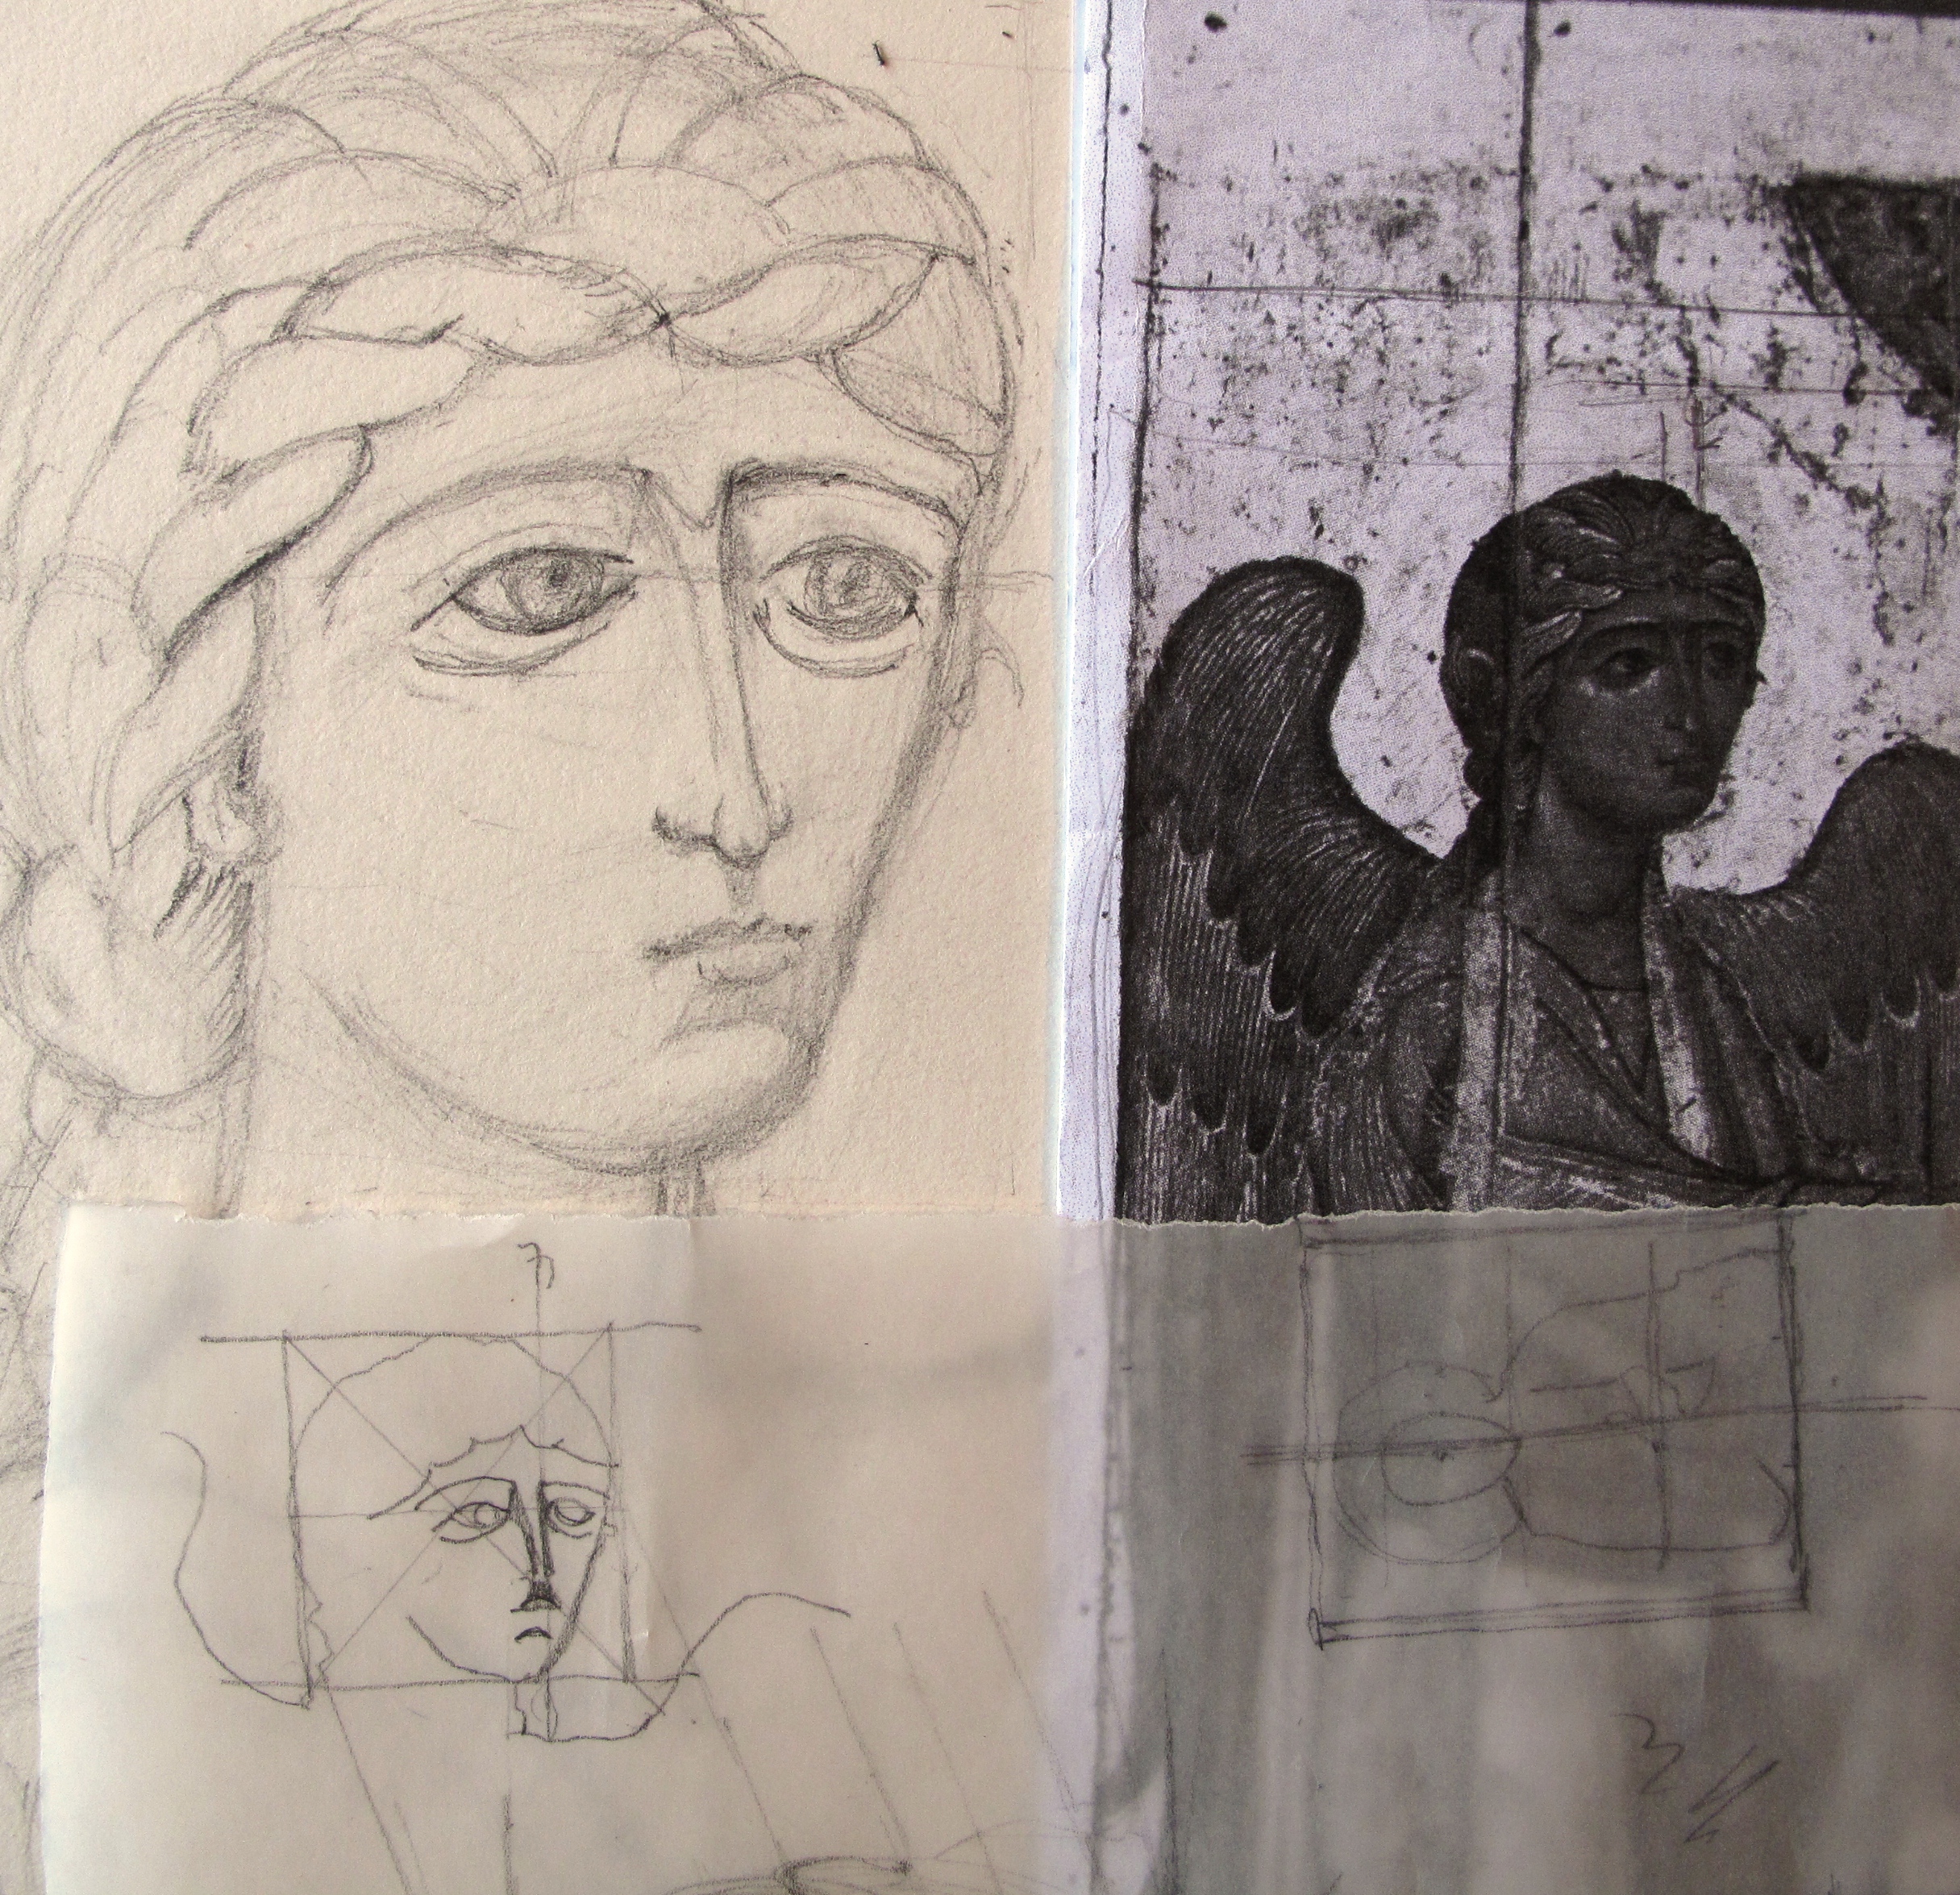
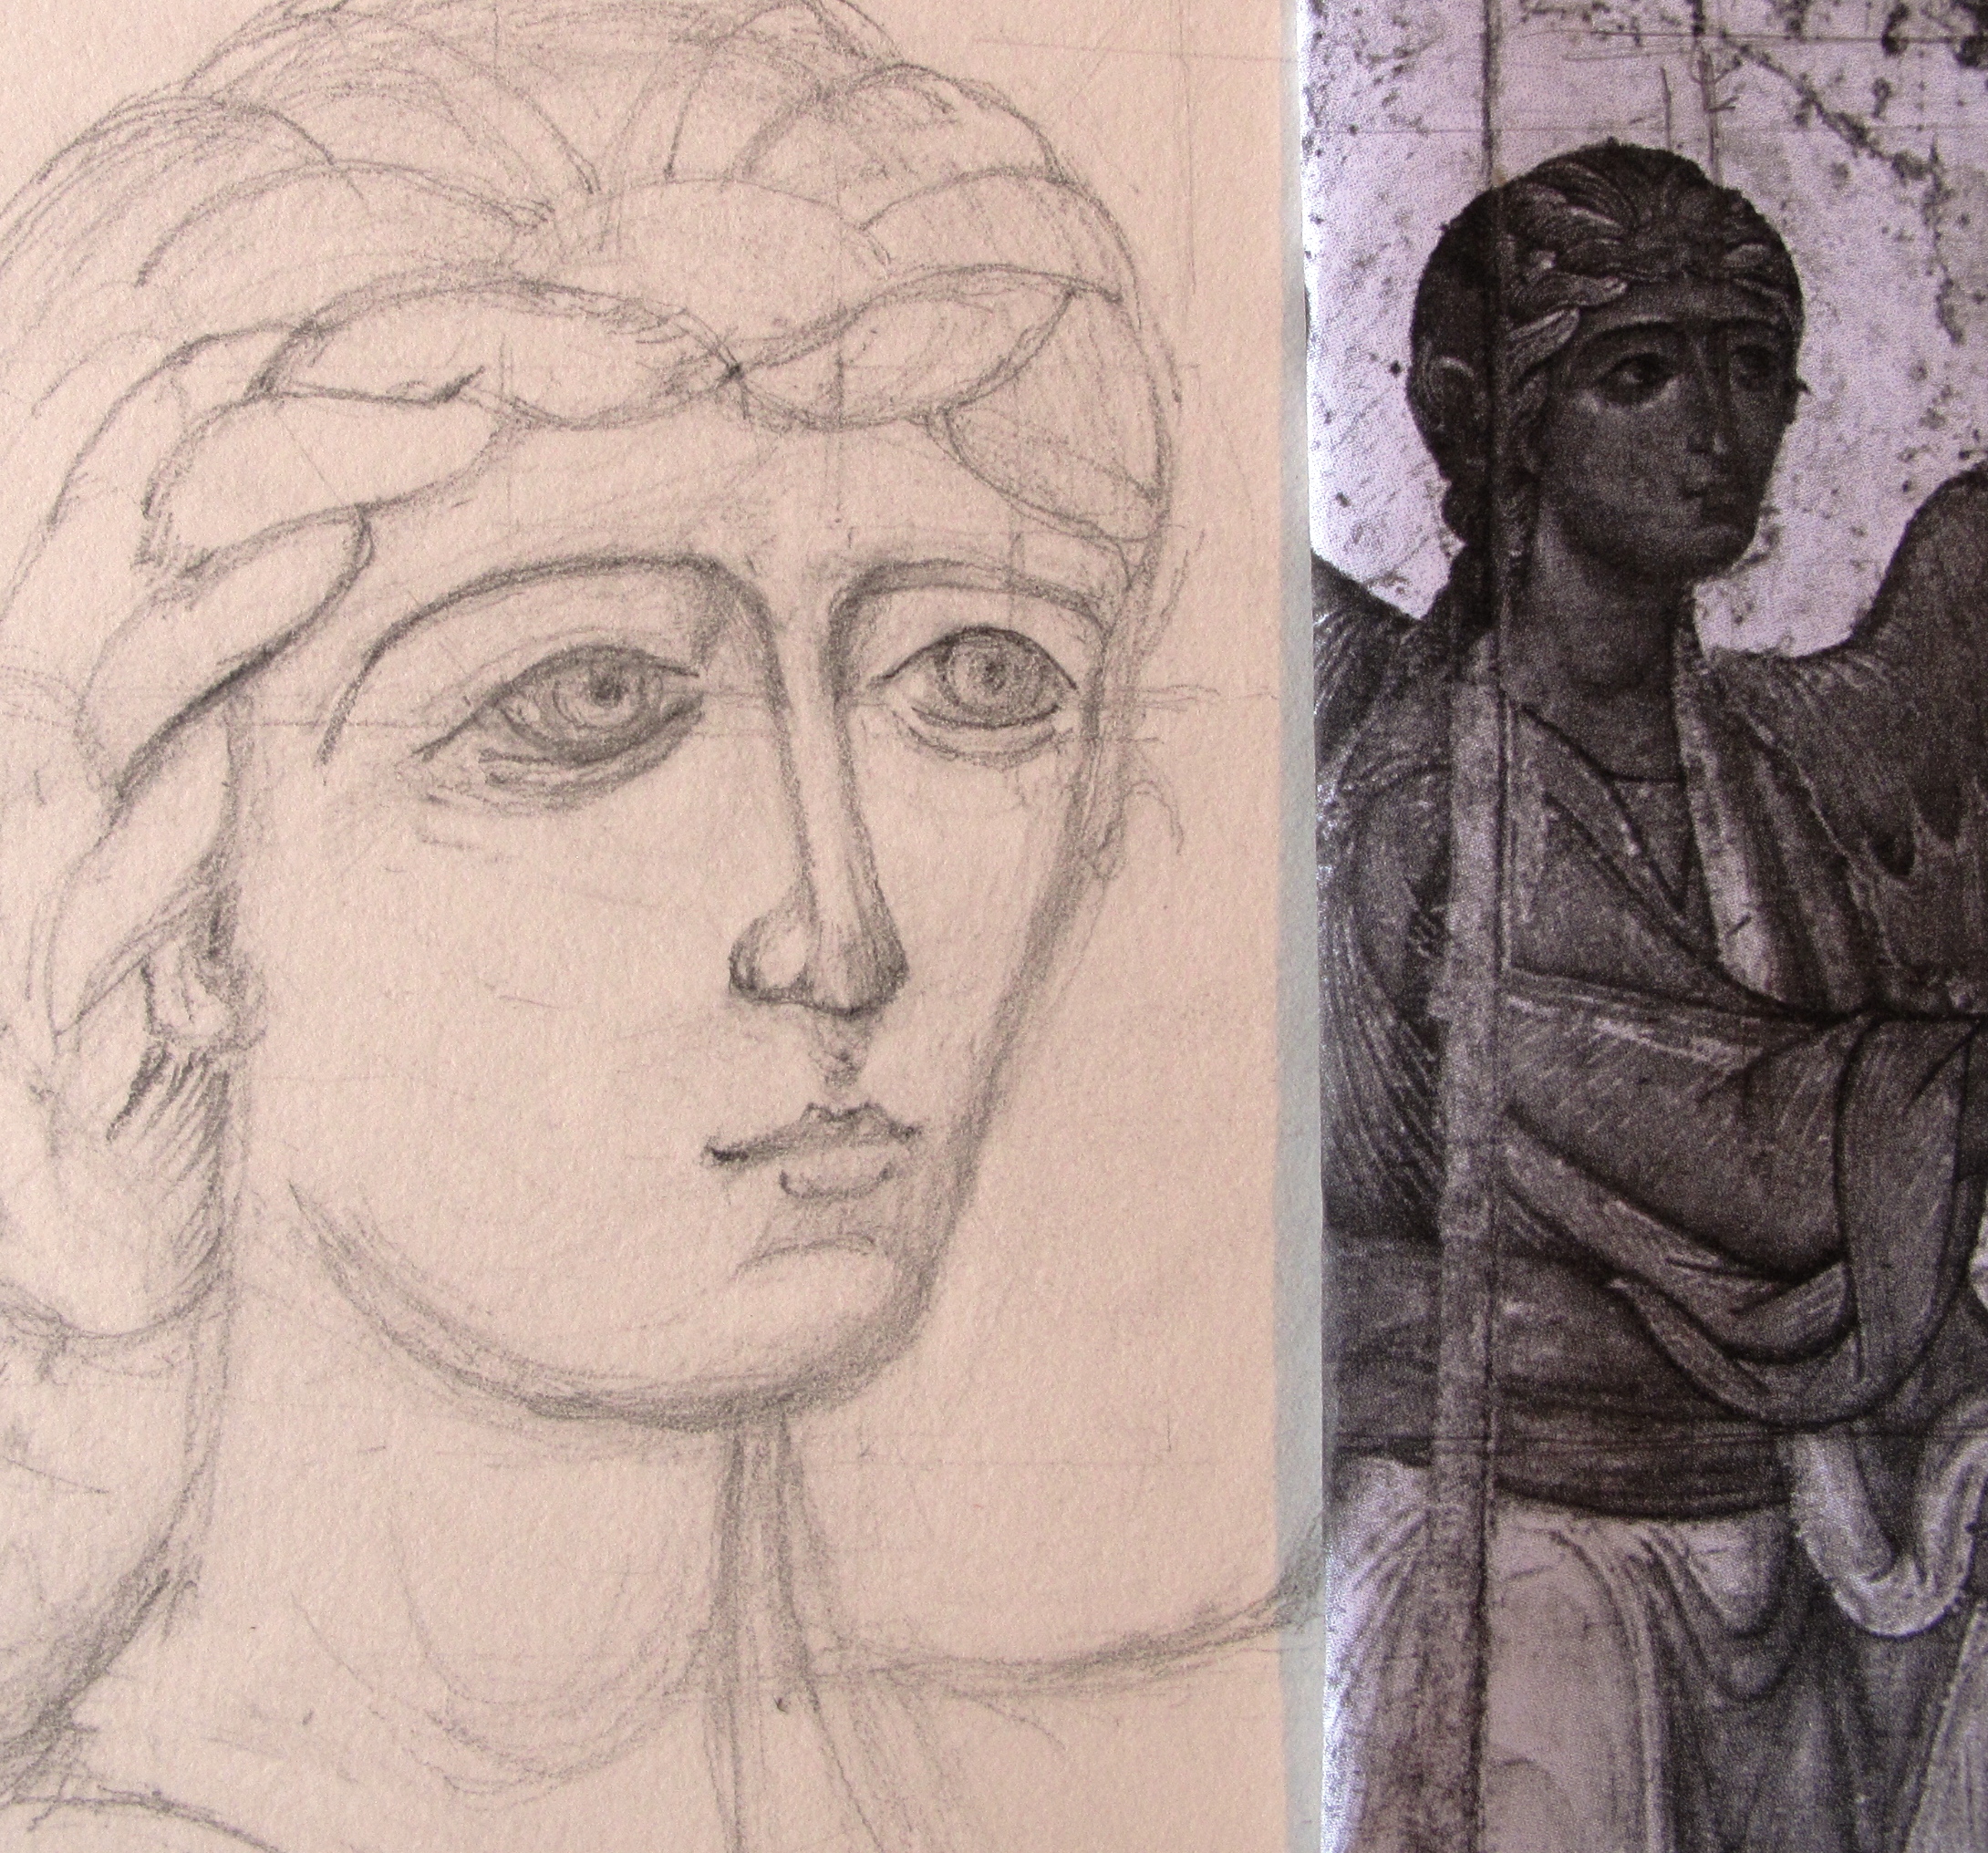
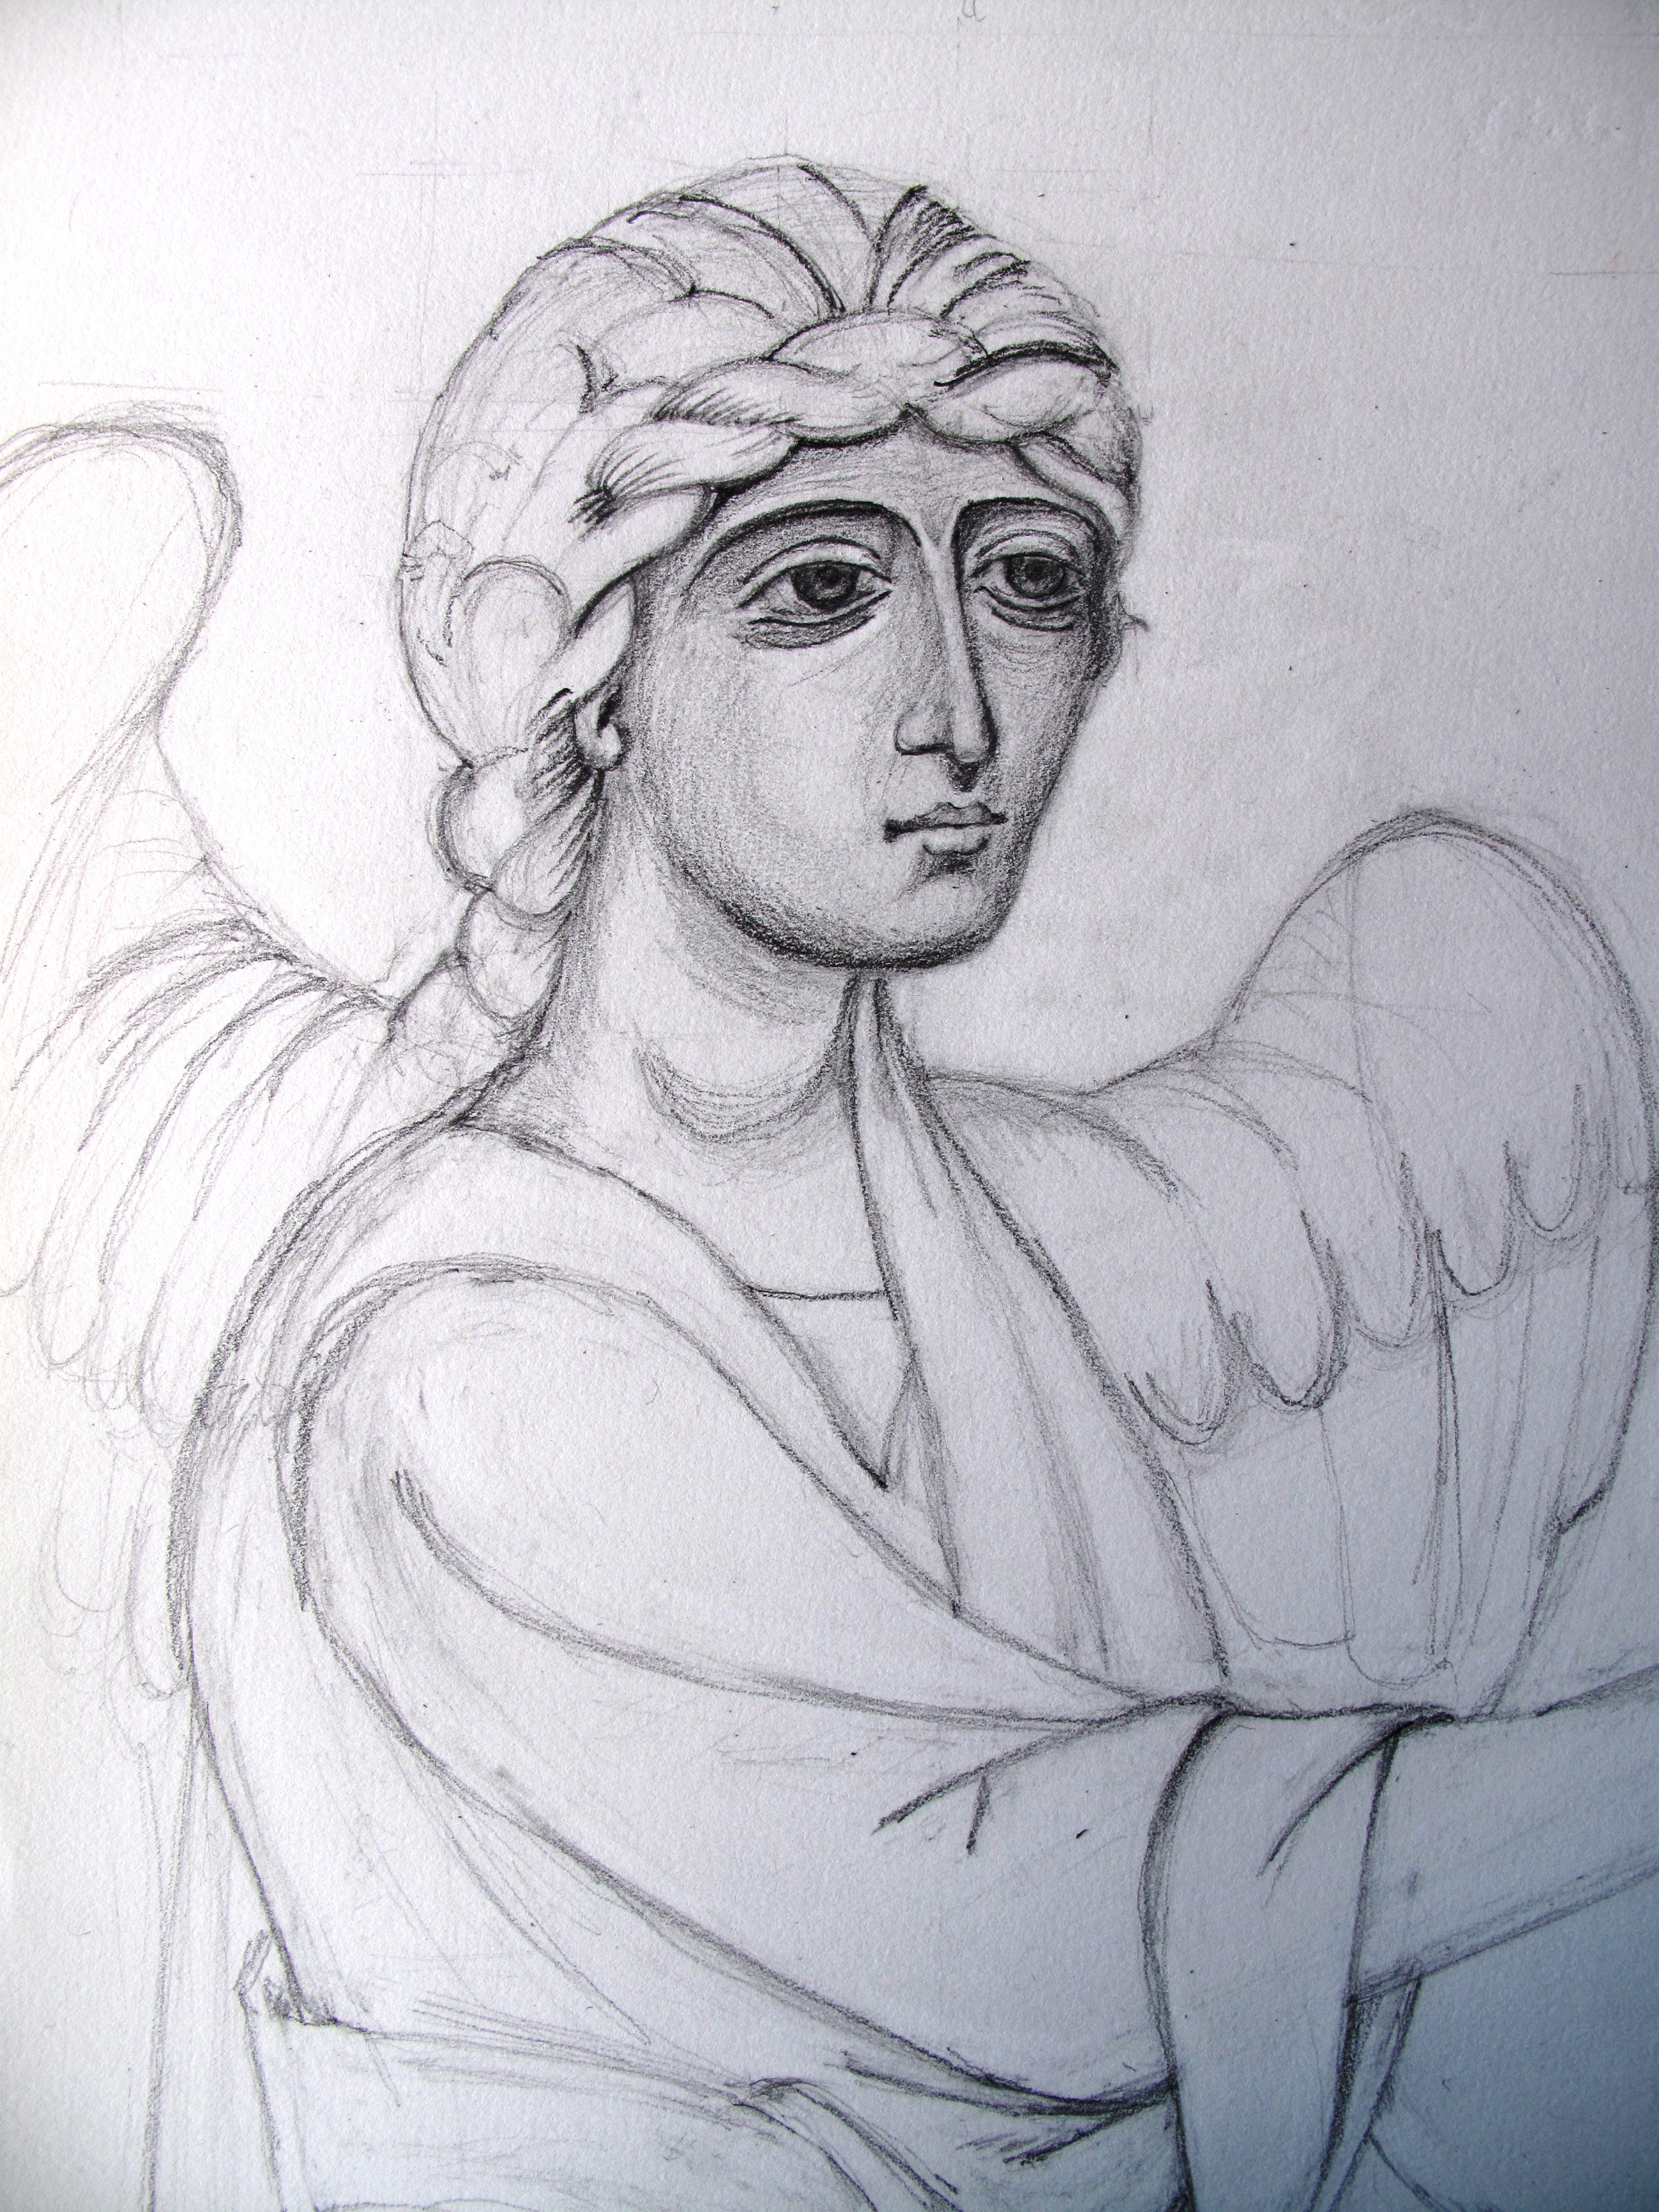
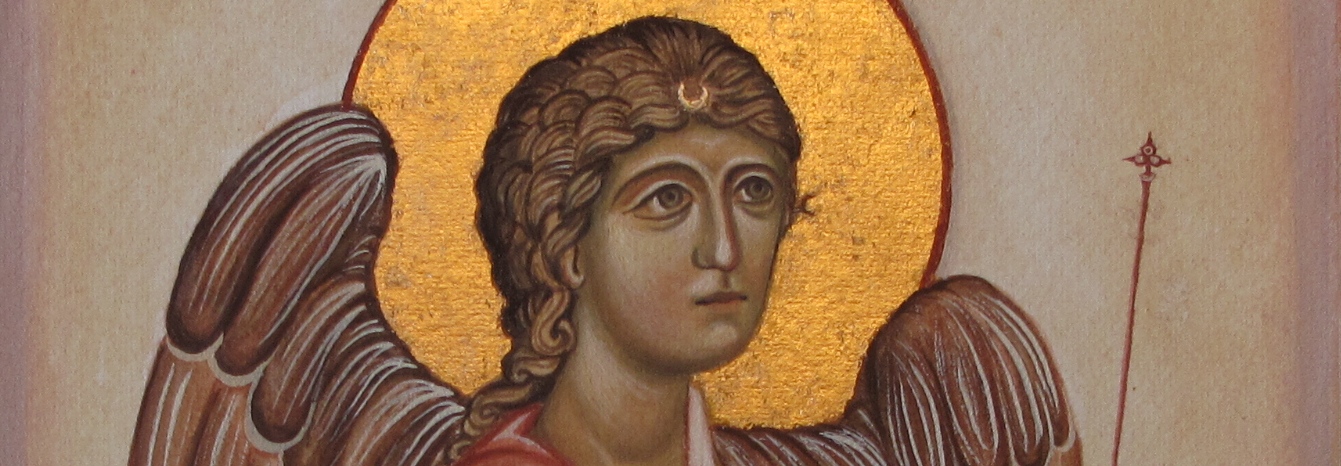
I have enjoyed the monochrome icon studies on watercolour paper and thought I would have another go at the Archangel Gabriel based on the Annunciation of Ustyug. I stretched some Fabriano Artistico paper and painted using the membrane technique. The colours are much softer on paper – lines are not quite as crisp unless you go over them several times. However, it is a great way of practicing if you haven’t got a board prepared.

1 Angel gabriel study

Underpainting: the face is in Terre Verte and a touch of Yellow Ochre Maimeri, garments and wings in a mix of English red ochre, French ochre Sahara and Avana.

Yellow ochre Maimeri eith titanium white and red ochre light

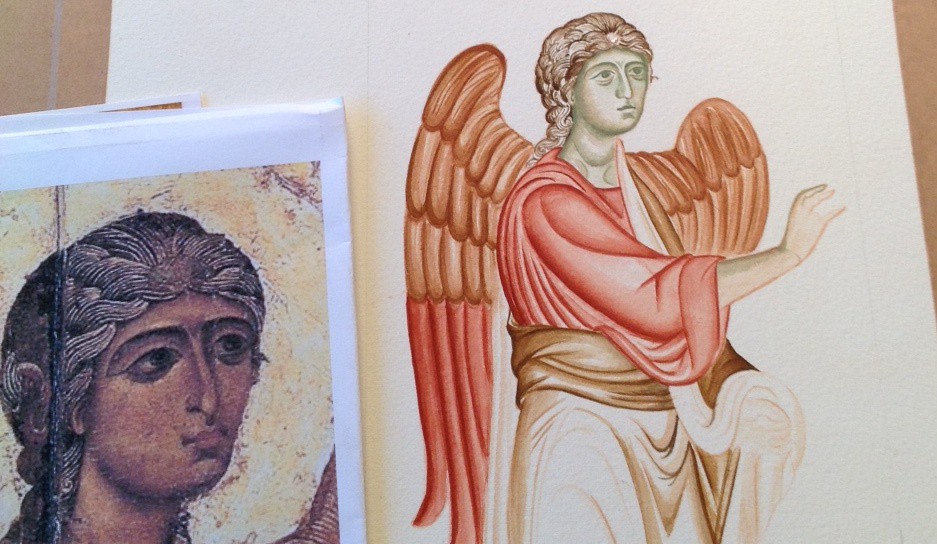
Membrane applied to flesh parts.

Building up the hair and facial highlights.

4 Angel Gabriel study

Highlights added to wings and sleeves

Preparing to gild

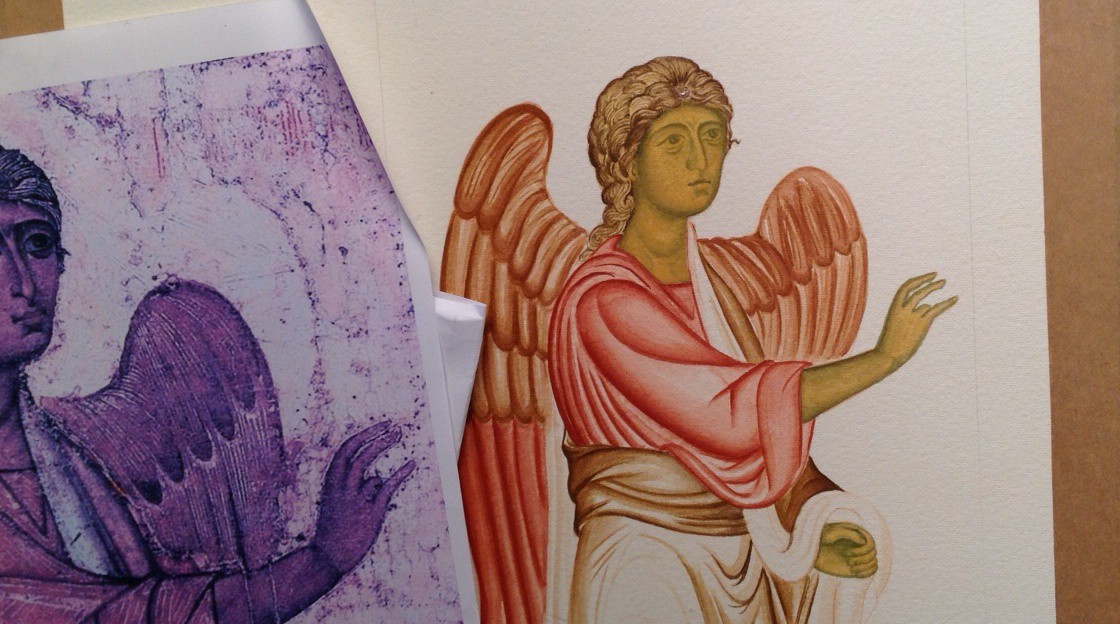
Preparing to gild using Roberson’s gilders size – applied over the halo which has undercoat in red ochre.

Gilding the halo

Gilding the halo. Applying final facial highlights

9 Complete Angel Gabriel study

Finished angel with halo, staff and lettering.

It is a better attempt than my last one but there is a long way to go before I become fluent and produce anything nearly as elegant as the original. All the same, it comes with my very best wishes for a happy, peaceful and blessed Christmas wherever you are in the world. Thanks for reading.

Happy Christmas, Ronnie

PS…Some years later and I did revisit some of the finer details on Archangel Gabriel’s face – around the upper lip. I am now happy with this and it is listed here in my Etsy shop

Gabriel at Large

Gabriels face appears

Gabriels face taking shape

Hello again icon friends,

The image above represents a quick sidestep past another effort which ended up in the experience bin. I had started this stage quite pleased with my decision to stretch myself by working on a larger image. I transferred the outline of my final drawing of Gabriel on to A2 sized paper which gave Gabriel the space to outstretched his arm in full.

Transferring the final drawing

Transferring the final drawing on to unstretched A2 Fabriano Artistico watercolour paper

On went the image using a sheet of paper which I had rubbed with Armenian red bole (a red pigment) to act as transfer paper. Then I painted lightly over these lines to fix them.

Painting on the outline

Painting the outline on to the paper

So far so good. However, as I washed over the larger areas, the paper began to cockle.

Image of Gabriel 1

Image of Gabriel 1

I then got caught up concentrating on the face rather than building up the image lightly and evenly as a whole. I looked at the face in comparison with the original and decided I had gone so far adrift that it was only paper and I should start again, and start properly. I am sparing you a larger image of my first Gabriel who looks rather stern!

Gabriel looking nothing like the original!

Gabriel looking nothing like the original!

So, down to the DIY shop to buy an MDF board cut a little bigger than A2, together with some water colour tape and this time soak the paper in the bath for a few minutes, tape it to the board and let it dry. By this stage I had had enough, so I left the board and wet taped paper flat on the floor overnight and by morning it was dry and had stretched beautifully!

Gabriel with a softer face

Gabriel with a softer face

This time, I tried to develop the whole figure and garments at the same time. There are numerous mistakes with the garment folds which I realised as soon as we got the handouts on our next Icon session but at least I can see where I have gone adrift.

I have attached Aidan’s handout notes on painting standing figures and garments if you would like to find out more on this subject. I am concentrating on our homework for the time being but will come back to Gabriel in a few more weeks.

Day 7 Aidan Hart’s handout on standing figures 24 Feb 14

Adding shading to define the forms

Adding shading to define the forms

Gabriel underway

Gabriel set on the A2 paper

Thanks for reading!

Meet my mistakes!

Annunciation of Ustyug, Novgorod, 12th Century

Annunciation of Ustyug, Novgorod, 12th Century

Hello icon friends,

It is one thing hearing how to do something and another altogether applying it via the end of a brush or pencil. I set out to try another upper body monochrome of the Archangel Gabriel from the beautiful image of the Annunciation above and in the course of this I have befriended a whole group of mistakes – let me introduce a few!

I lightly sketched out the image ready to paint over but saw immediately that I had run into difficulties. First of all, I didn’t get the overall composition right.

Preliminary sketch of Gabriel

Preliminary sketch of Gabriel

I had set out the upper body study on A3 paper but in doing so found I had cut off the hand. This seemed to lose the whole point as the hands are so expressive of the whole message that the image contains. Looking at it now, for this exercise I should have zoomed in and concentrated on the face and upper arm, but I had started so I carried on.

Sketch comparisons

Sketch comparisons, finding the centret to identify where I am going adrift

Secondly, I couldn’t get the face, in particular the eyes, quite right.  I did a cross check between the original and my drawing by forming a simple square to enclose the head, then joined the diagonals to find the centre point of reference. I was pleased to see that the point landed in exactly the same spot on my drawing, but it showed immediately where the rest of the face had gone astray. The nose leant too far over and the eyebrows had fallen down.

Adjusting the features but there is still something not right

Adjusting the features but there is still something not right – the eye on the right and the tilt of the head?

After a few days away from this drawing, I still couldn’t quite see where they were going adrift so I traced over the original eyes to clarify their shape and laid them over my drawing.

Tracing the profile of the originals to identify where I am going wrong

Tracing the profile of the original eyes to identify where I am going wrong

One slight move of of one feature has repercussions elsewhere so the brows, nose, mouth, cheek profile all got adjusted and brought into alignment. I suppose that speaks on another level too, to always go back to the source to bring something of ourselves that is out of step back into alignment.

The eyes on the left after being adjusted.

The eyes on the left after being adjusted.

Sketch of Gabriel near completion

Sketch of Gabriel near completion

With all the rubbing out and rearranging I had made quite a mess of my paper. I thought hard about all that I had learnt and decided that I would take a bit of a leap and redo the whole image again but on larger paper. So, next time I will tell you about how I made a fresh crop of mistakes as I move onto A2 paper. Thanks for reading!

Holy Noses!

Hello new icon friends!

Thank you for signing up to the blog – you have no idea how much that has strengthened my resolve to pay attention to my lessons and report back to you, hopefully fairly regularly. I will try not to let the posts get too long winded and aim to title all my documents/notes so you can find things later.

This course is far too exciting for me not to share, so it is great that you want to sit alongside – my invisible friends in Aidan’s classroom! Do let me know if you have any questions that I can ask him on your behalf.

I should have mentioned in my last post that our day begins with a lit candle and a prayer of dedication. I will attach the prayer as a pdf.

Prayer before an icon

Prayer 2

It’s Monday 18th November and I am going to get into the rhythm with some brush strokes. Then, I am going to try the ‘Drawing on the Right Side of the Brain‘ tip and turn St John upside down and begin a study of his nose.

nose study one

One of my fellow students, who paints exquisitely, explained that she builds up in very light layers using the finest of lines and very little paint on the brush. She leaves the pure white of the paper as highlights. Once she has established the form, only then does she begin to apply the darker strokes.

There should always be plenty of scrap paper below your palette to test your brush lines after each dip in the paint.

Second attempt at the nose

Second attempt at the nose

Well, looking at the nose upside down certainly helped. It is an improvement on nose 1 a few days ago. However, I have not caught the true shape of the highlights of where the nose bowl widens.  I have also missed the movement of the nose which very gradually curves from his brow on the saint’s right side. All these things become much more evident when you take a step back and look from a bit of a distance.

I am going to try a pencil study next to try and get a grip of the structure. Some days I just don’t have a full hour to set aside for icon practice so what I will do is more ten minute pencil studies of various parts of the face.

Work out the highlights by tracing over the shapes to identify the key pools of light and dark

Work out the highlights by tracing over the shapes to identify the key pools of light and dark

Pencil study of the nose

Pencil study of the nose

That’s enough of my holy noses, it’s time for morning coffee!

Thanks for reading and thank you God that I can share this with you today. All the best with your own icon practice.

Love Ronnie

BOOK SUGGESTION

Aidan recommended a book for us.  It is an American book and if you haven’t already got it, it is a treat for your Christmas wish list. It is a chunky book, paperback and has lots of good quality colour plates. Here are the links:

http://www.amazon.co.uk/gp/offer-listing/1588391140/ref=sr_1_1_olp?s=books&ie=UTF8&qid=1383298414&sr=1-1&keywords=byzantium+faith+and+power&condition=new

http://www.amazon.com/Byzantium-Metropolitan-Museum-Art-York/dp/1588391140/ref=sr_1_2?ie=UTF8&qid=1384766362&sr=8-2&keywords=Byzantium%3A+Faith+and+Power+%281261-1557%29+%28Paperback%29

Book cover image.