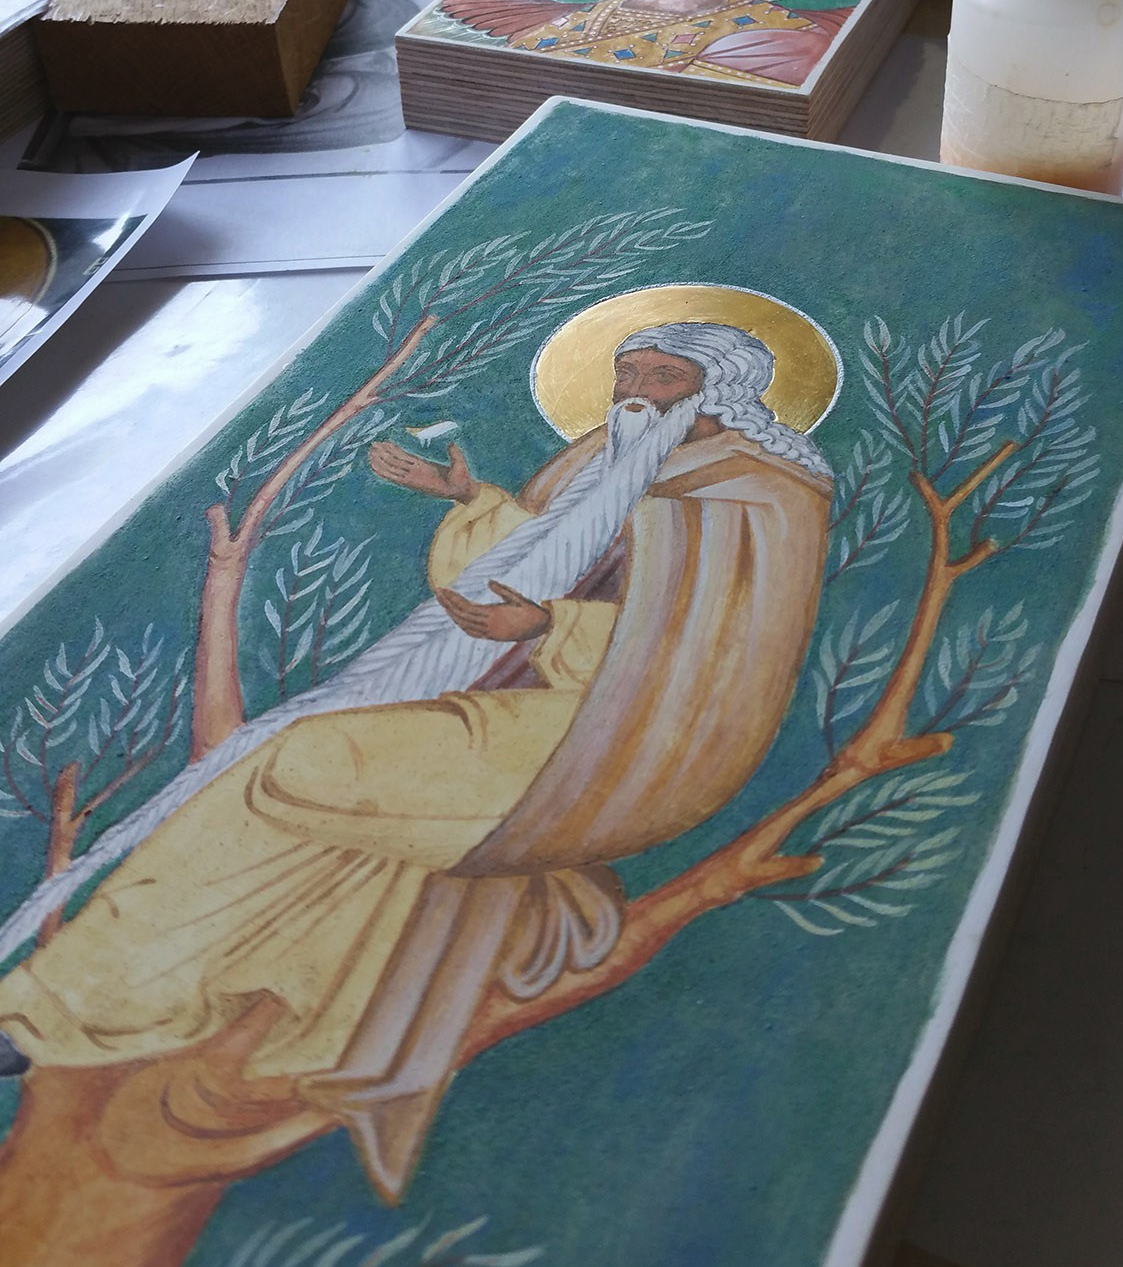
Always we begin again
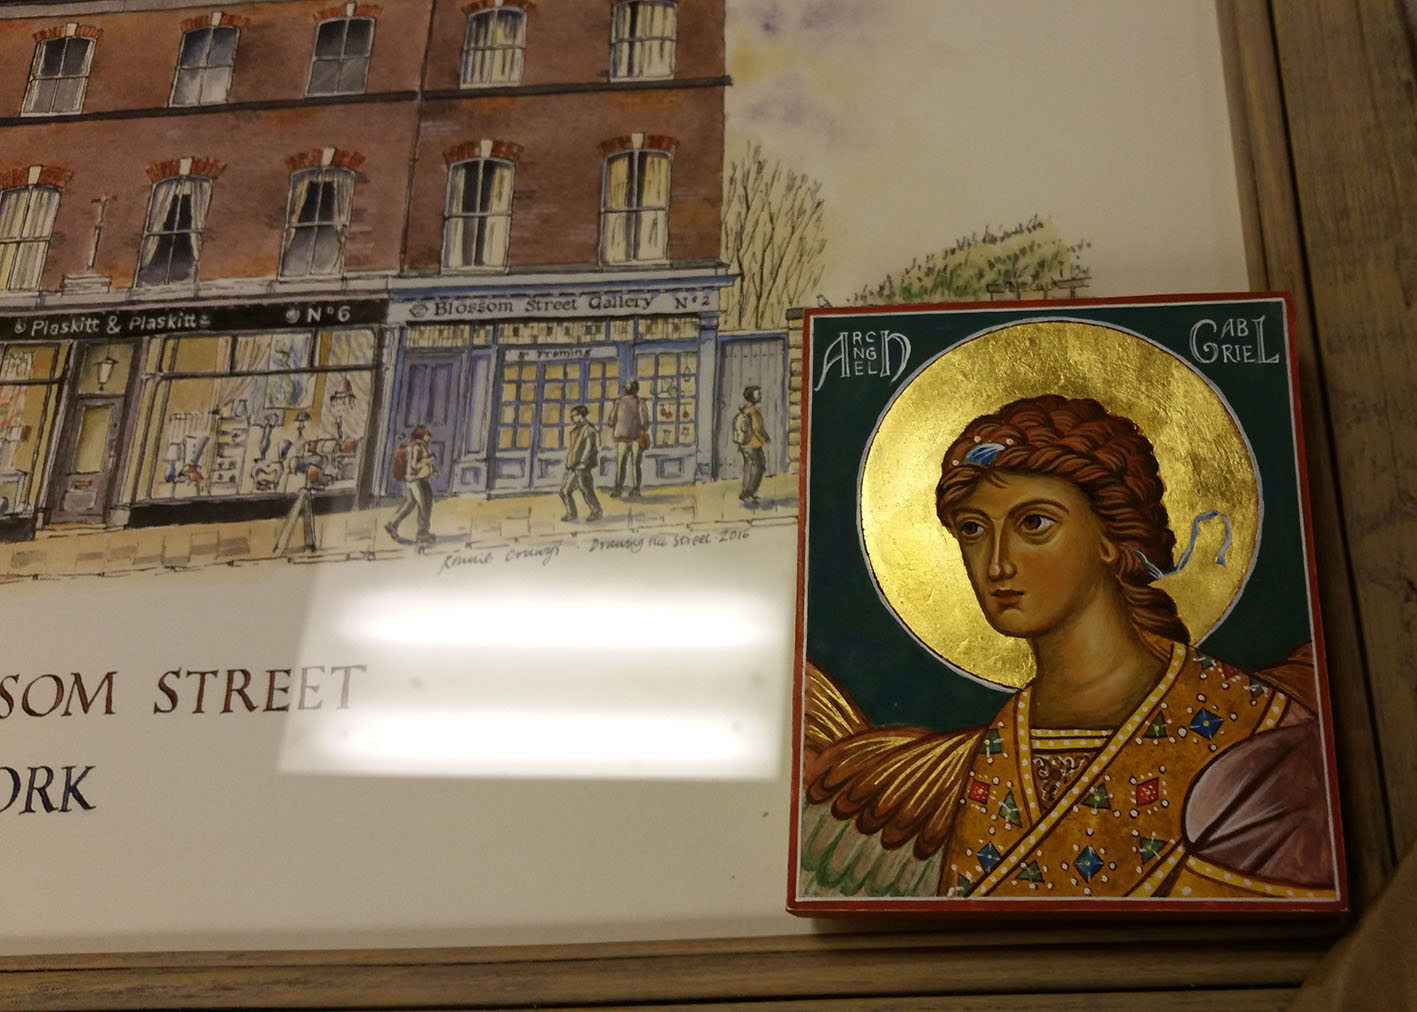
I recently unwrapped a pair of standing angel icons which I painted three years ago for the exhibition ‘A Street of Angels’ in York at Blossom Street Gallery. I remember thinking that the faces weren’t quite right but time had run out as we were relocating up to Scotland and so they went on display, got packed away afterwards and that was that.
Life has taken quite a turn since and I don’t get much time to paint icons however I have committed to revisiting and finishing off all the icons that had things that I considered weren’t quite right. I thought that it would be worth sharing how I get along with this exercise as it is a bit of an adventure!
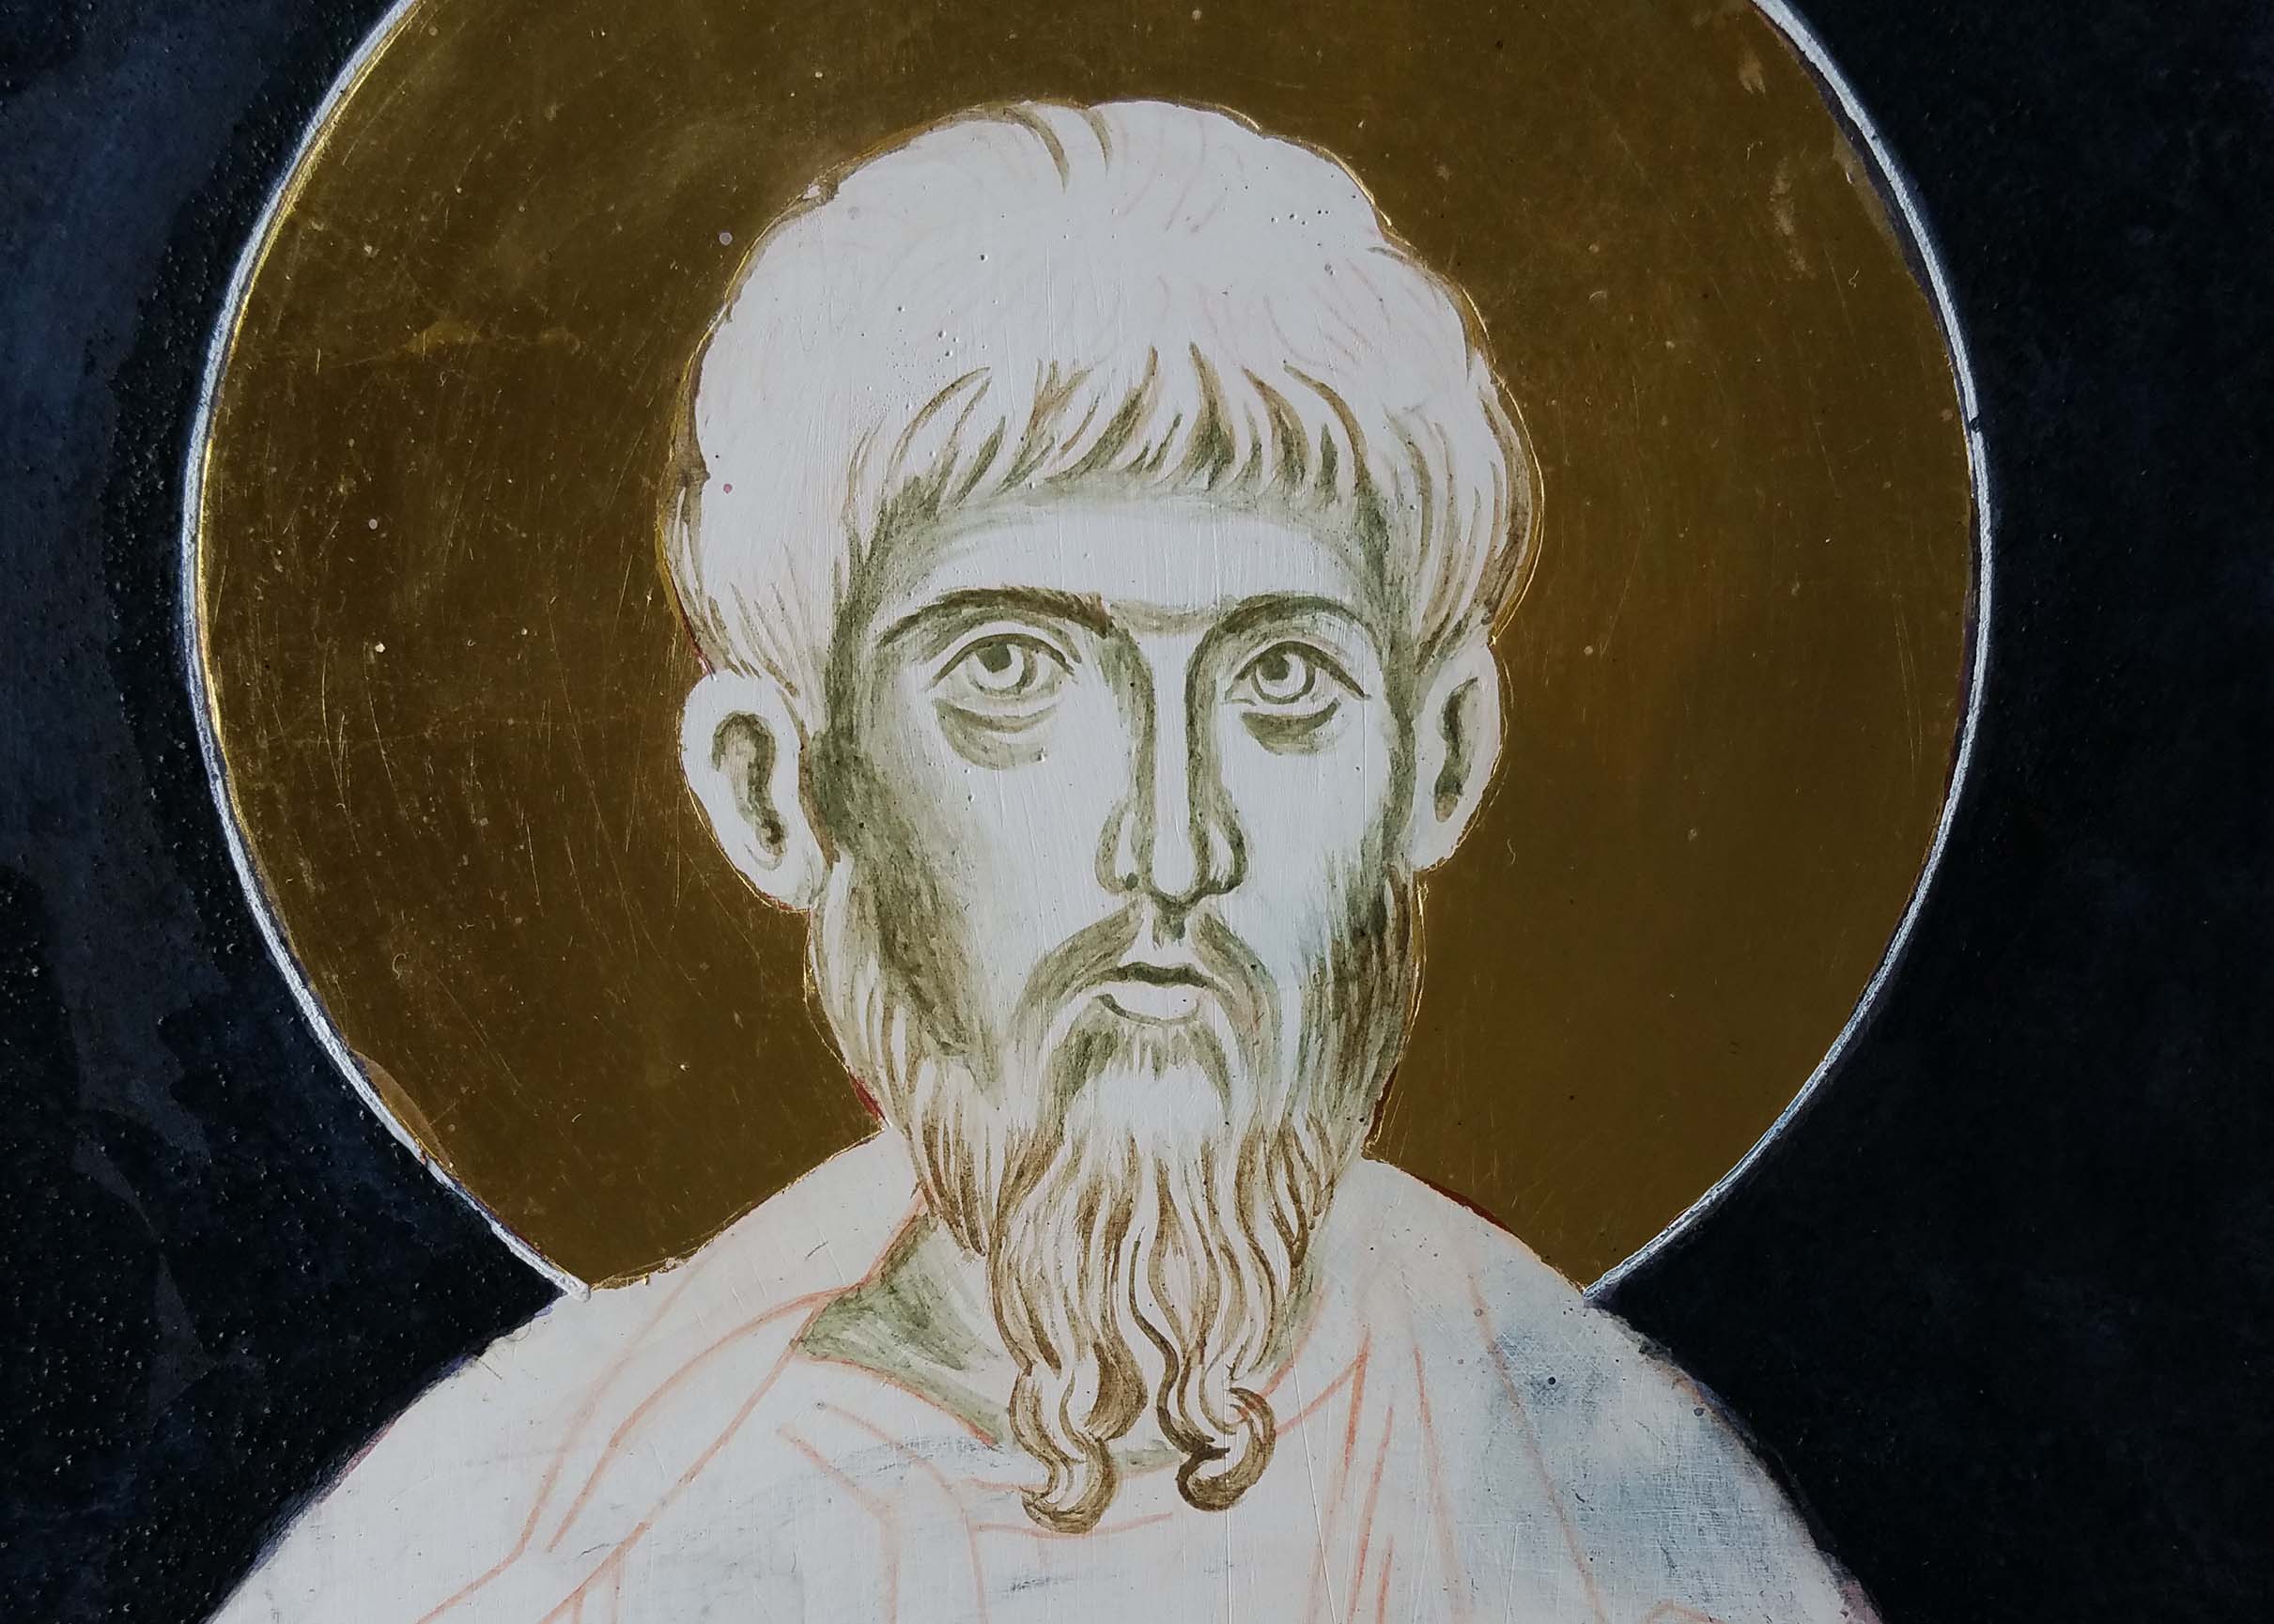
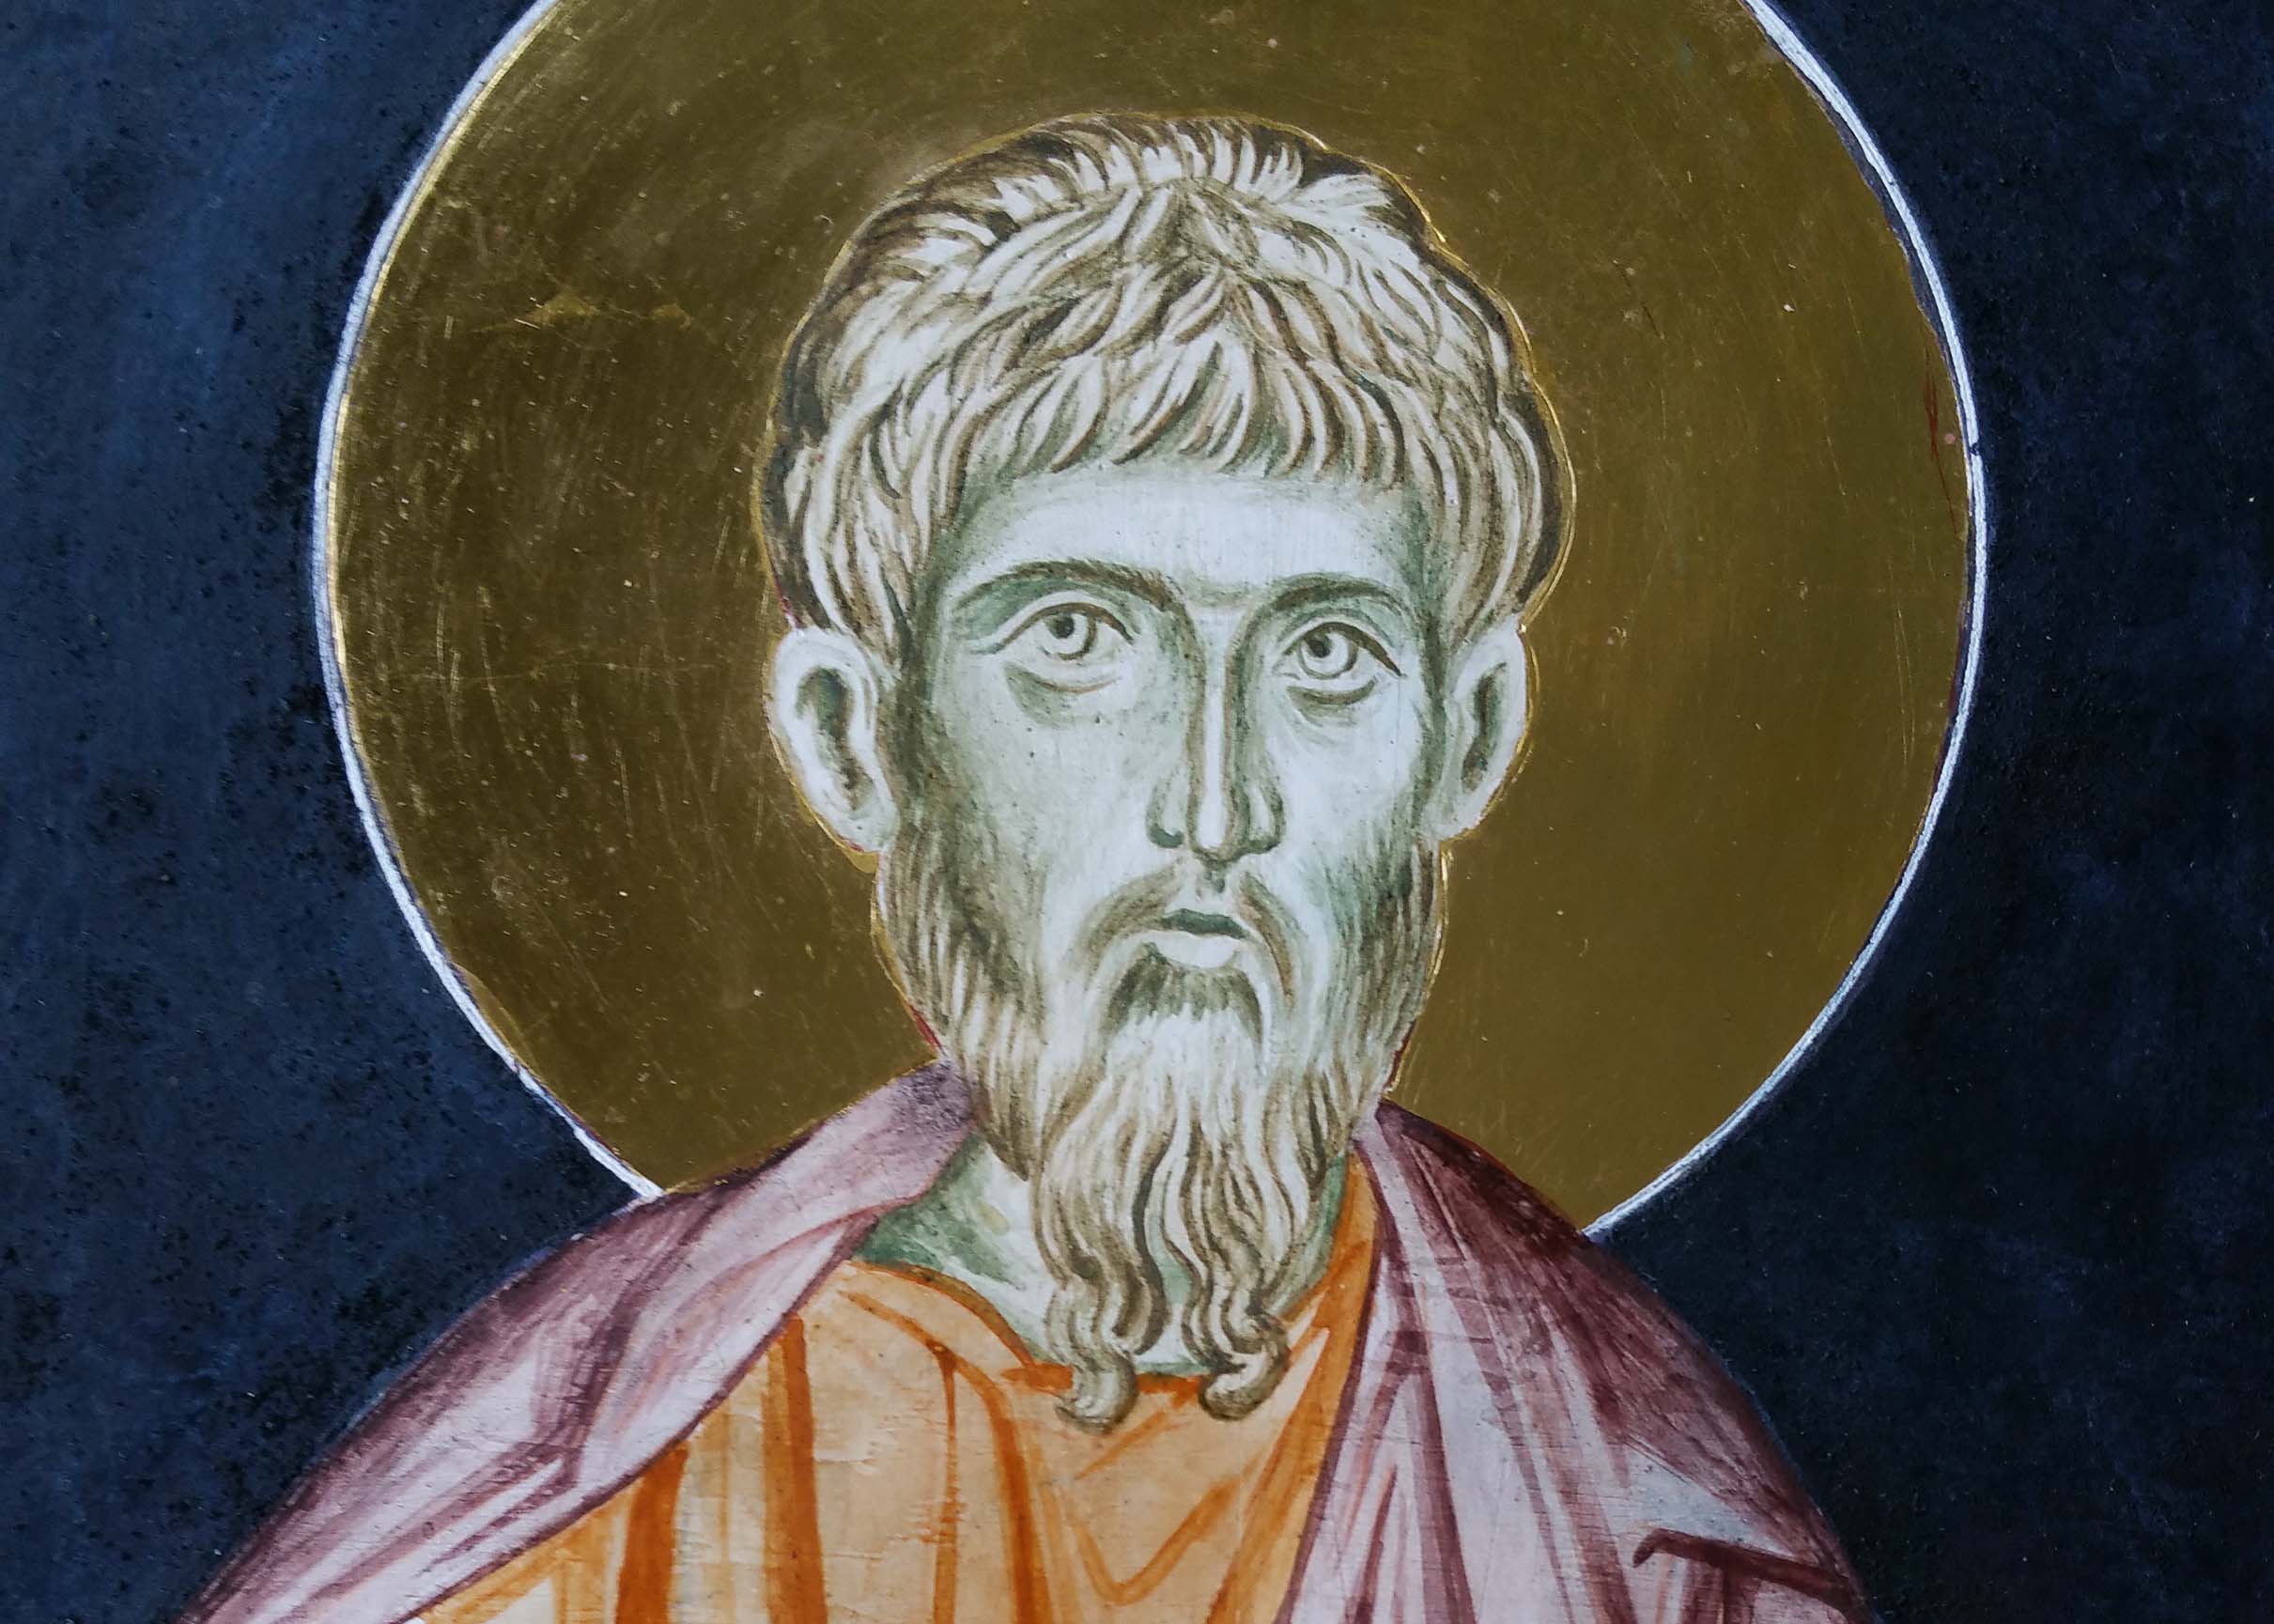
Here are the two icons before I started work on them. It was Archangel Raphael’s expression that I thought needed most work. It’s hard to tell from these photos but the blending was a bit heavy handed and if I was to refresh one, then I should work on them both for consistency.


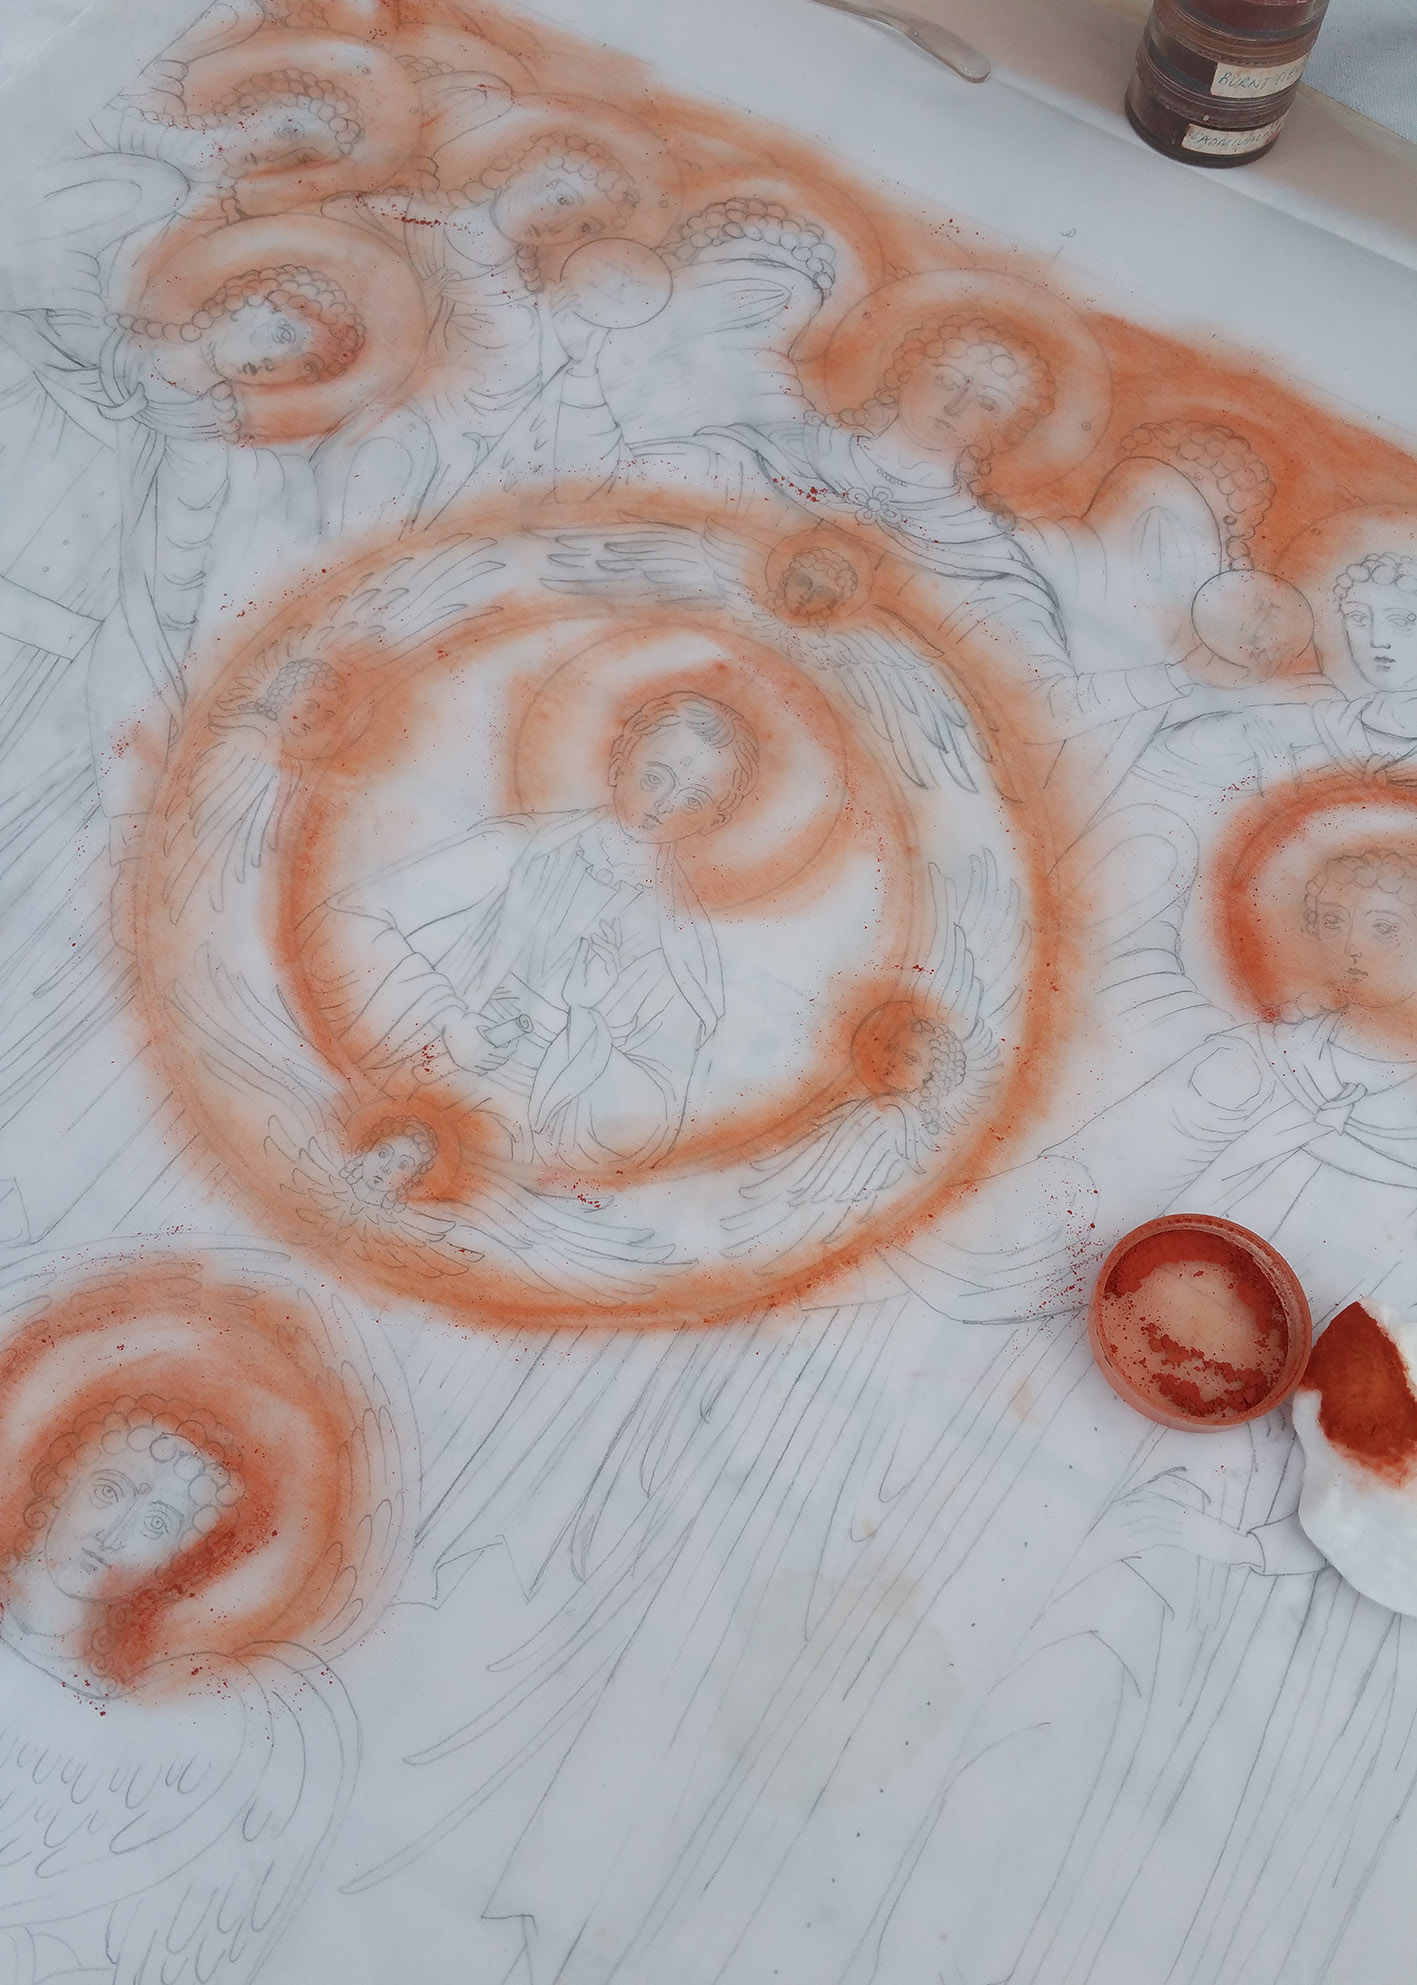
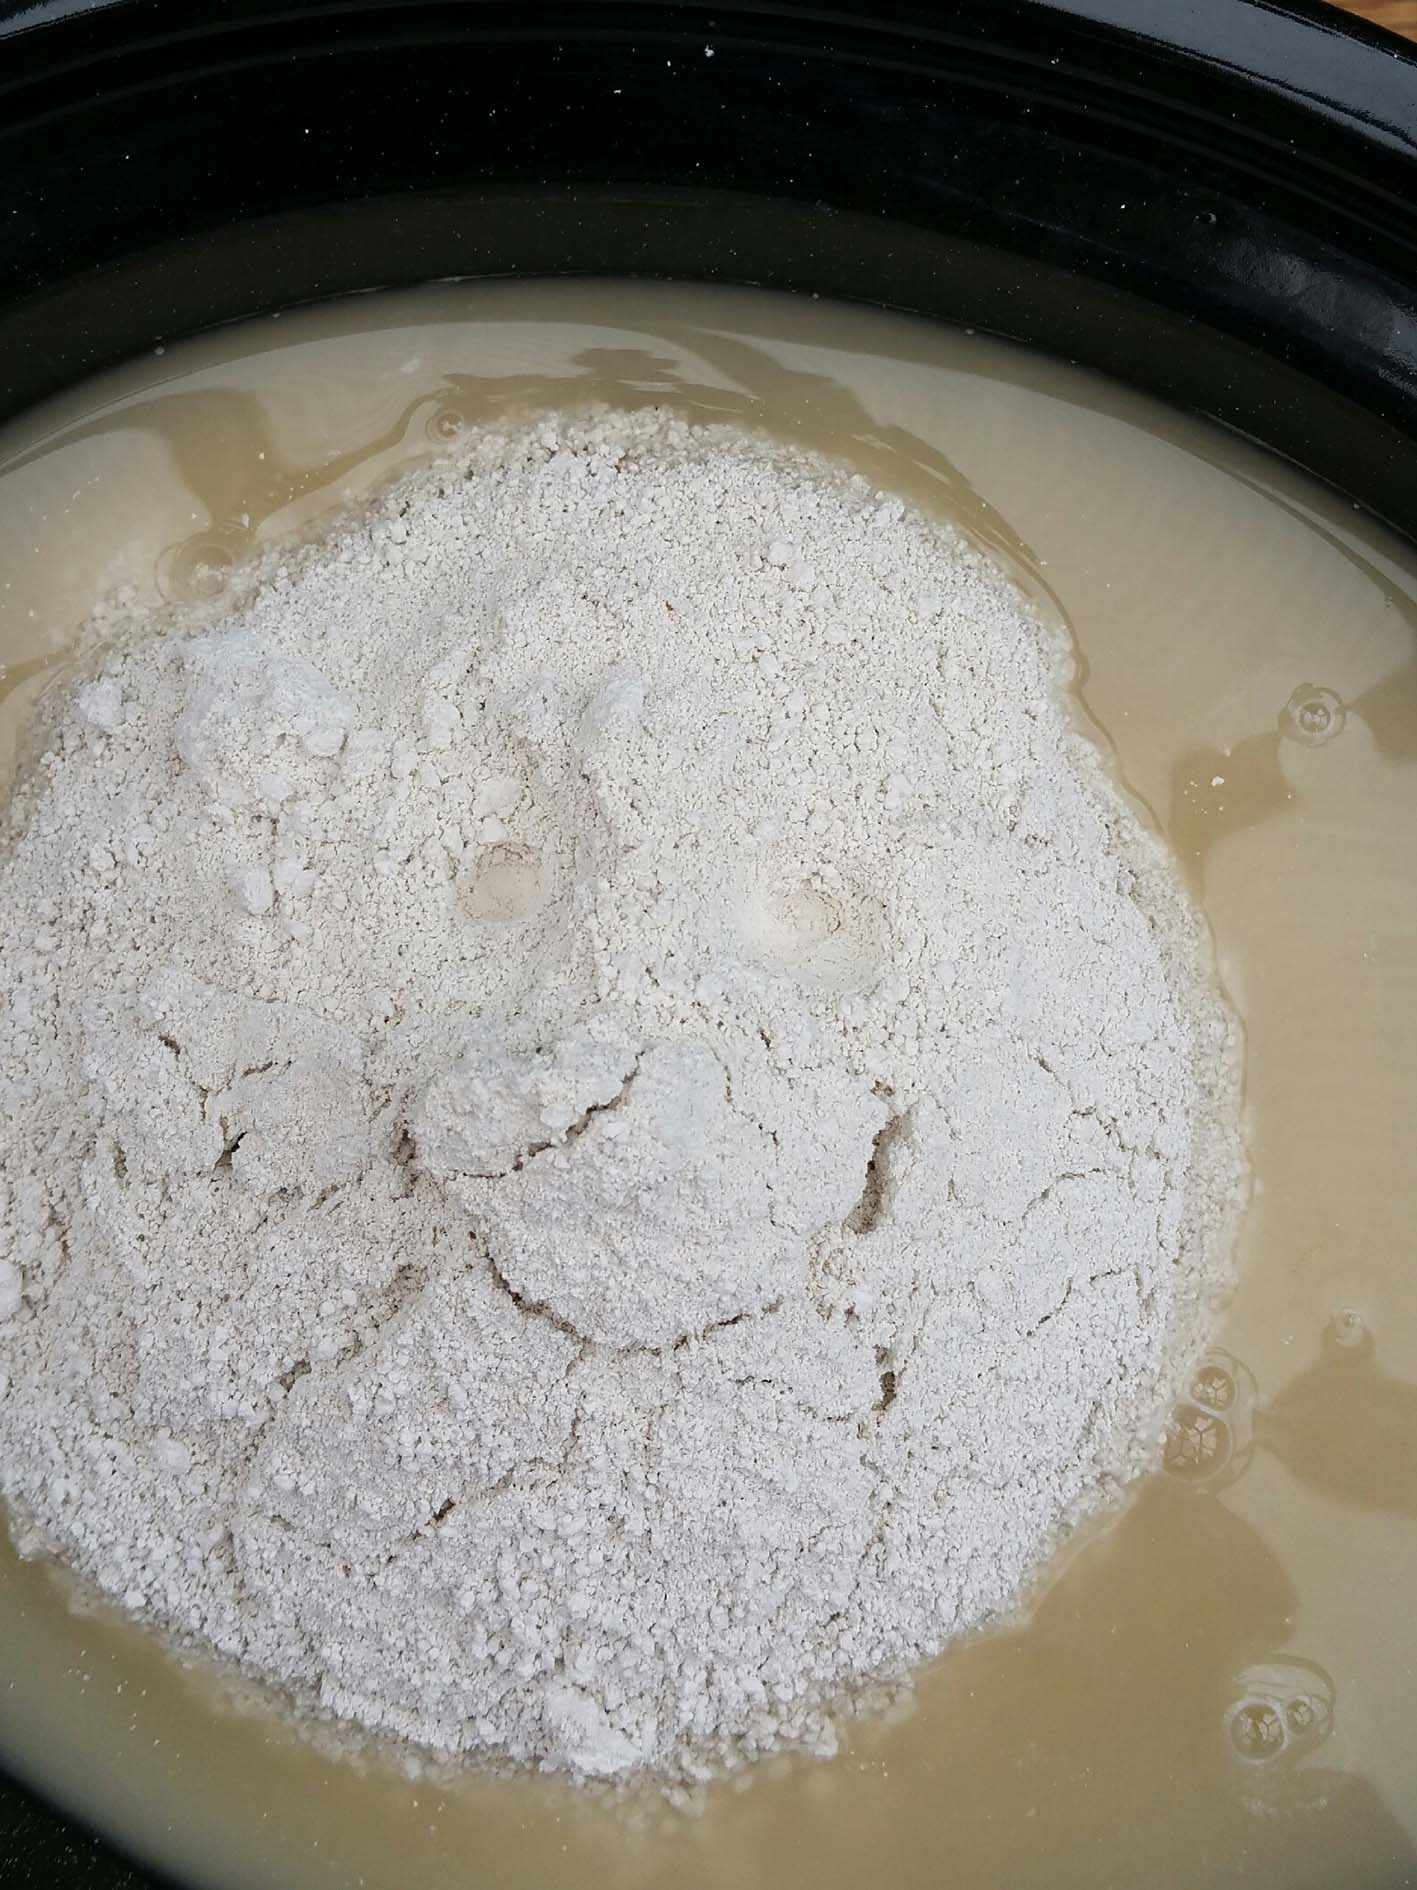
First thing was to ‘wake up’ the surface with several coats of an egg glaze. Using the tempera mix, I made a glaze with about 1 drop of egg to 10 drops of water. I also made a protective paper cover for the gilding and taped it down. Looking at these photos, the faces don’t seem so bad, but they were just not properly finished.
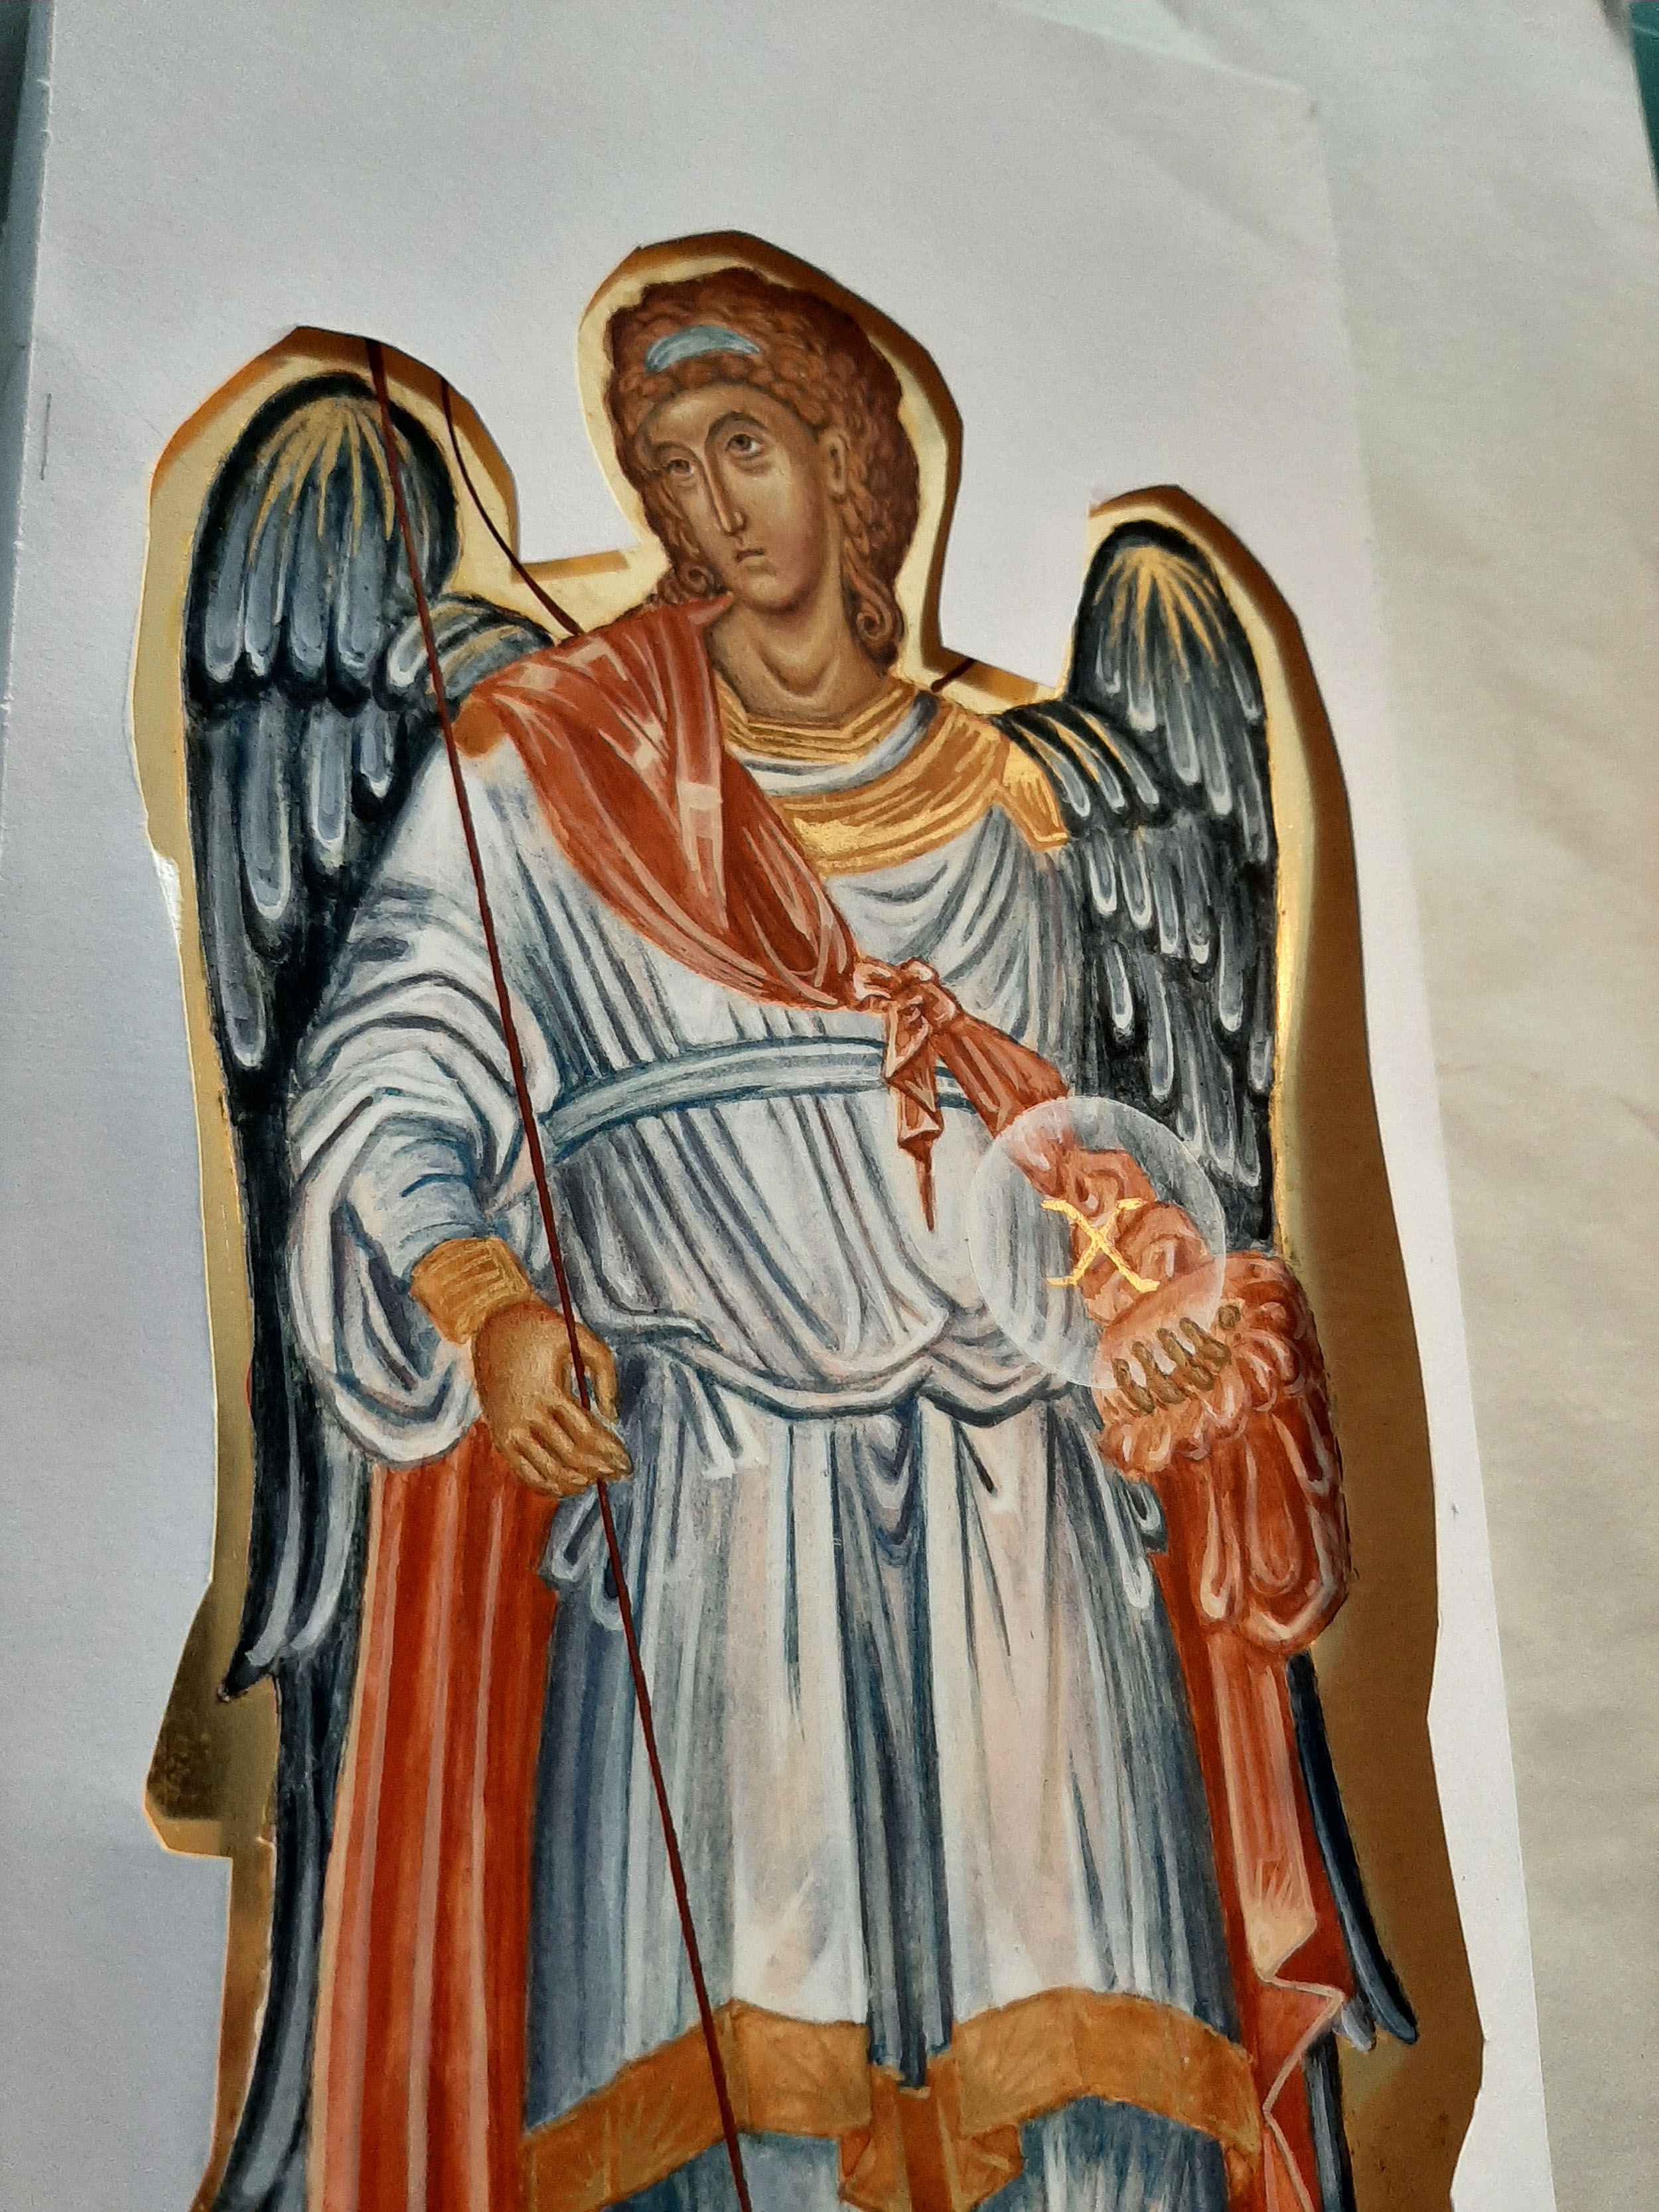
I let the glazes settle for a few days, then using the wonderful pigment French Ochre Havanna, I applied three or four glazes over the face. This pigment is warm and a great one to calm down clumsy highlights. These faces are fairly small, about 2cm from hairline to chin, so I used fine brushes for the details.

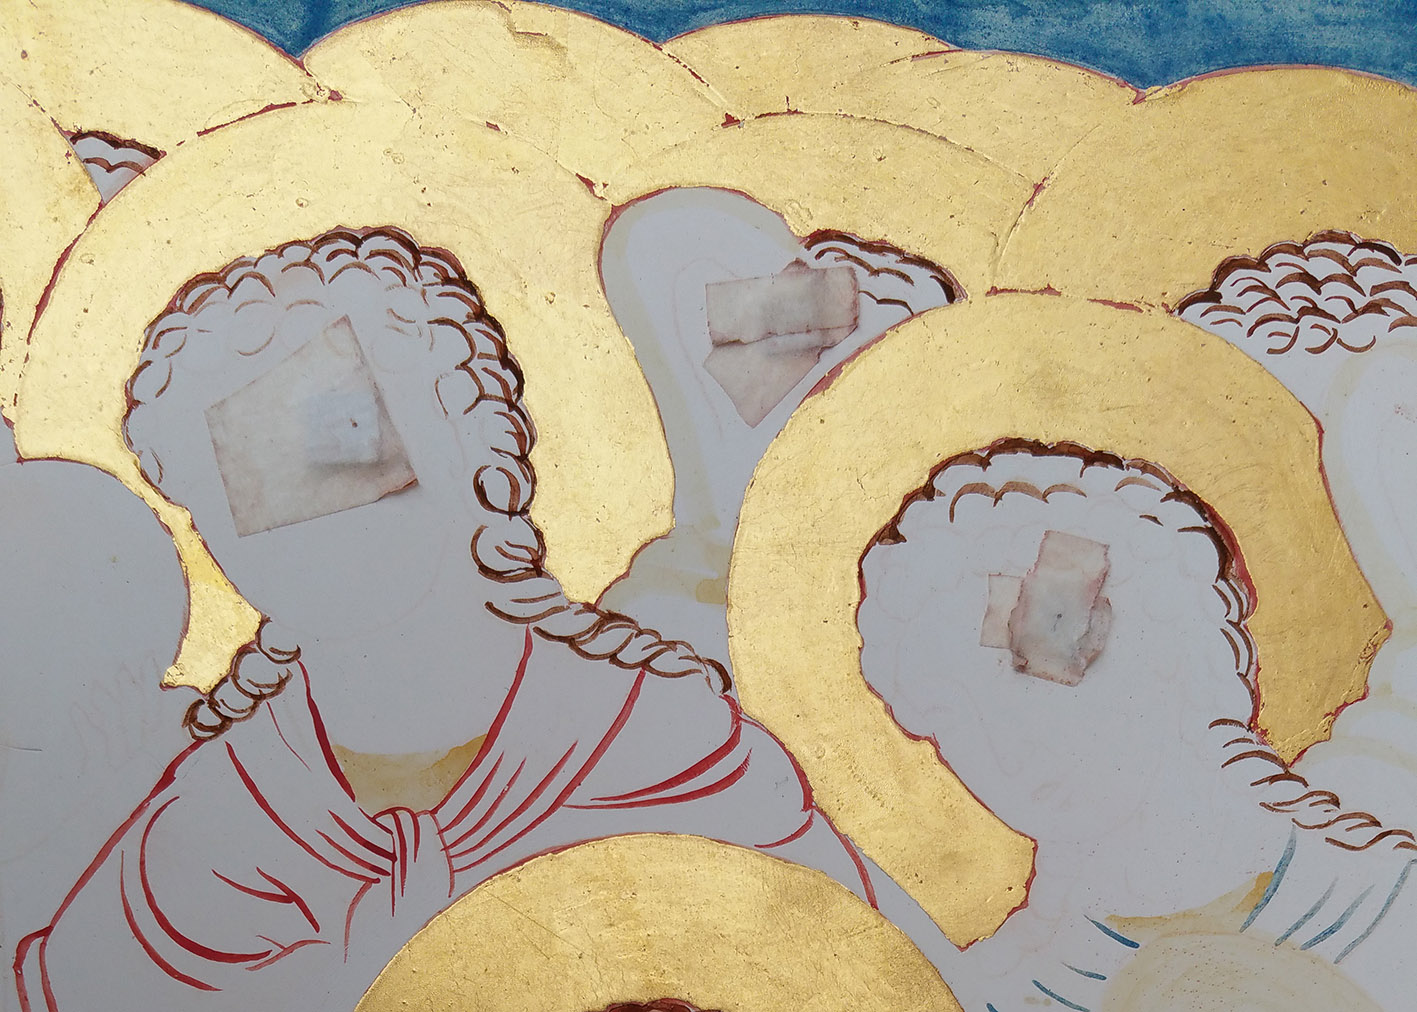
Applying glazes over the entire face.


I’m putting on the darker tones here, with a 1010 kolinsky sable brush. I’ve mixed some English yellow ochre, raw umber and ivory black. I also used Ochre Avana which is another really versatile pigment. I have deepened the hair line and then used a thin egg glaze to feather and blend away the hard lines next to the brow. To get the highlights, I used Yellow Maimeri and titanium white, but I also added a small amount of French Havanna to keep the highlights a warm gold. I mix small quantities in this ceramic palette which comes with a lid – perfect to stop them drying out and keep the cats off!
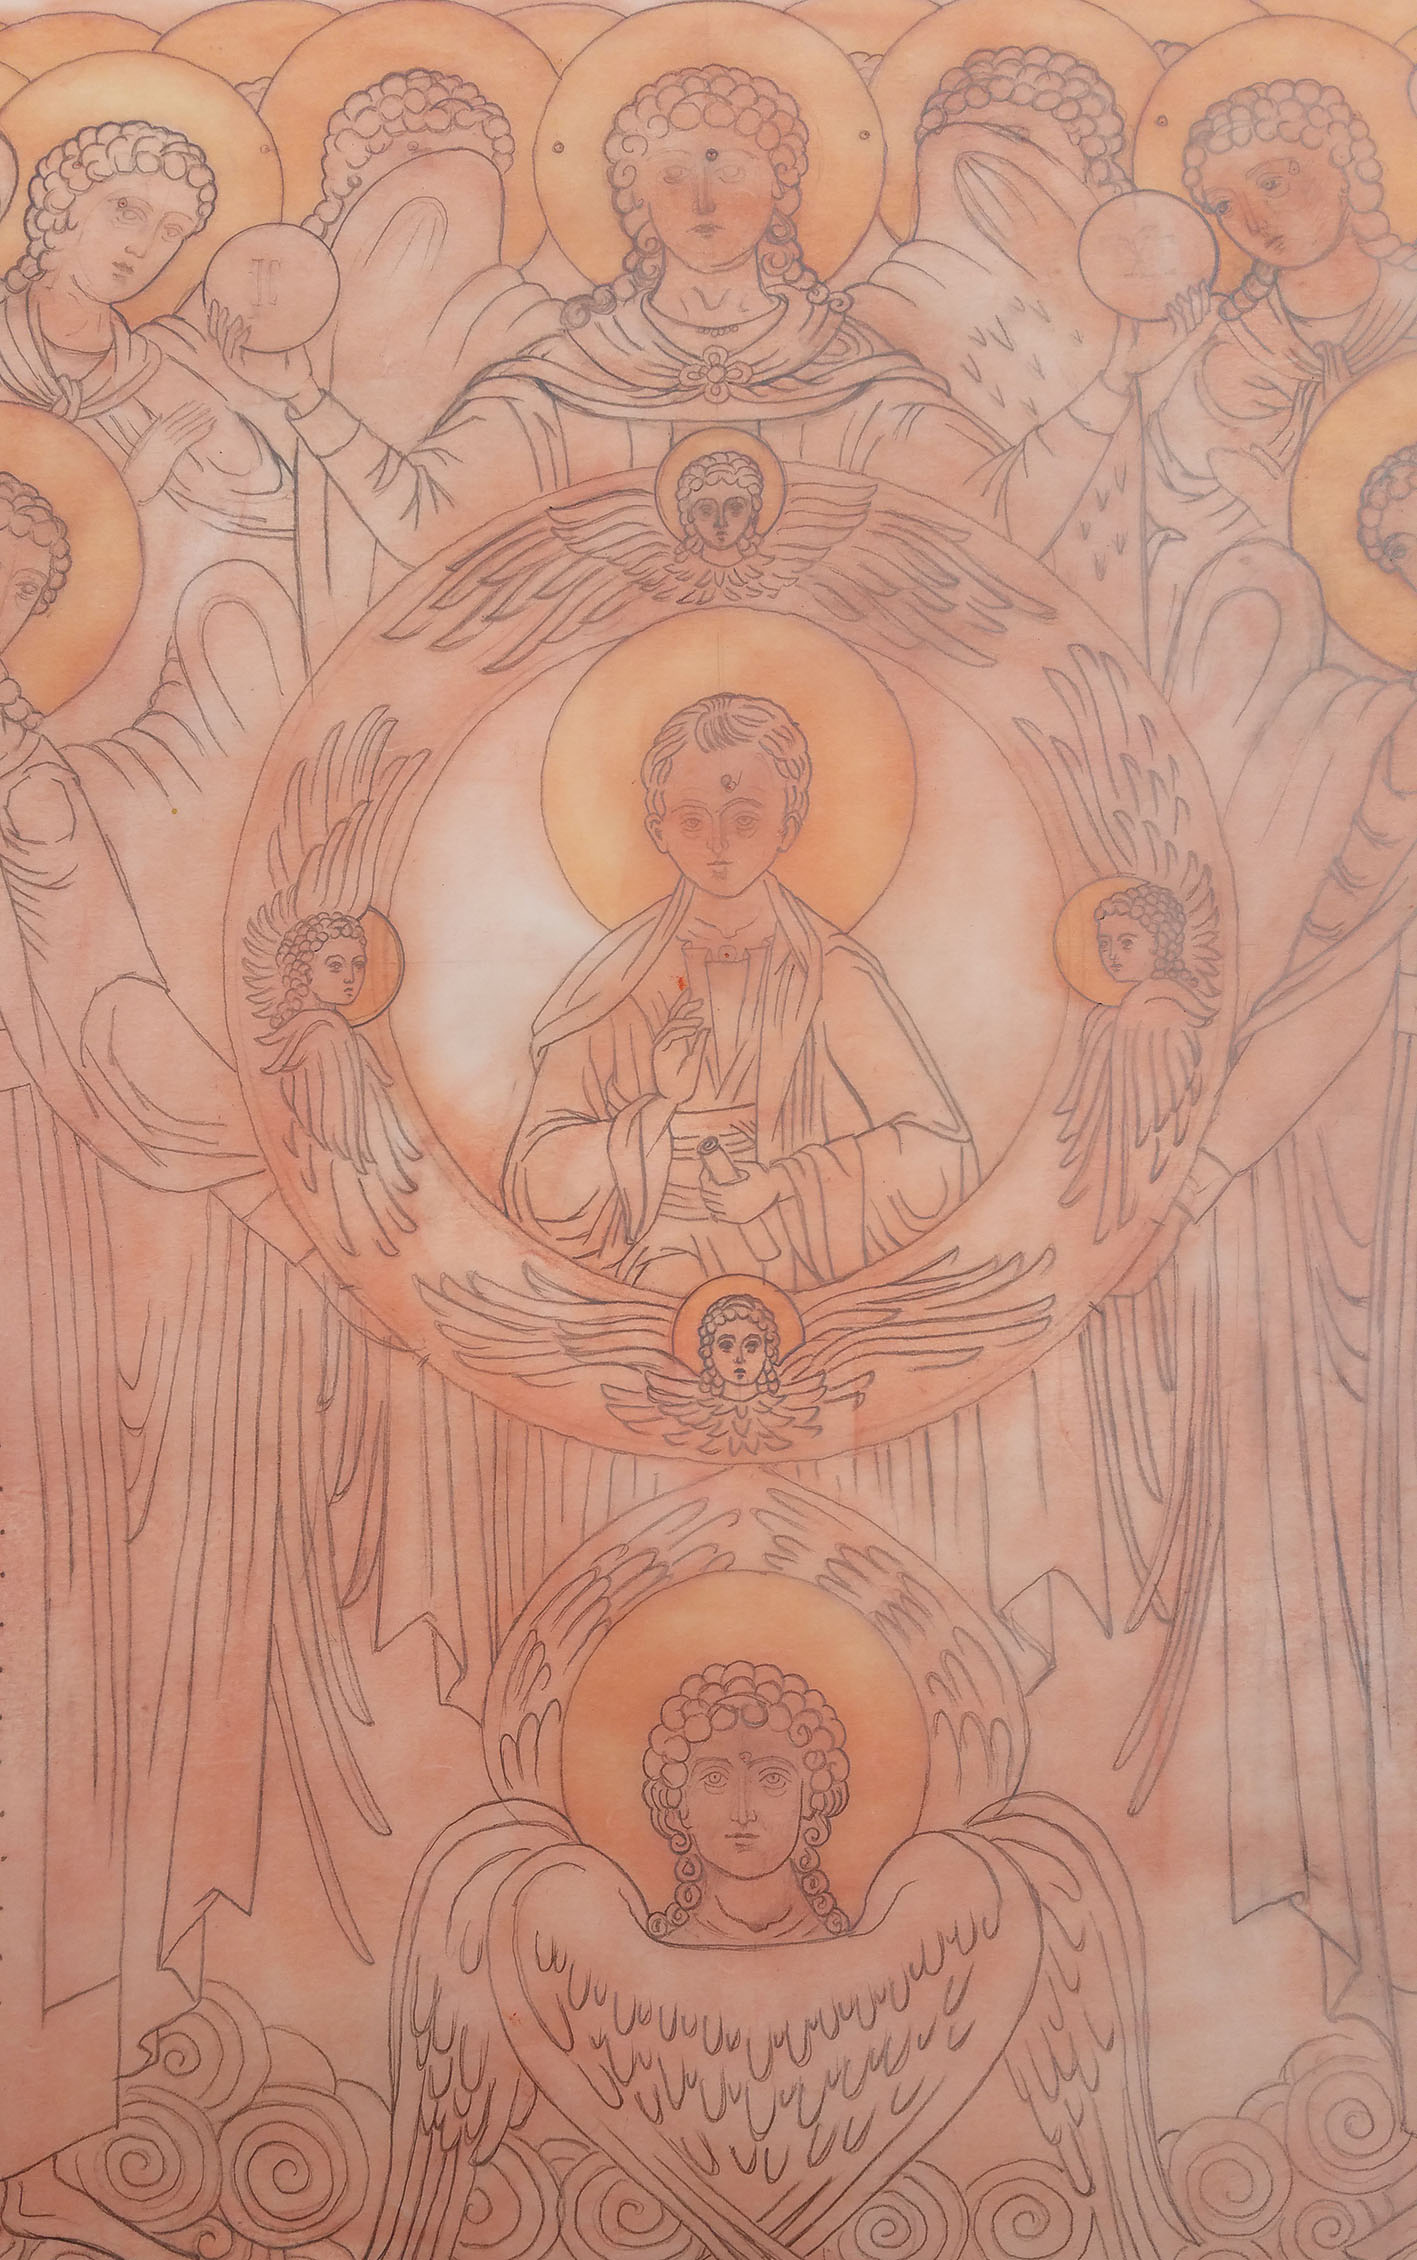
I find that taking photos of my work as I go along helps as I can zoom in and see exactly where I need to tidy up. The other thing I do now is to add very thin glazes of ochre havanna as it helps with blending especially after I have been remodelling.
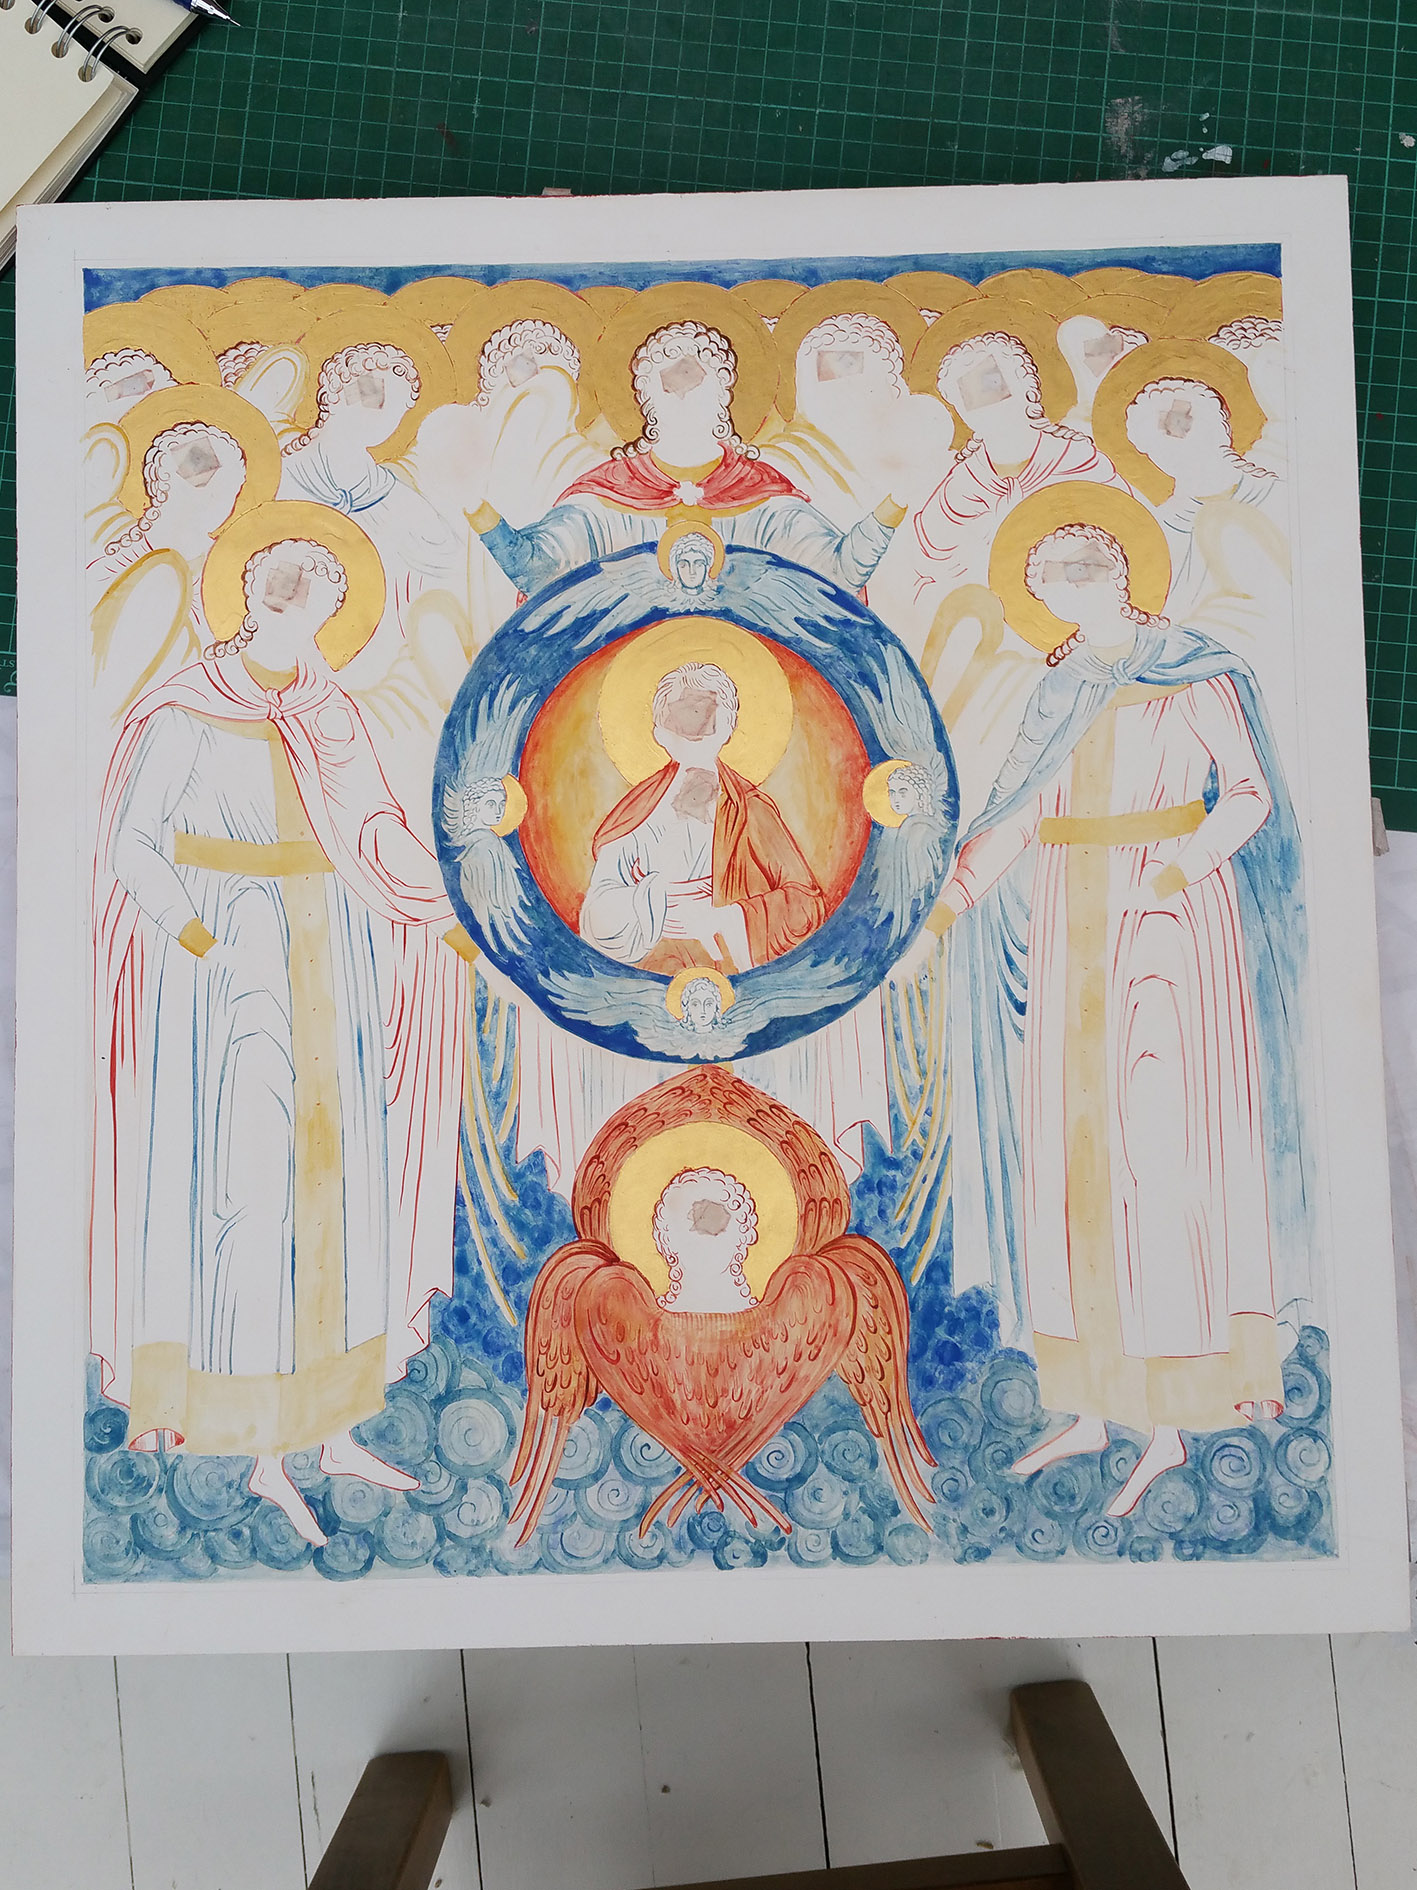
I added highlights in thin, thin layers, softened and shaped the eyebrows, moved the brow highlights to the right, eased back the highlights on the right of the neck, added vermillion to the nose tip, upper lip, under the chin and inner eye. Added white highlights to the eyes, with the sides of the eyes a grey mixed with black and white. Added a very thin glaze of vermillion to warm the cheeks. Then added the hair highlights back and added the ribbons which I had missed altogether. The finished face is on the left. I’m happy with this as the expression is much kinder! You can see the finished icon in my Etsy shop.
I hope that this is helpful in some way with your own icon painting. Thank you to everyone who has followed this blog during the quiet years, but I will go through the same process with Archangel Raphael in my next post.
Thanks as ever for reading and your patience!
Ronnie