Cold gesso, no bubbles

Class demonstration by Janina on how to apply gesso cold.
One of the many benefits of our time on the icon course was how much we learnt from each other as well as from our tutor Aidan Hart and from the icon board and church furniture maker Dylan Hartley. I have written about our time learning how to apply gesso warm but today I would like to share what our group learned from one of our fellow students, Janina Zang. Janina gave us a demonstration of how to apply the gesso chilled, when it had set like a jelly. She had learned this technique from a Benedictine monk.
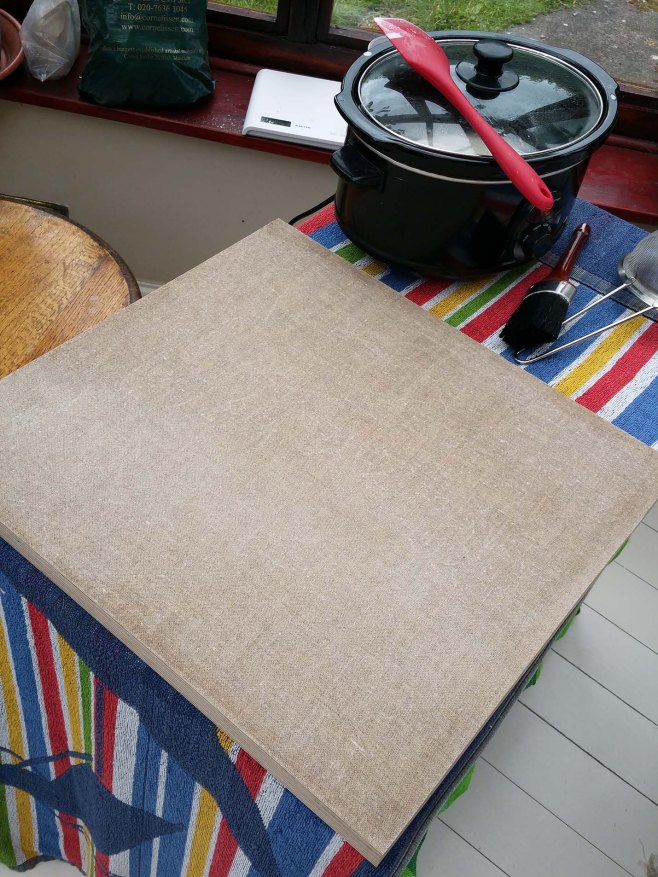
Scrim glued to the ply board.
There are two significant advantages to this method. The cold gesso means that there are hardly any bubbles as you apply it, and if you can’t finish applying all the layers in one day, put a damp tea towel over the boards, go to bed and resume the work the next day.
You still need to prepare the ingredients as for the warm method and have most of the following ready:

Kit for gessoing is still the same but the spatula is a different shape.
The recipe is exactly the same as given in Aidan’s book.
Follow Aidan’s instructions for the gesso mix and apply the glue and the scrim layers. Let the boards dry out for a day then make up the gesso mix in the quanity that you need, remembering to seive it and decant back to the container. The only difference is that from here, you put it in the fridge and leave it overnight.

Cornelissens whiting spooned into the rabbit skin size
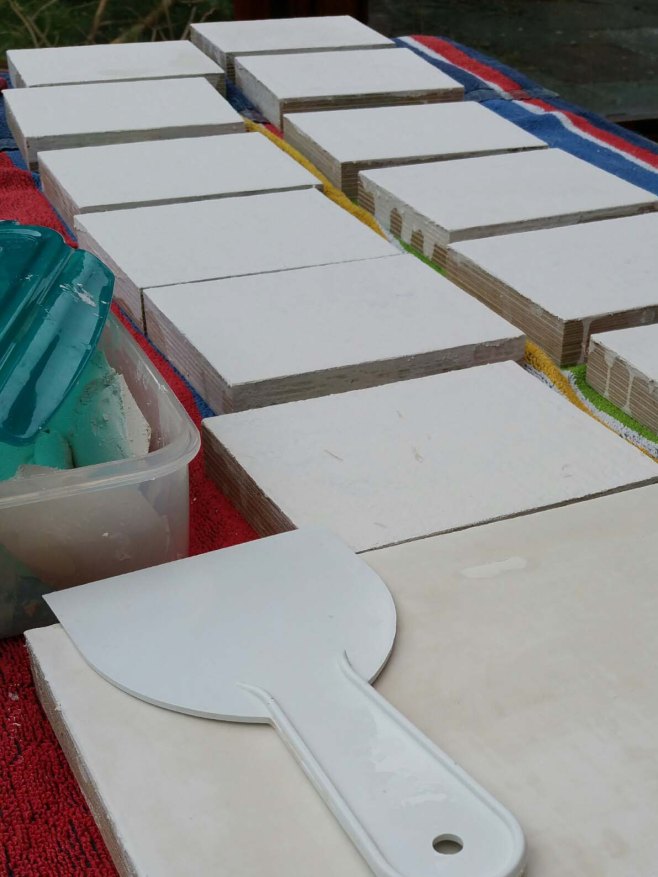
This is the best part. The following morning, the gesso is good to go. Just take enough gesso out of the fridge to work on for the next few hours. Allow it to warm up to room temperature for half an hour and you have a full day to get straight down to applying the gesso to the boards. Keep your working gesso in a plastic sandwich box to prevent it drying out – especially on a hot day. Top up from your main supply in the fridge during the day.
The gesso has a consistency of blancmanche and all the pin sized bubbles disappear as you spread the gesso on the board in thin layers using a wide spatula. Fifteen layers takes the gesso up to a thickness you can sand without reaching through to the scrim.

Use a spatula to apply the gesso in thin layers
Keep a bucket of water beside you to rinse off the spatula from time to time as you can see it clogs up quickly in warm weather. I had quite a few boards I wanted to gesso as I’m preparing for an exhibition next Spring 2018, at the Blossom Street Gallery in my old home town of York.
boards laid out on towels to gesso
The large board will be for my main icon, but more on that in another post.
Gesso drying off outside under shelter
During the gesso process, the sides get splashed and set very hard. The easiest way to clean these up is with a small electric palm sander, like the Makita.

Splashes of gesso on sides of boards
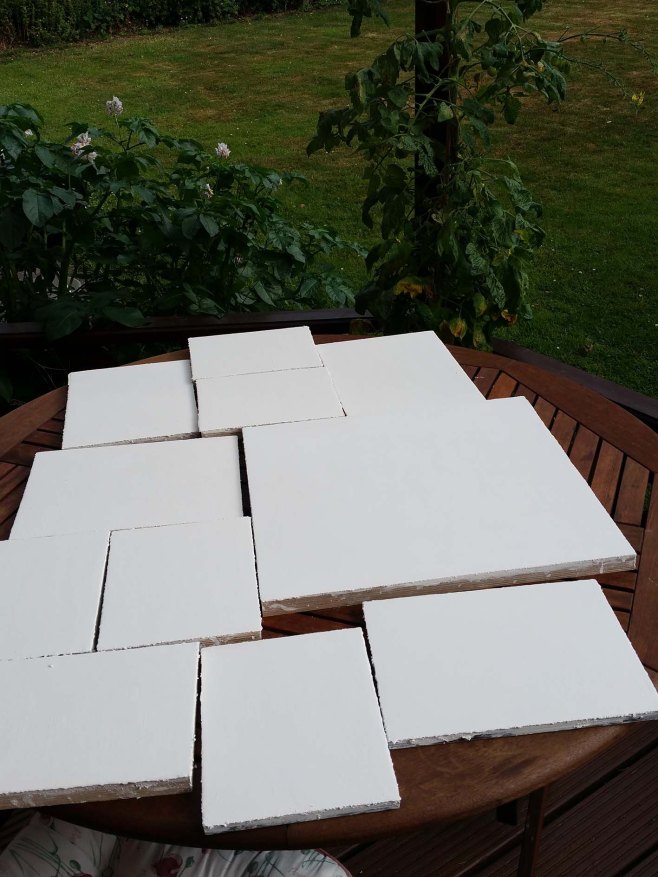
I sit the boards in a towel clamped in a work bench outside and the boards then have a lovely crisp edge.


All done!
I’m very happy with how these have turned out – not pin hole bubble in sight!
Big thanks to Janina and the Benedictines for sharing this method!
Thanks to you too for reading.
Ronnie

2 Responses to “Cold gesso, no bubbles”
Two tangental questions if you do not mind.
– Plywood has a mixed reputation as some assert that it tends to crack with time. What is your opinion of it as a support, as you are making quite a few panels?
– How will you finish/frame and hang these pieces?
Thank you for your consideration.
Hi Matthew,
Many thanks for your questions, they are good ones. I have gone for a thicker 25mm best quality birch ply. The standard varies but I order it through a cabinet maker who is really particular about quality. I also choose plywood as I would like my icons to be affordable, especially as I am still finding my icon painting feet so to speak.
With regard to the finish, I paint the sides with shellac and red ochre pigment. I use picture hanging D hooks screwed on to the back although the smaller icons can stand alone as an option when using the thick ply.
The hardwood icons with kivotos are really beautiful and authentic but until my work is of a standard to match, I will use ply!
Hope this helps and thanks for your question 🙂
Ronnie