Concealing a Blemish
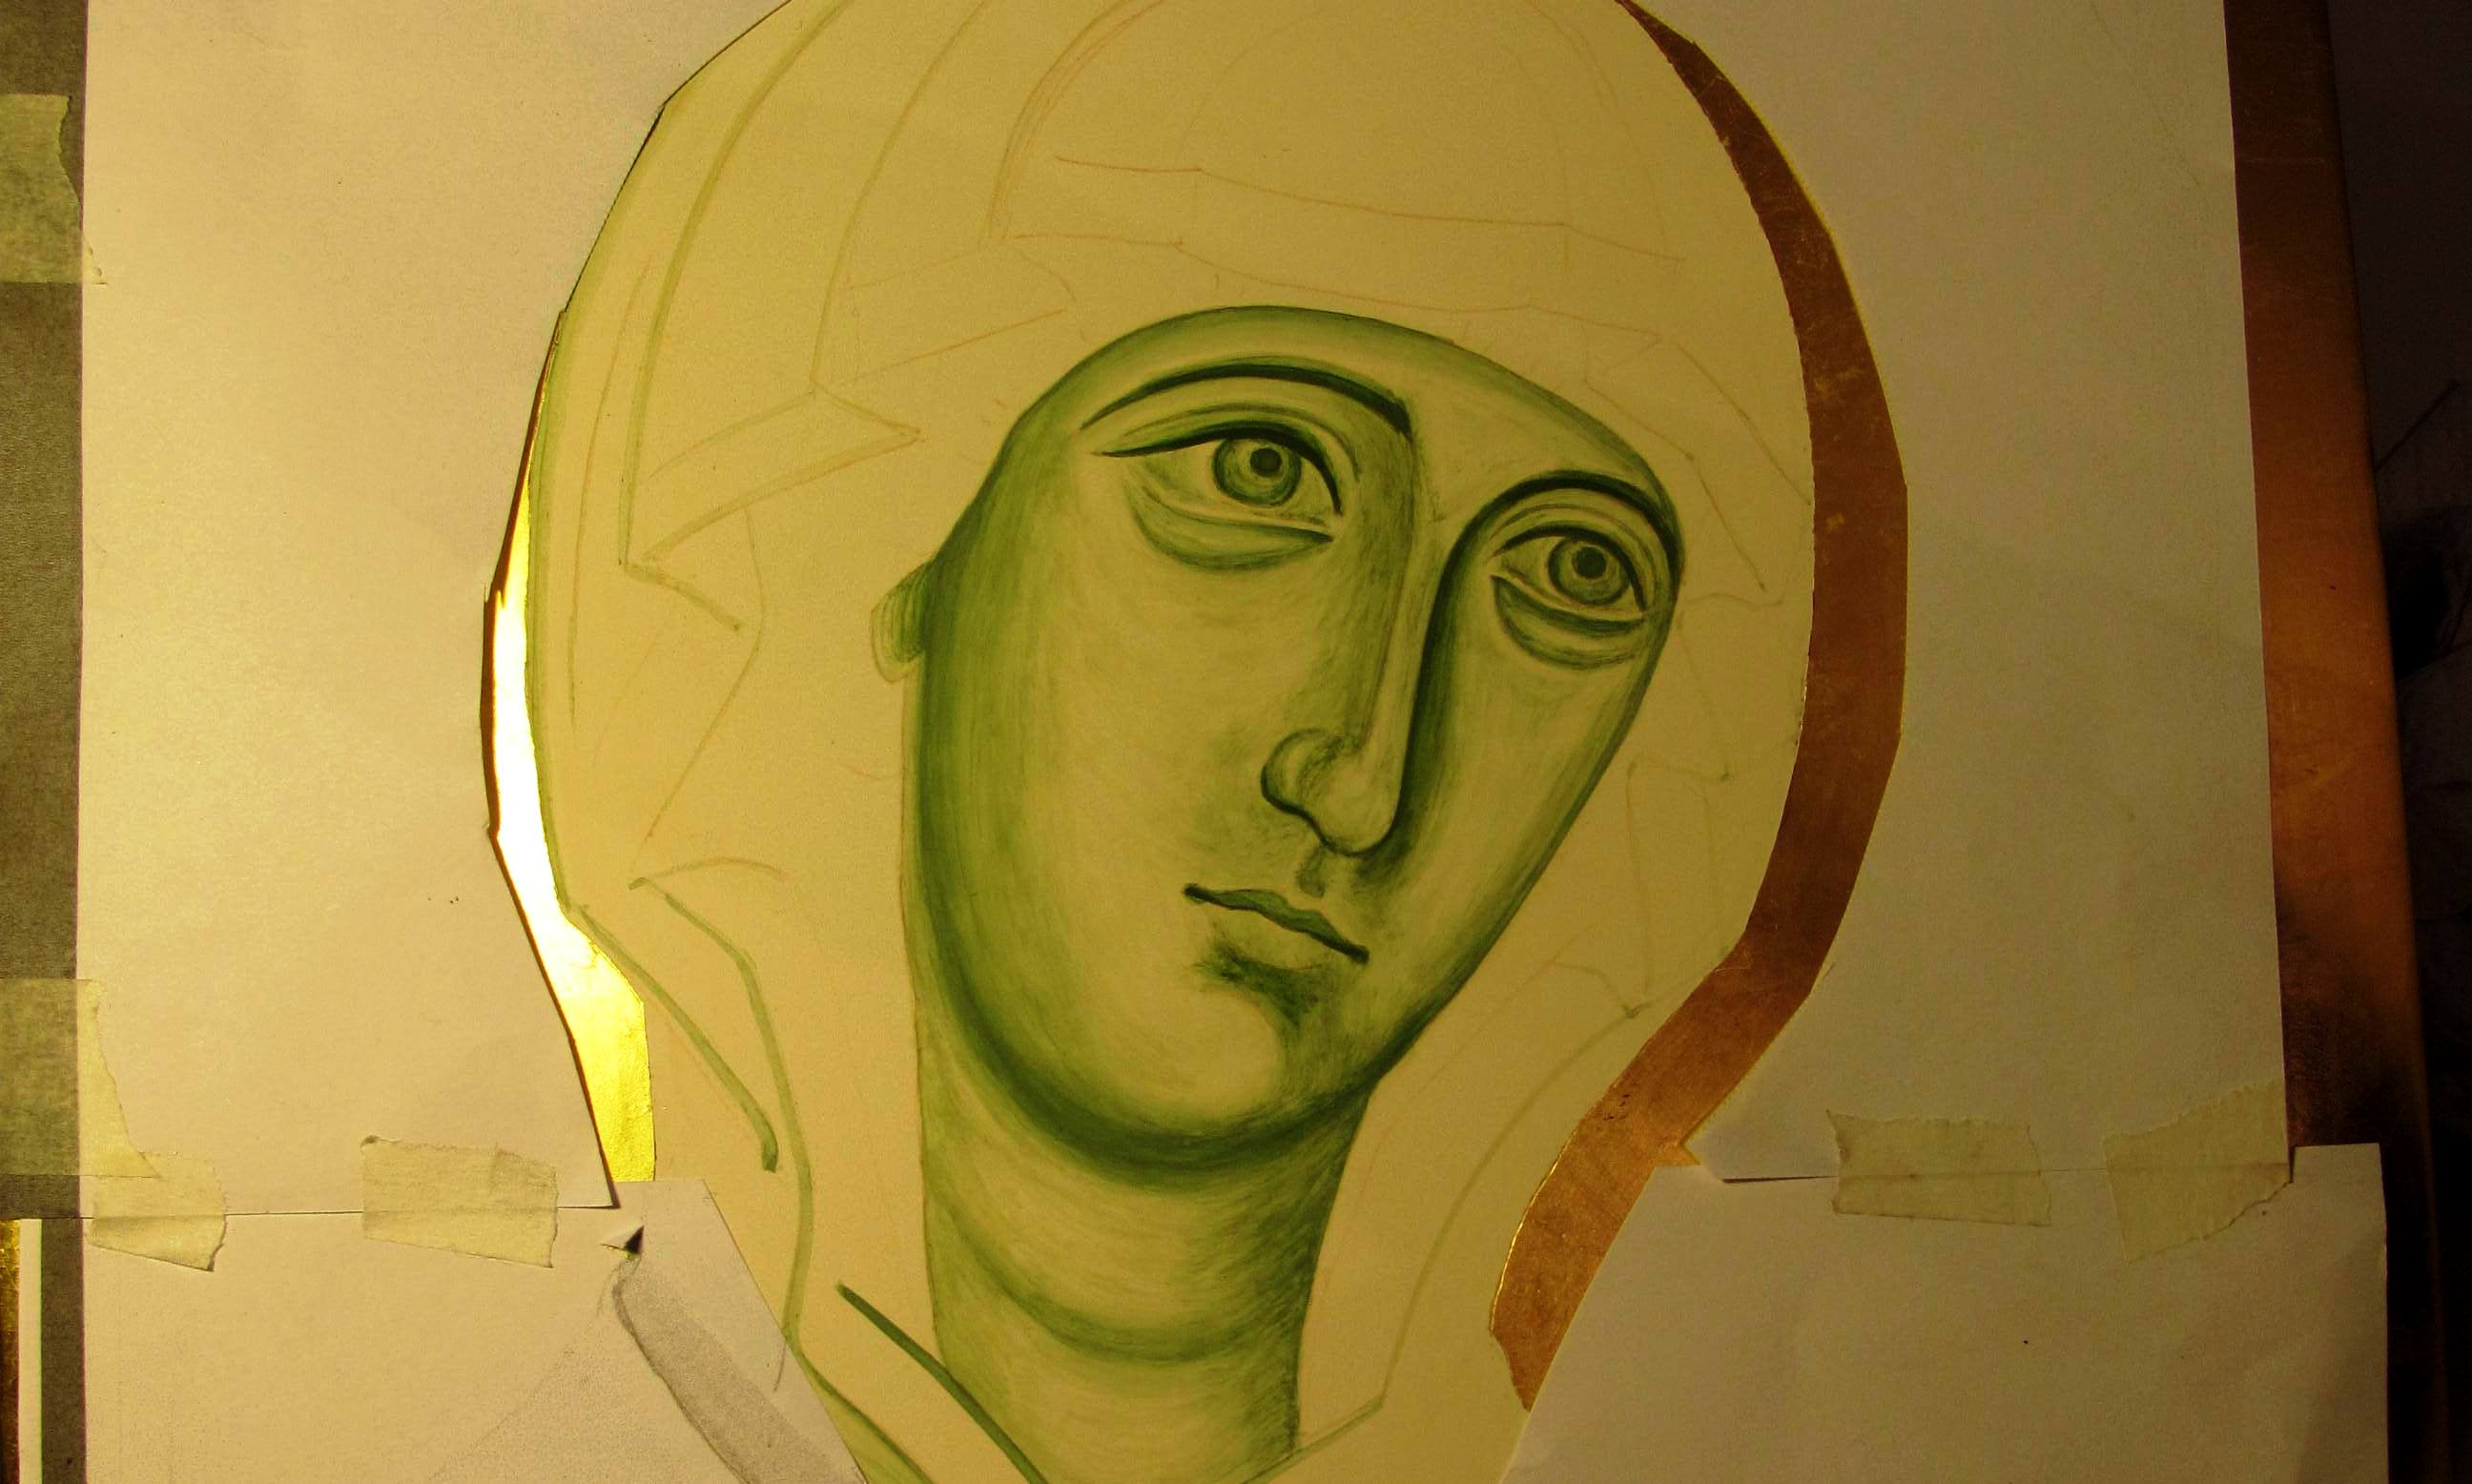
Building up the underpainting in terre verte and a dash of Maimeri yellow ochre
This post is going to consist mostly of photos to show how I dug a hole in the membrane making a terrible mess of our home project (mine is the Blessed Virgin) and then how I managed to repair the damage.

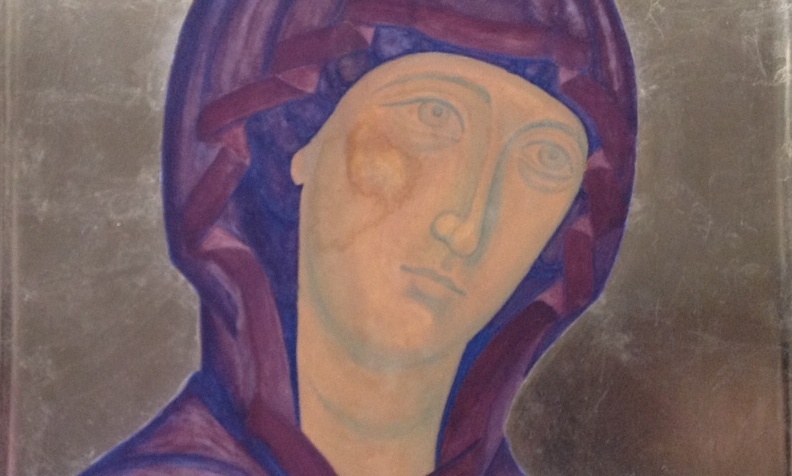
Adding the first membrane layer of maimeri yellow ochre and a tiny dash of titanium white.
Having stressed the phrase ‘do not fiddle’ in my last set of notes, I then went on to fiddle by trying to repair a hole and this is what happened:

Stain appears on the cheek
A tiny bare patch had appeared on the upper cheek which I tried to mend very carefully by dropping some paint in from the tip of my brush. It made a big stain. If this happens to you – I suggest that you put the icon away for a day so the paint goes bone dry and you return to it refreshed. I didn’t and ended up spreading the stain.
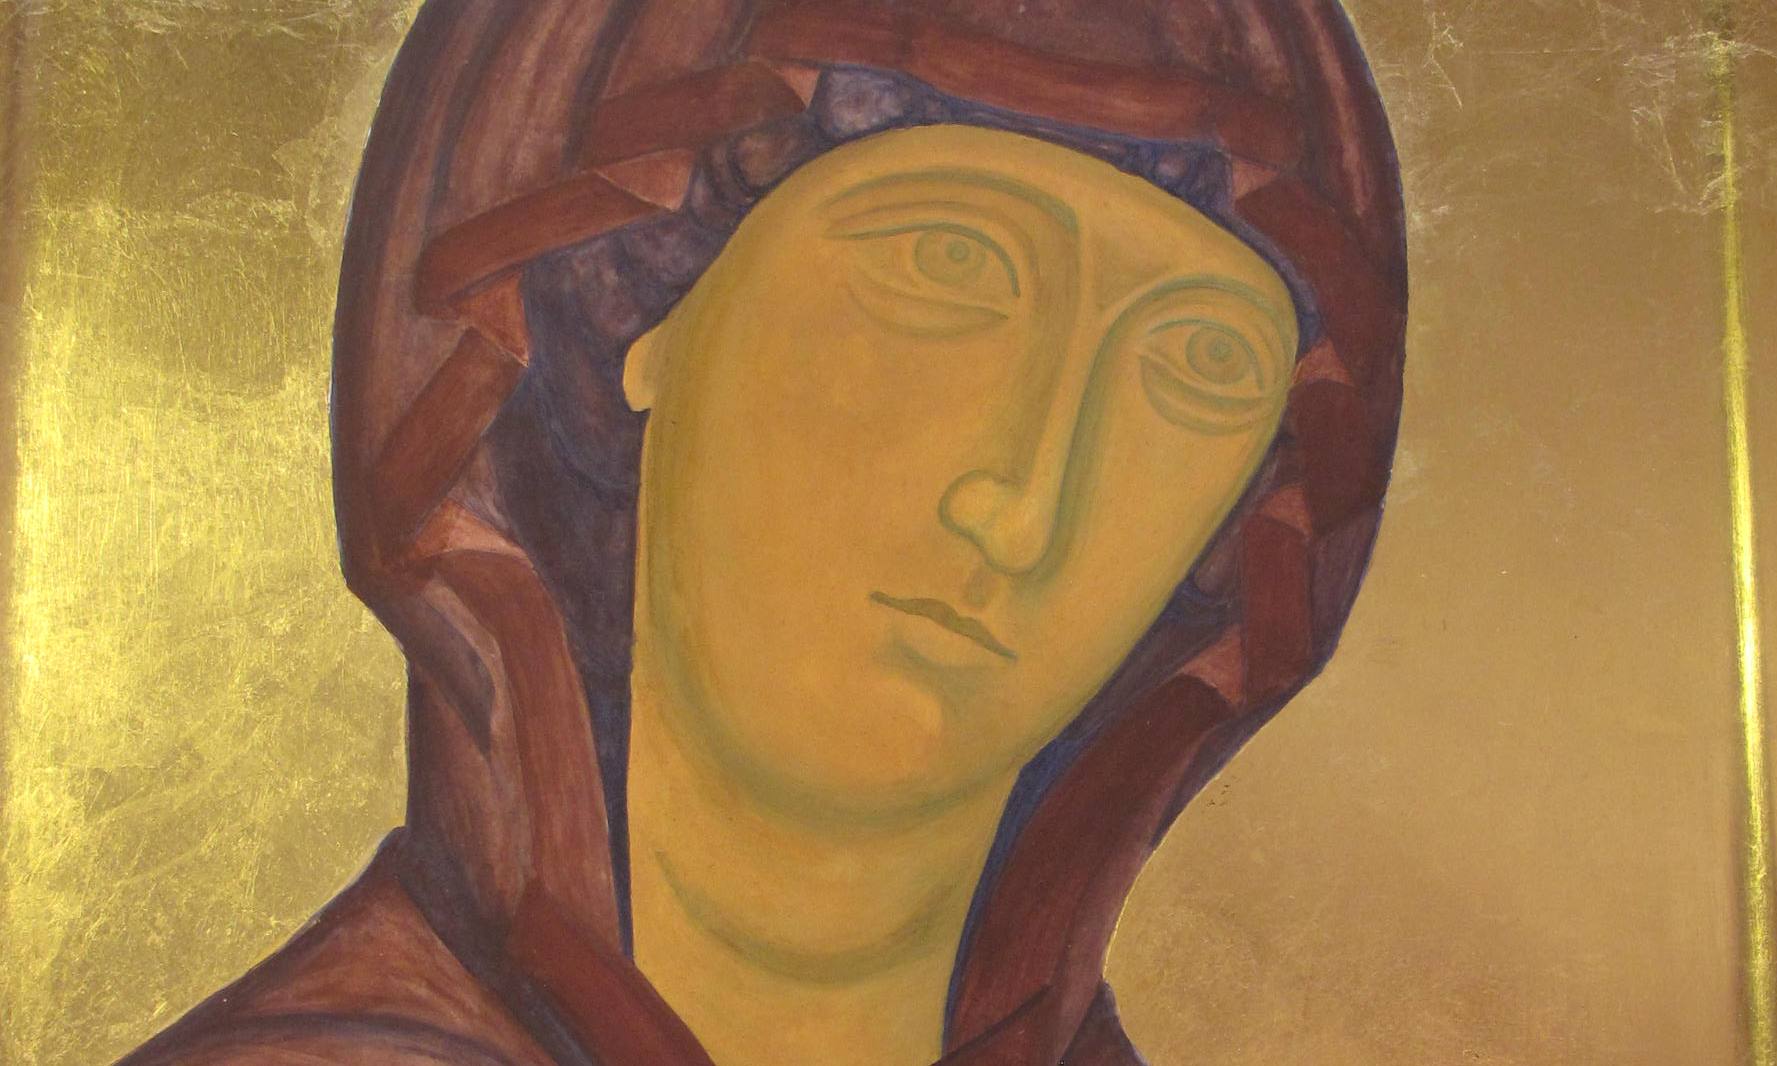
Stain increases on the membrane and breaks through the underpainting
I tried to add more membranes but this seemed to increase the damage. At this point, I took a break. I decided to call it a day, wrap up and leave it overnight for the egg tempera paint to thoroughly dry out, in the hope that with fresh heart in the morning, I could somehow repair the damage.

Repeat the membrane process
Next day, the paint seemed to stay in place when I applied another membrane so I painted 4 or 5 more layers over the left hand side of the face from chin to brow and between nose and jaw, working with thin layers applied fairly quickly but allowing each layer to dry for at least 15 minutes. I was glad that I had painted quite a strong underpainting as I could still see the image clearly below.
Keep applying membranes, at least four or five layers, then begin to add Avana Ochre to the shadows
As soon as the stain was reasonably well covered, I stopped and began to add the shadows in Avana Ochre.

Add Avana to deepen shadows
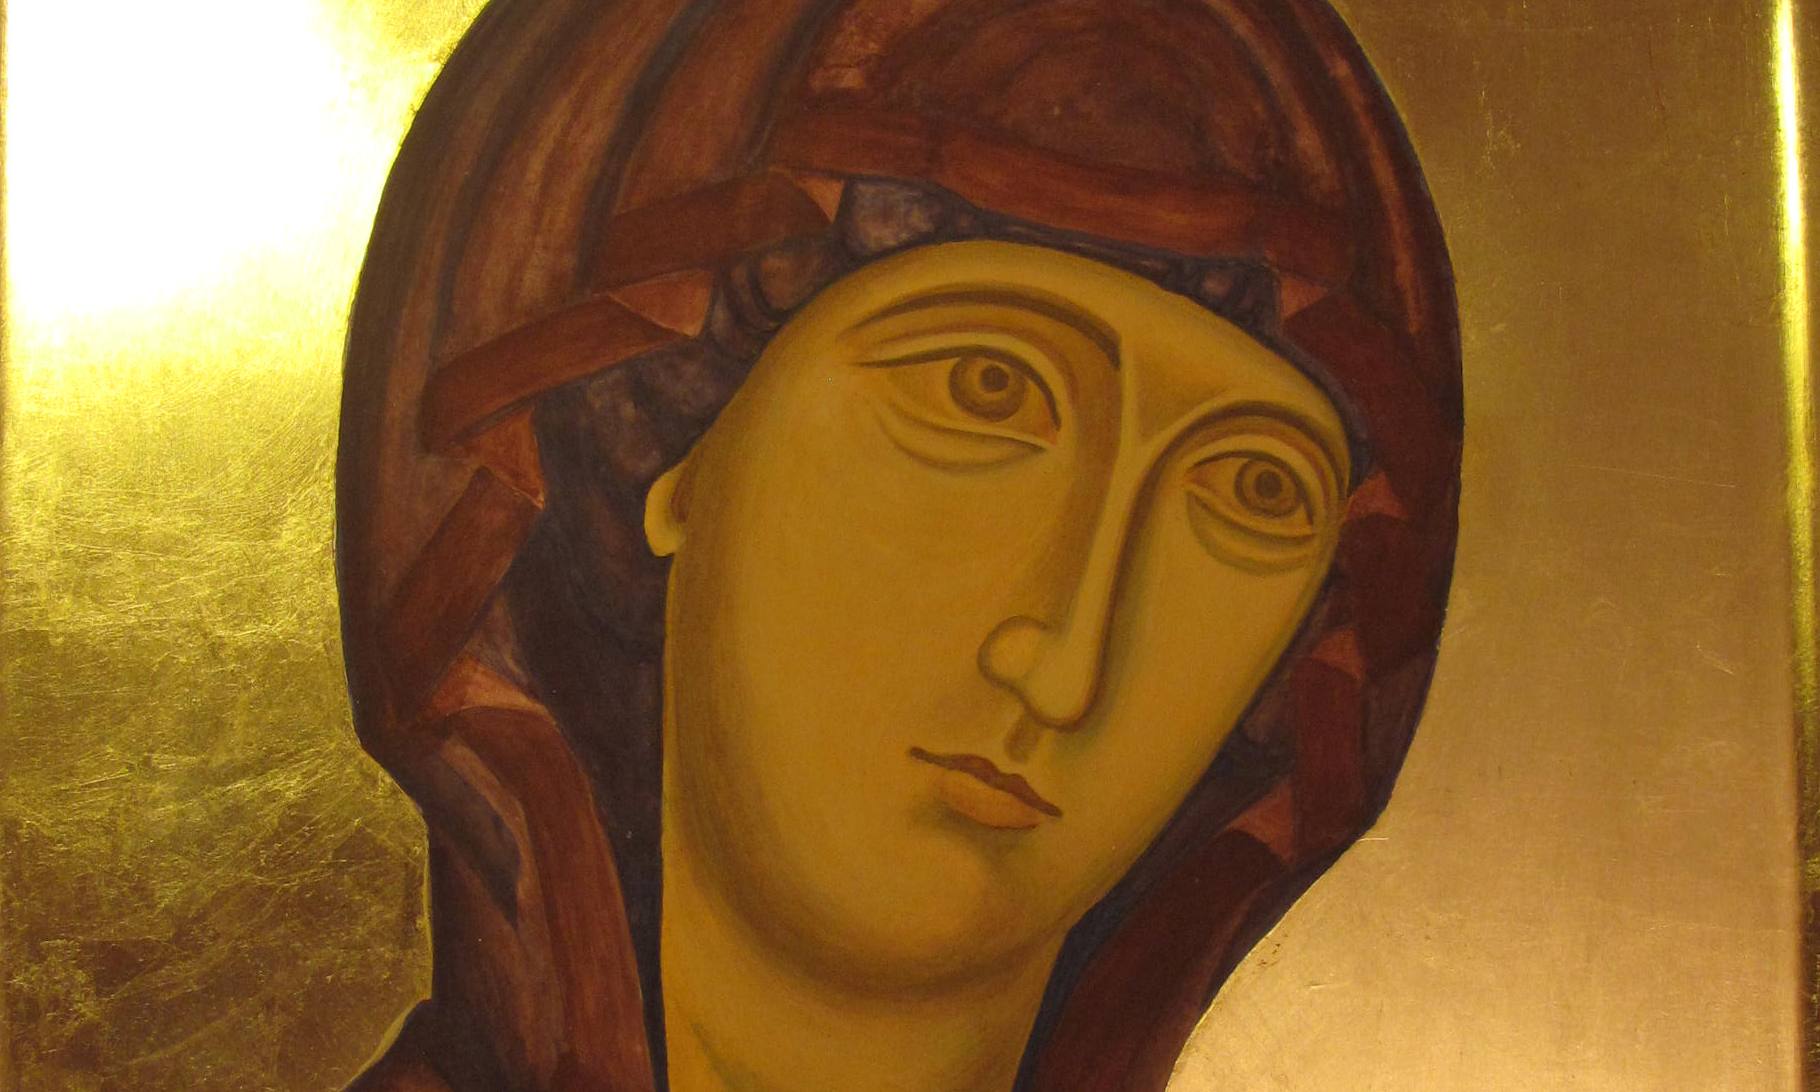
I then began to add the first of the face highlights, in Maimeri Yellow Ochre with a tiny dash of Titanium White. I haven’t finished yet, but at least the stain has been taken up in the fresh layers of paint. It was a useful lesson to me as I really thought I would have to remove the whole underpainting.

Developing the facial highlights
I’m uploading more videos to You Tube from the last class which should be ready in a few days but for now, thanks for reading!
Ronnie

Leave a comment