Archangels in Blossom Street (Pt1)
Archangel Gabriel in Blossom Street York
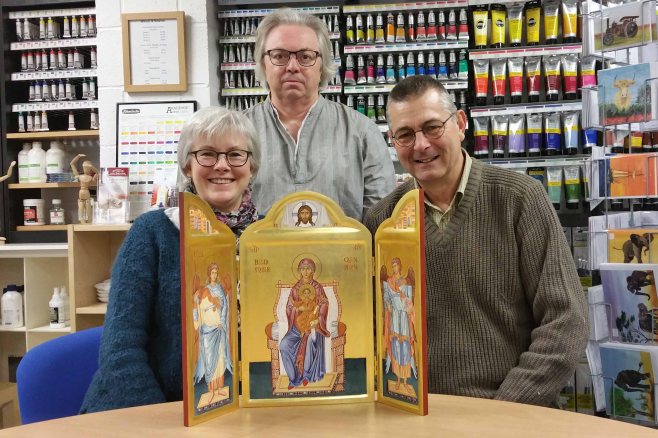
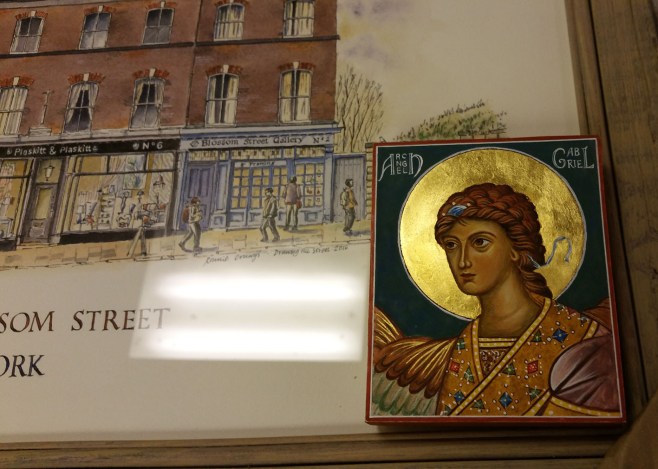
Kim and Jules run the Blossom Street Gallery, just outside Micklegate Bar in York. They stock my Drawing the Street limited edition prints and in February this year, I called in to catch up with them having finished the icon diploma.
I had a tiny icon of Archangel Gabriel with me which I brought out to show them as I was telling them about the course. One thing led to another and I am now booked in for a joint exhibition of icons and streets next Spring!
I had a few ideas for themes for the icon exhibition, but none were really firing me up, so I sent a request up to the heavens and within the day I had my theme and central icon. I subscribe to a blog by ‘Hokku’ and this timely post landed in my inbox:https://russianicons.wordpress.com/2017/03/20/the-council-of-the-archangel-michael/
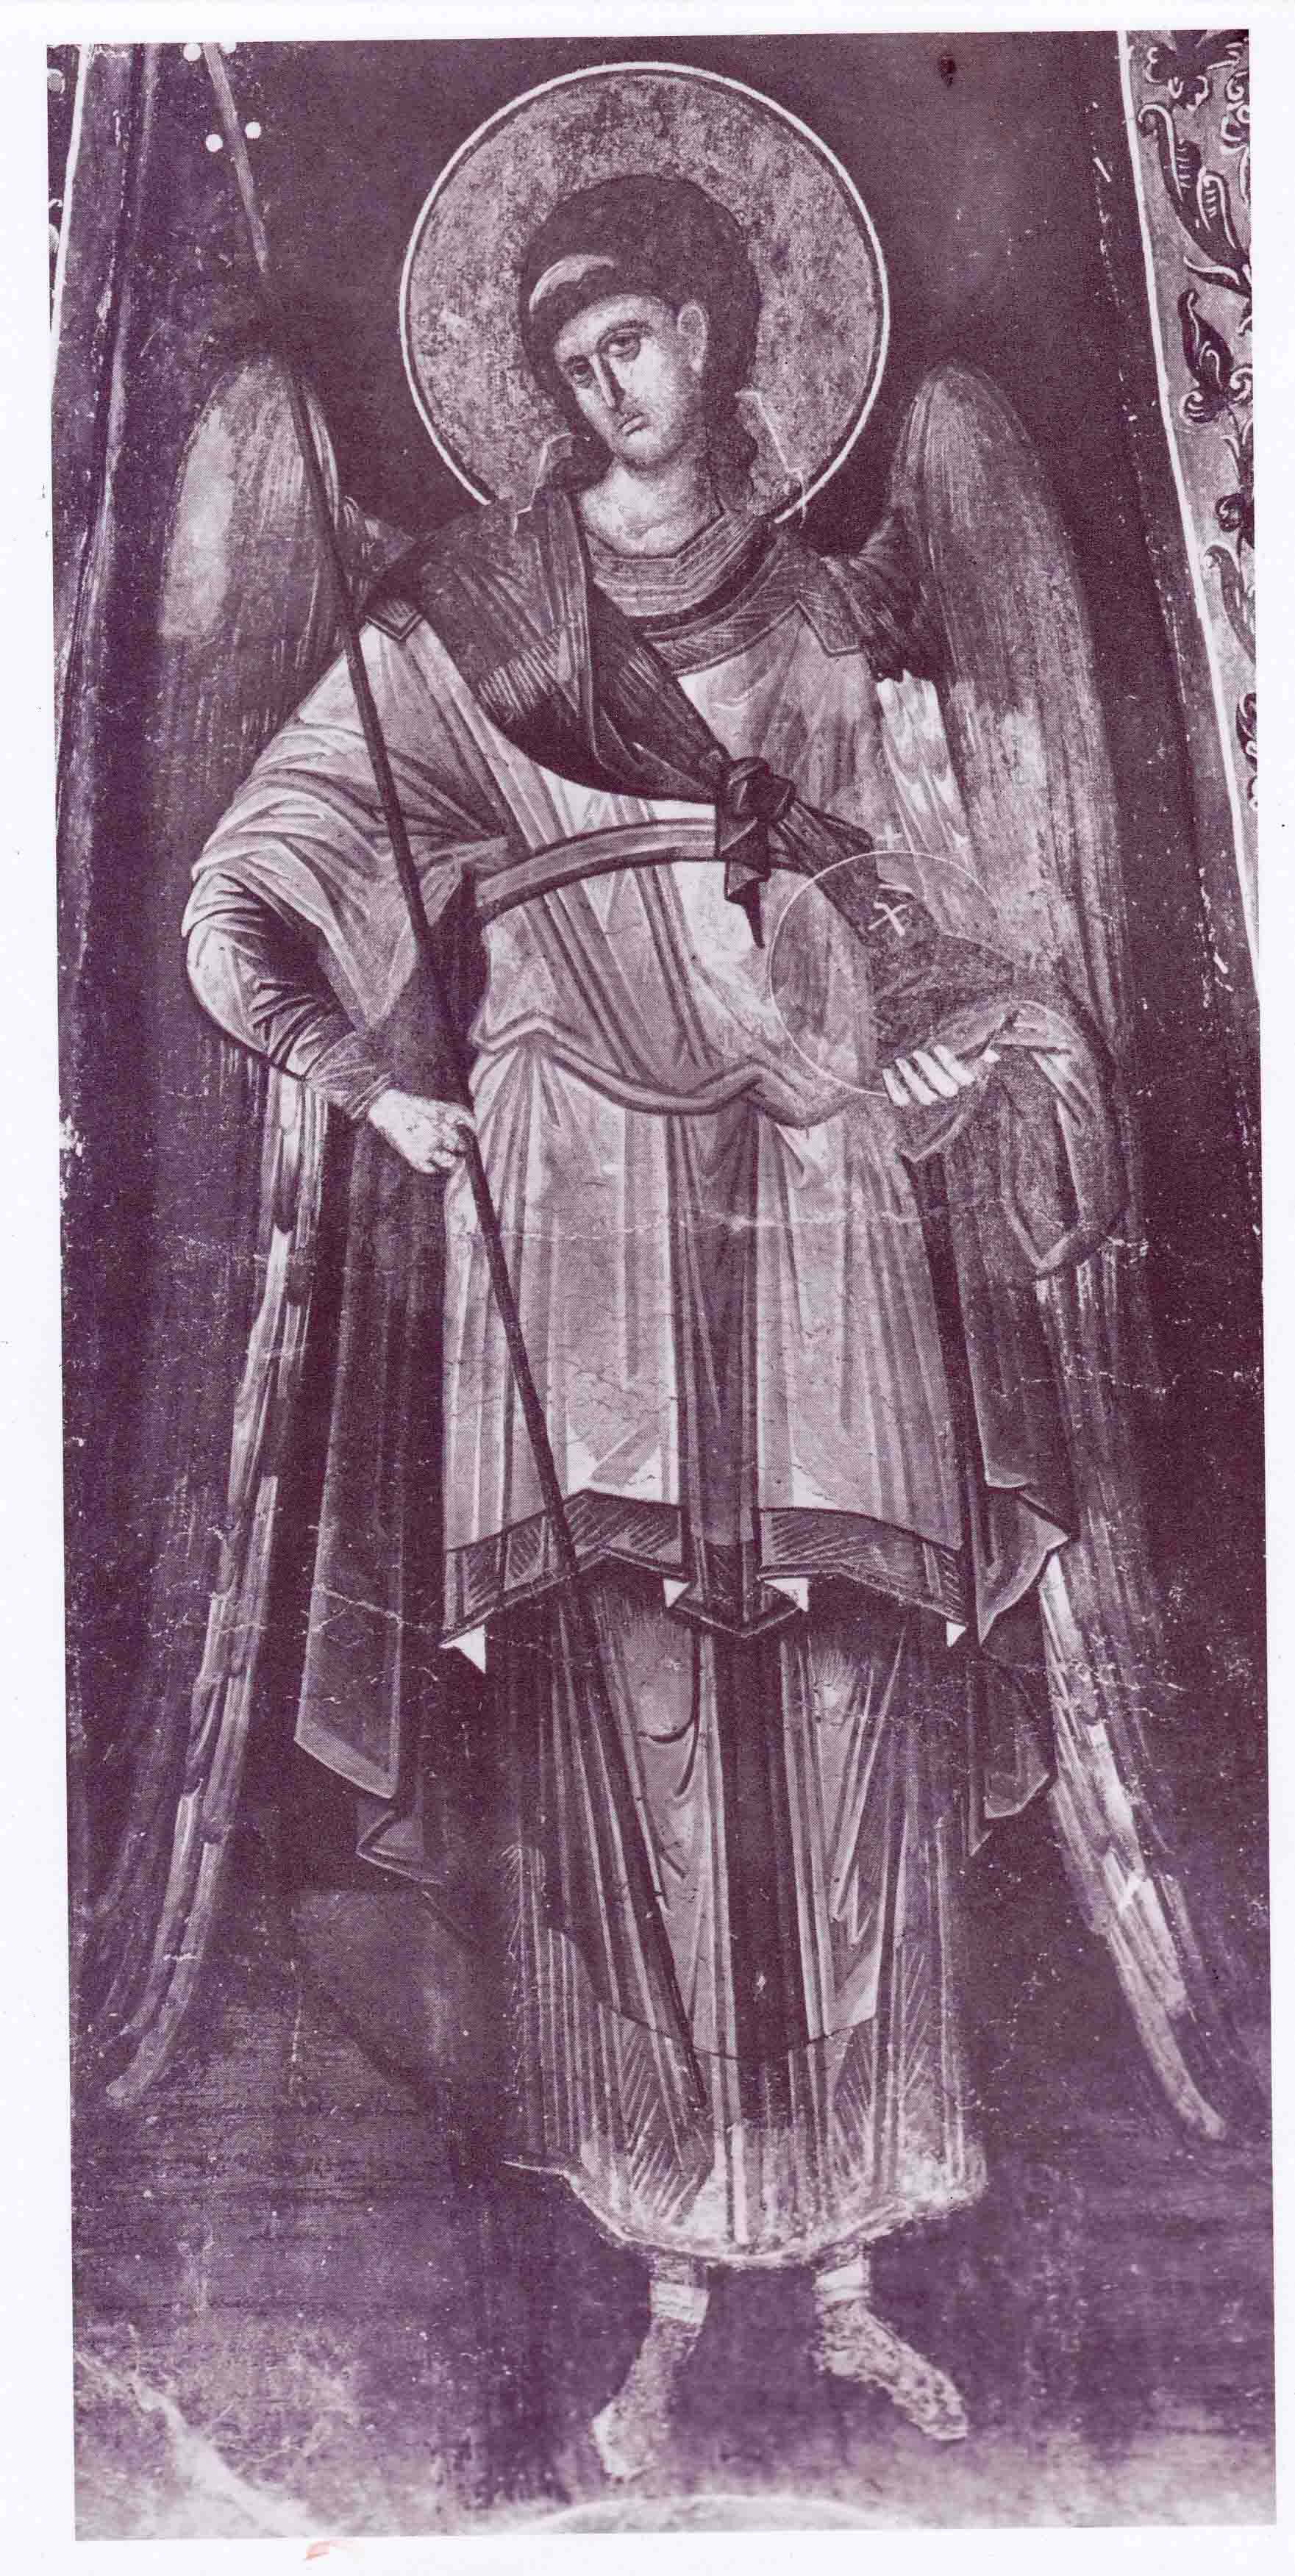
Blossom Street Gallery is almost opposite my former school, All Saints, previously called The Bar Convent when I attended. There was a school legend that the Archangel Michael had once appeared there to protect the convent from imminent danger. So, when I saw this icon called ‘the Council of the Archangel Michael, I knew I had found my centre piece icon and my theme ‘A Gathering of Angels’.
A year isn’t long to prepare for an icon exhibition so I got started with the drawings. It was a wonderful way to focus during what turned out to be a bumpy few months.


I made an unplanned visit to my sister in Perth WA who was unwell but I find sketching and drawing icon figures very calming. I wrote a little about the visit over here.
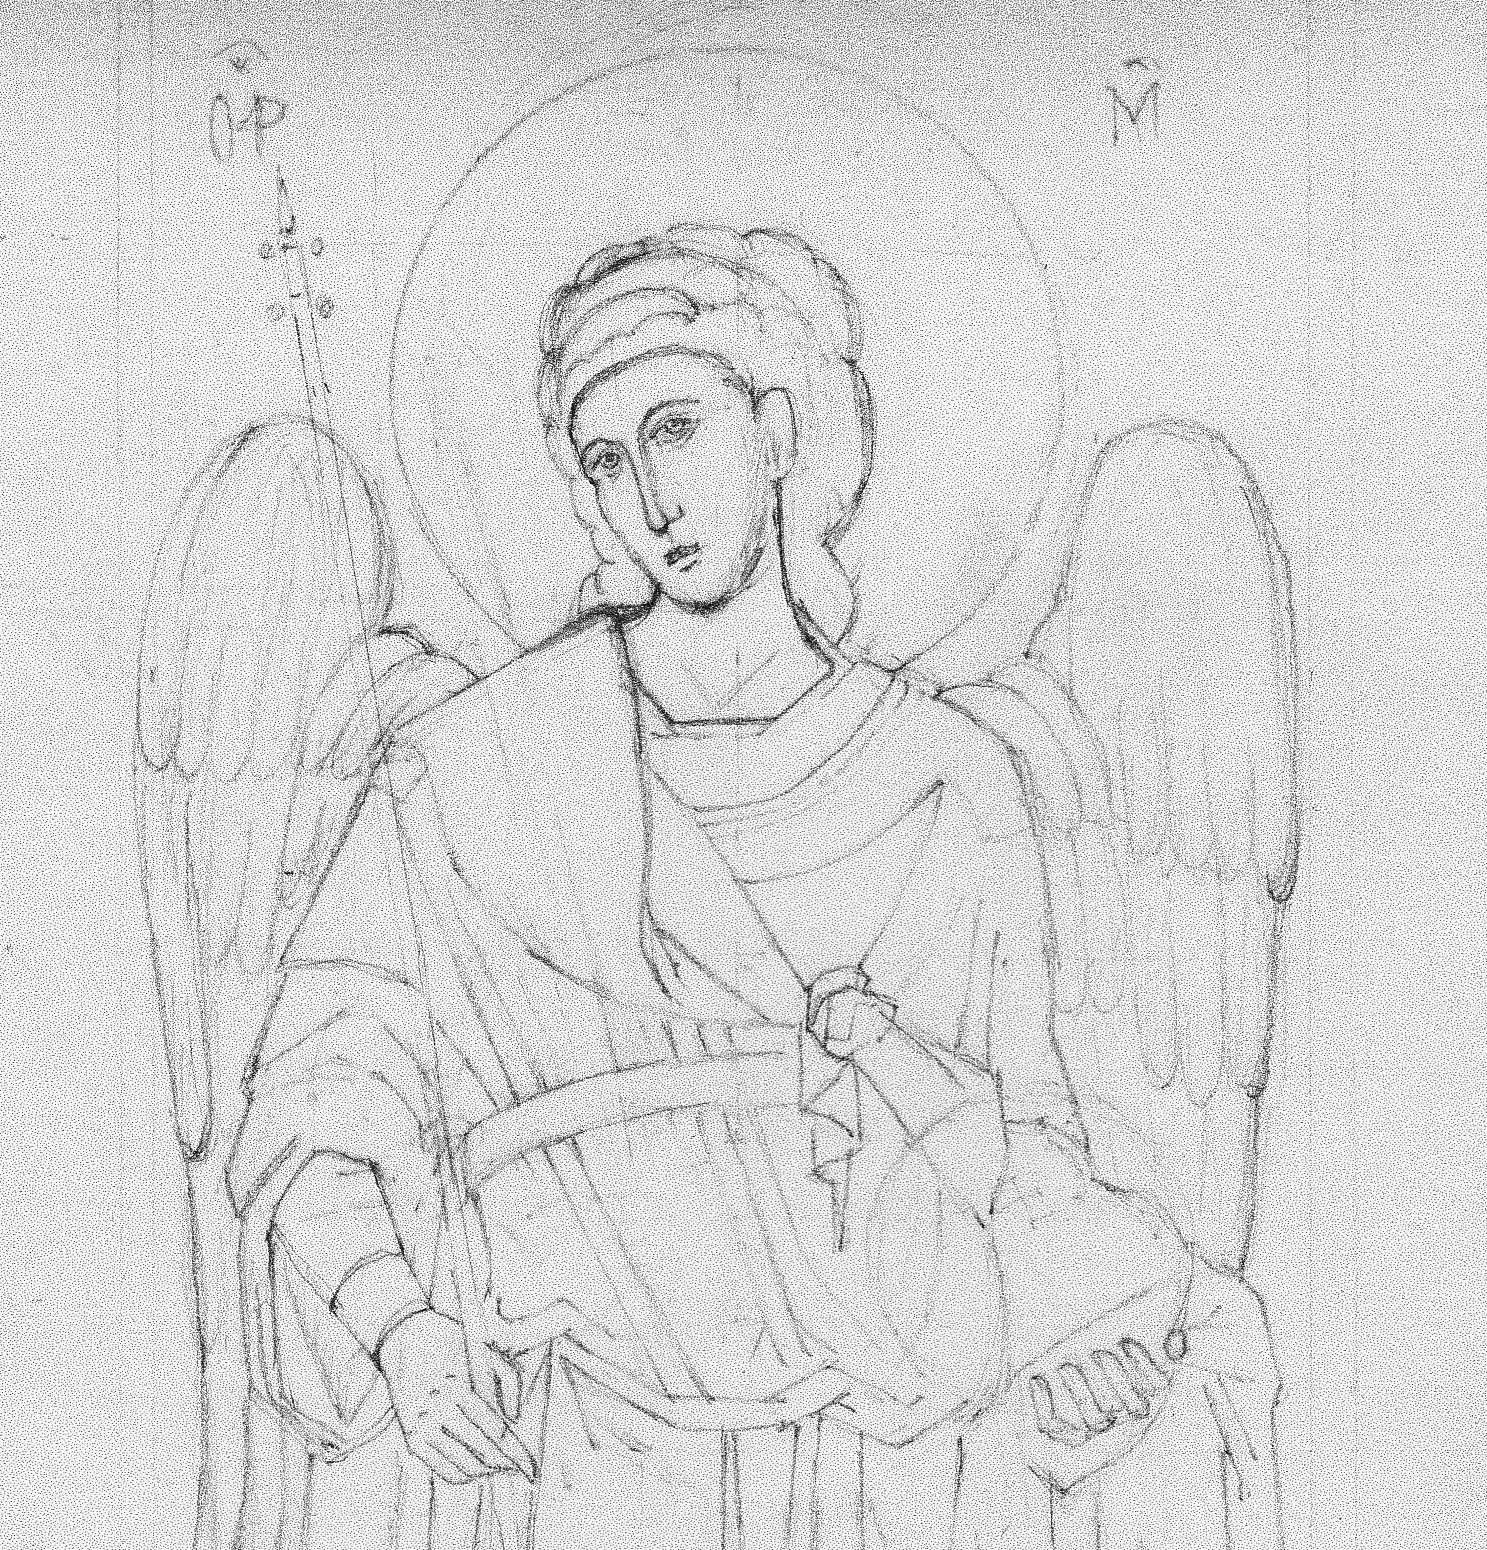
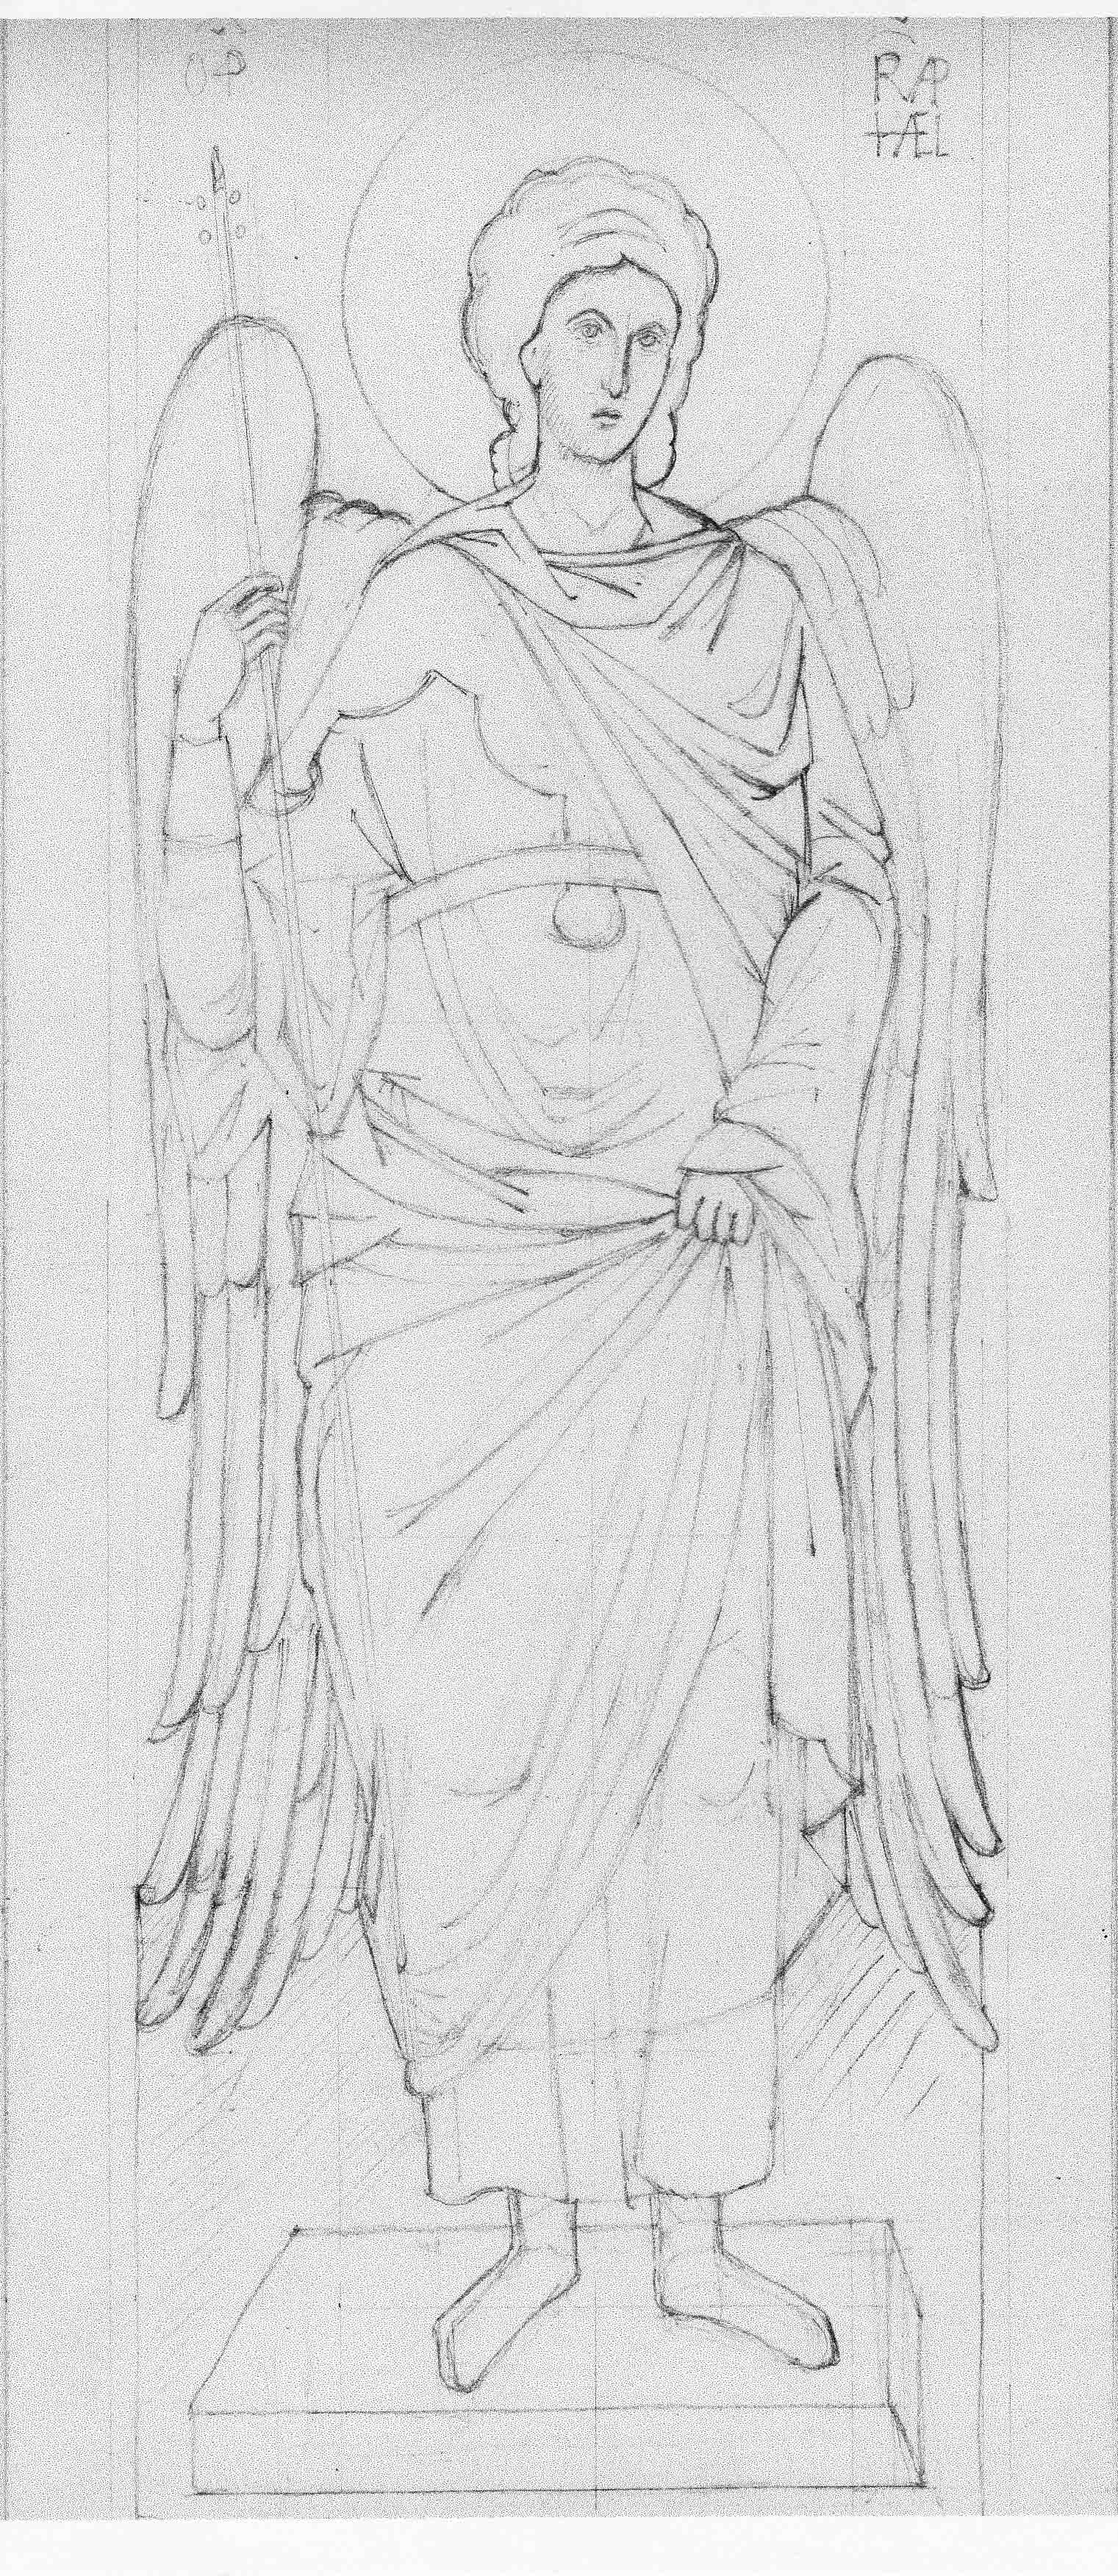
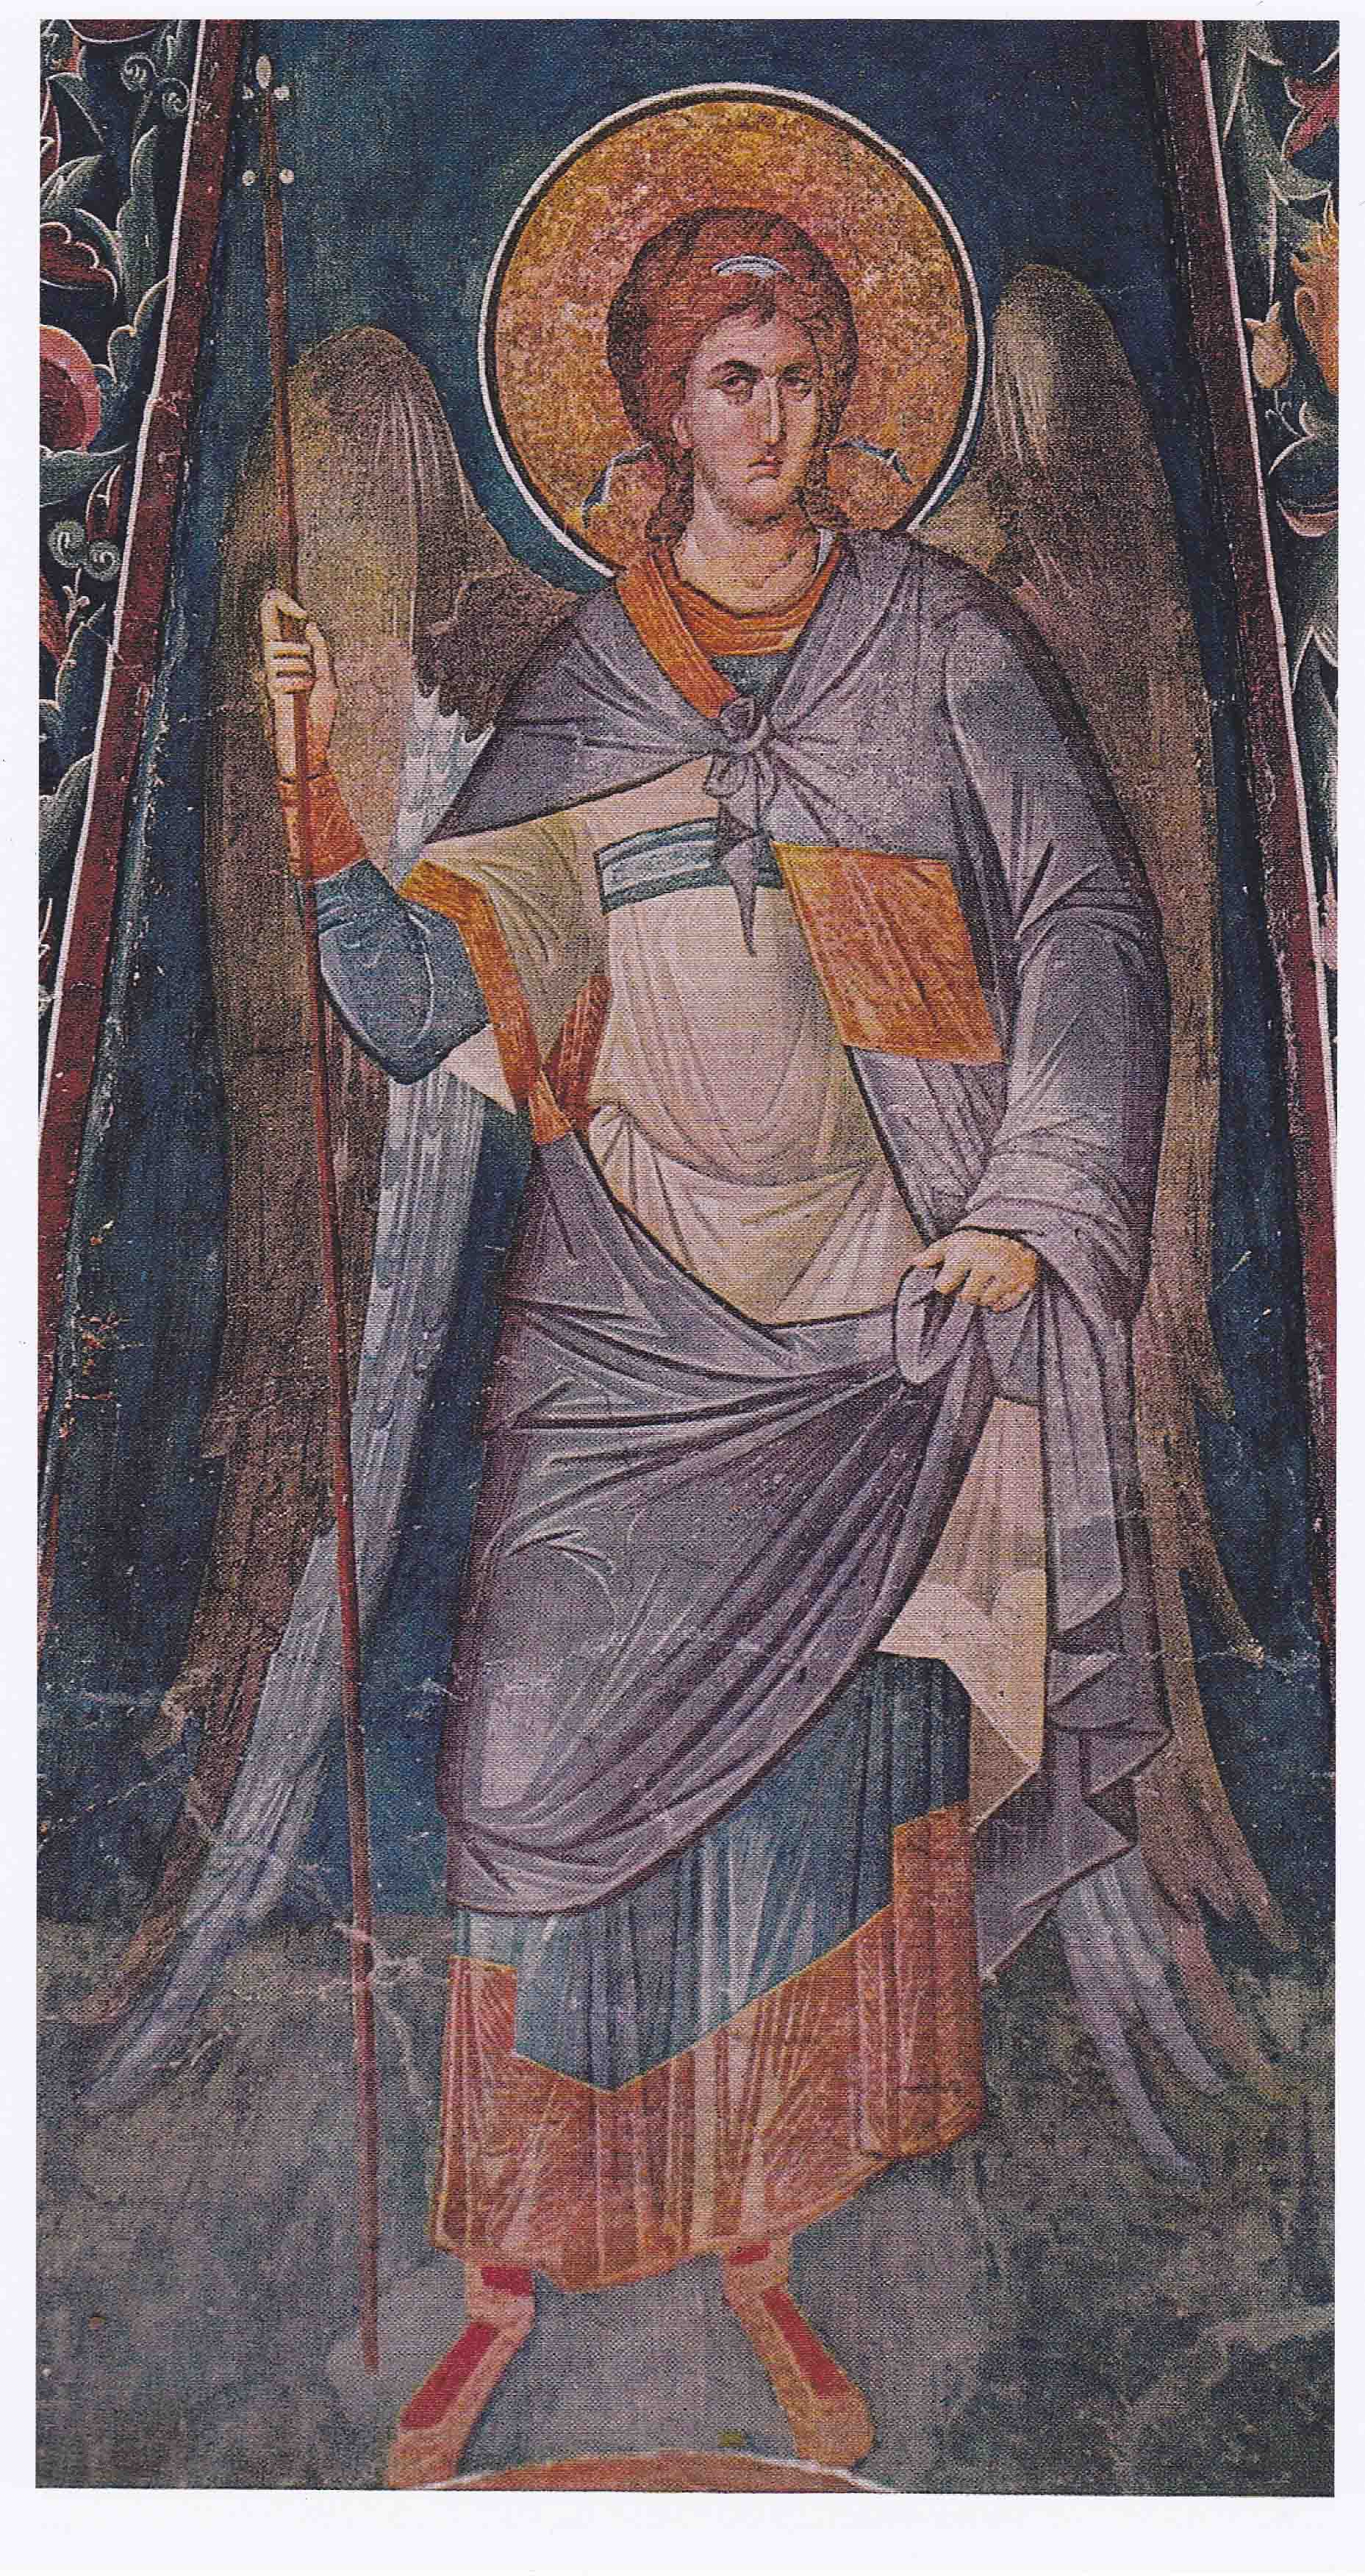
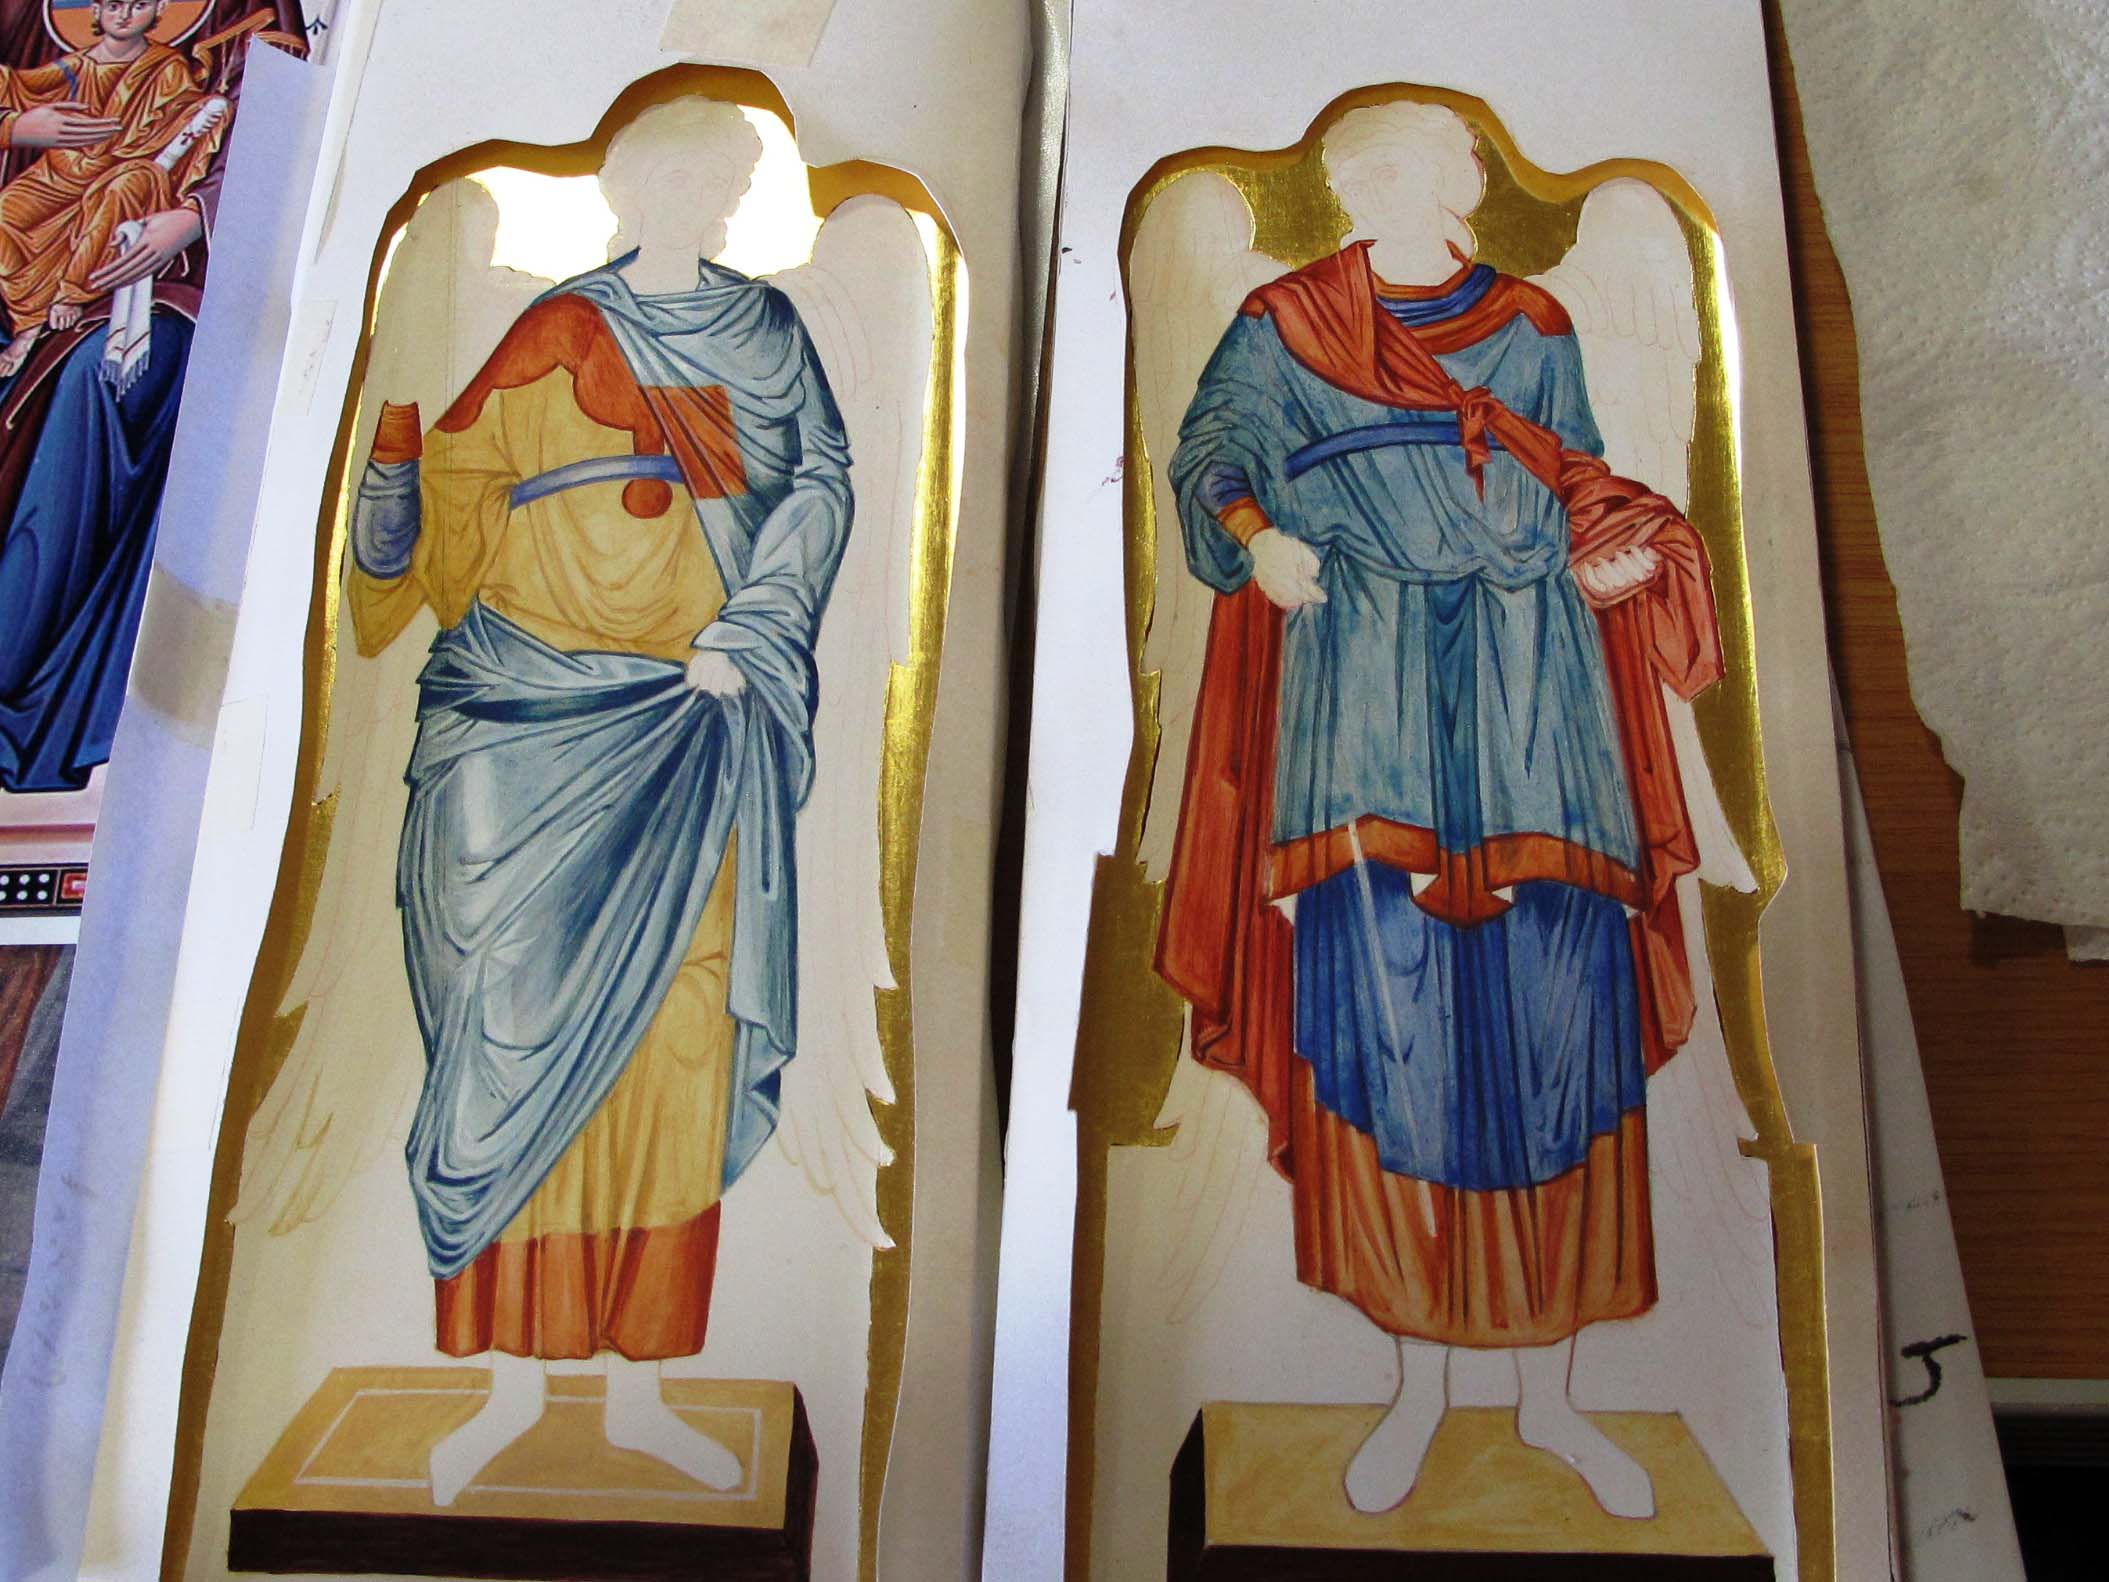
The Council of Archangel Michael is a rich icon and full of life so I drew the main figures separately in turn. I drew the cherubim below late into the evening while my sister rested. I smile and am so grateful for all the help we are still recieving from these celestial helpers.
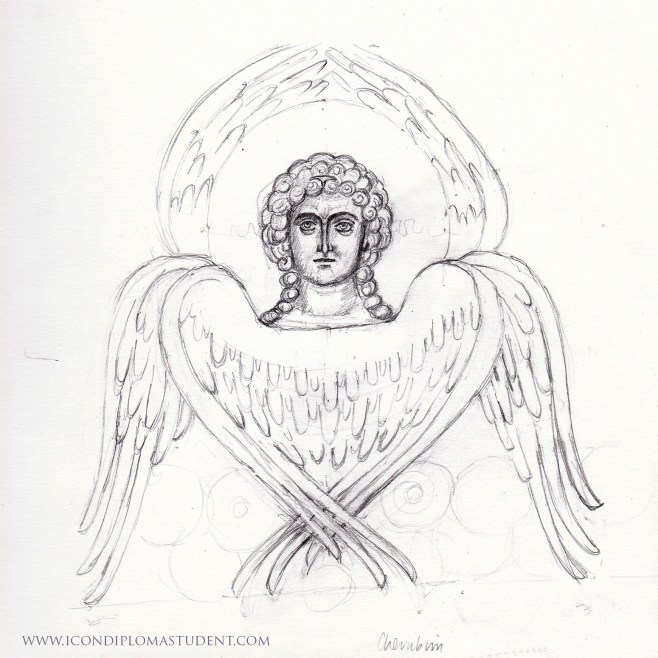
Cherubim from the Council of Archangel Michael icon
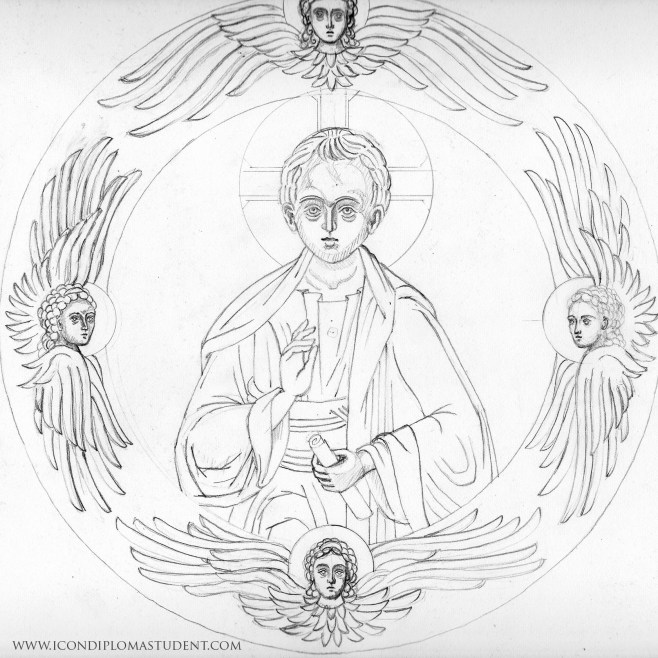
Drawing of the young Christ within a circle of seraphim
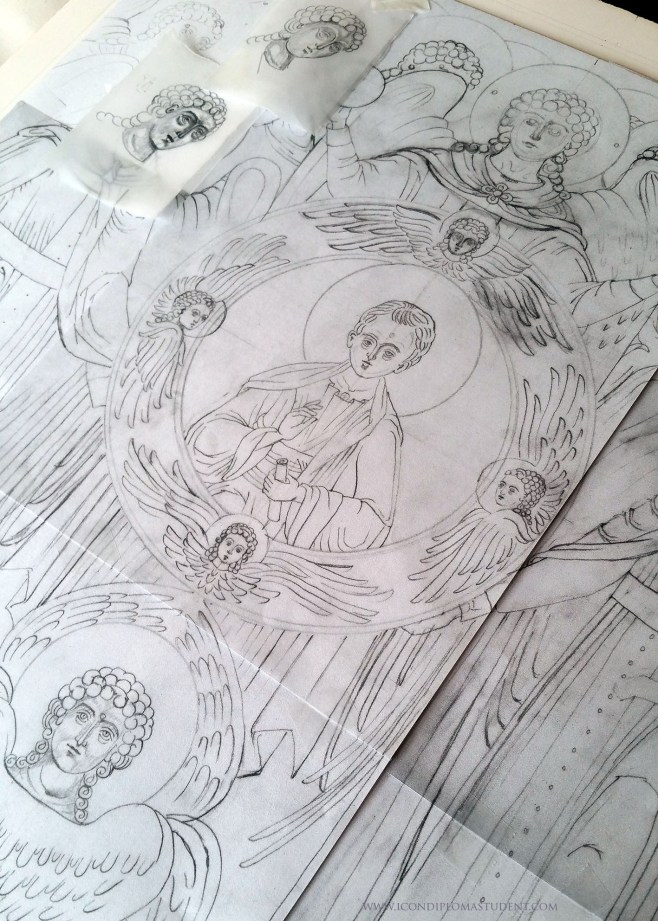
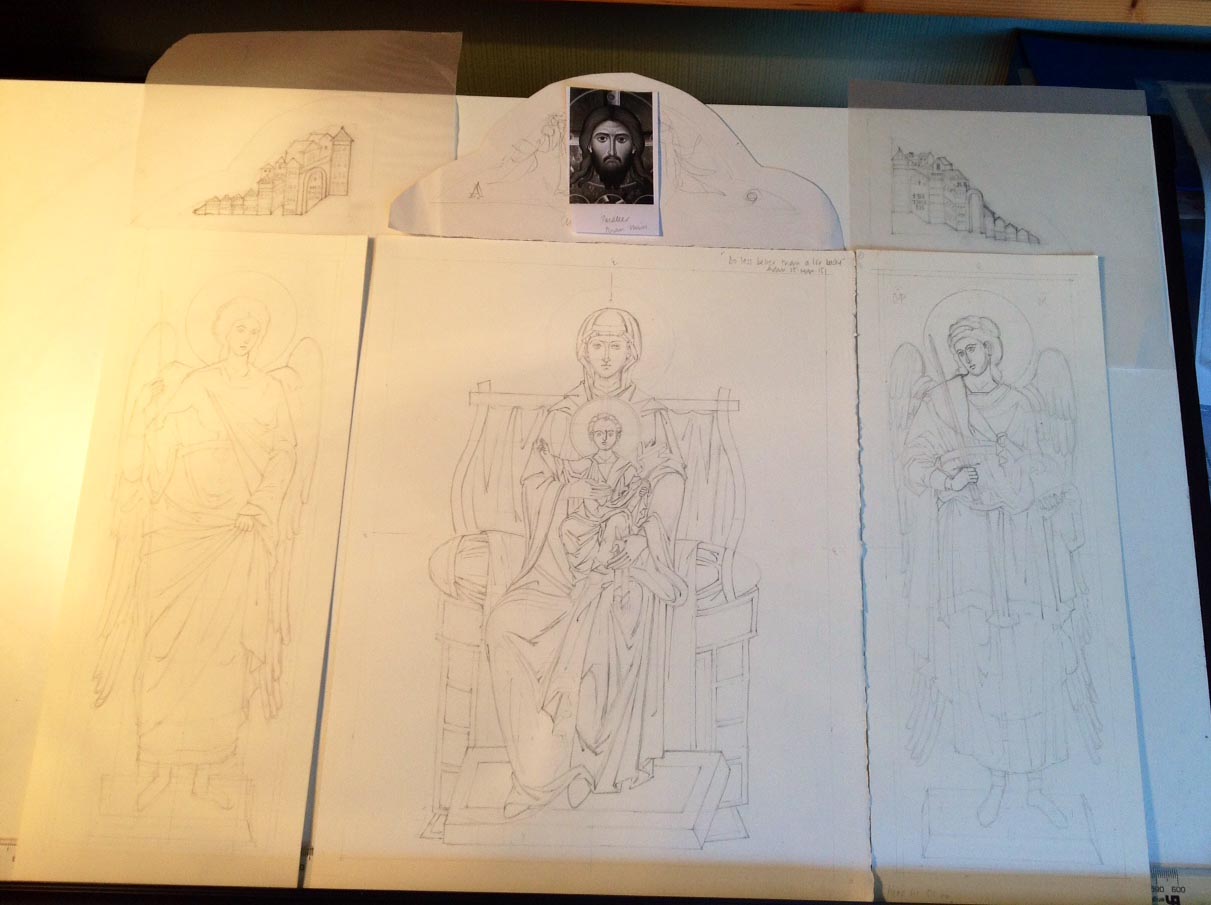
Full drawing ready to transcribe
The overall drawing is too big for me to scan at home but the photo gives you an idea of the overall composition. The finished icon will be just over 40cm square.
Hope you will join me as the rest of this icon unfolds!
Thanks for reading – more to follow soon.
Ronnie