White horse and Indigo skies part 2 of 2
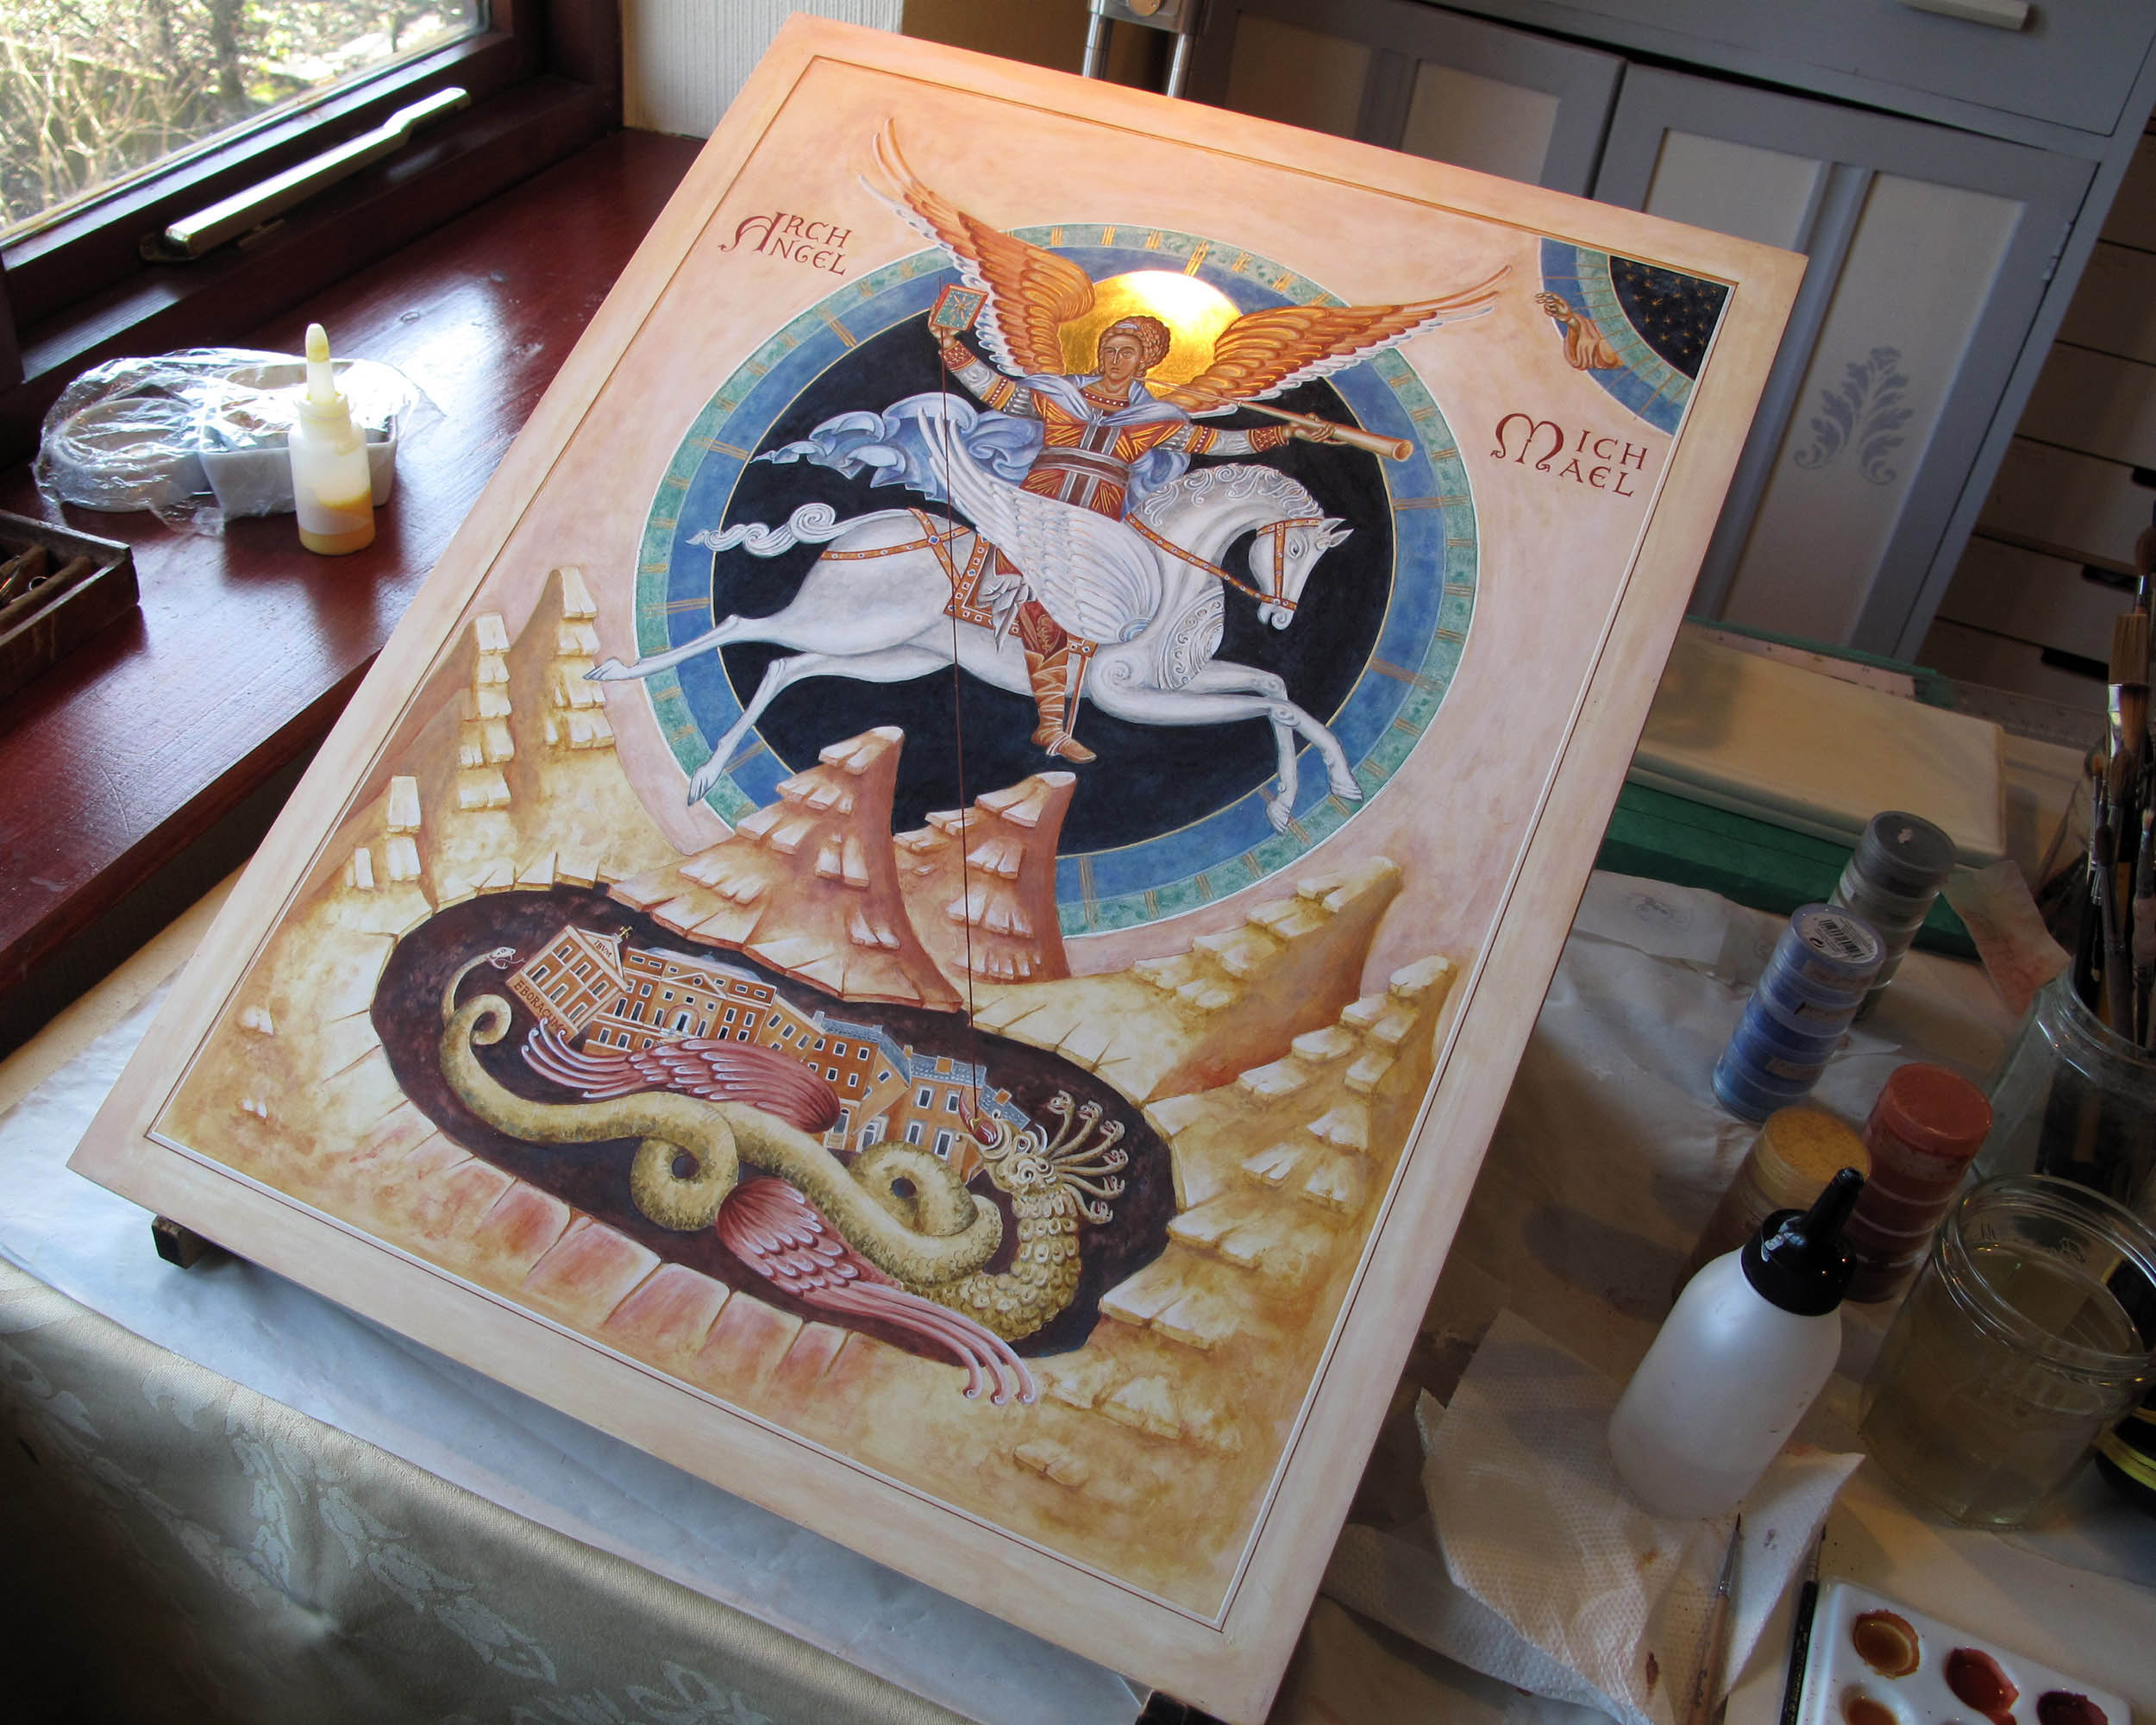
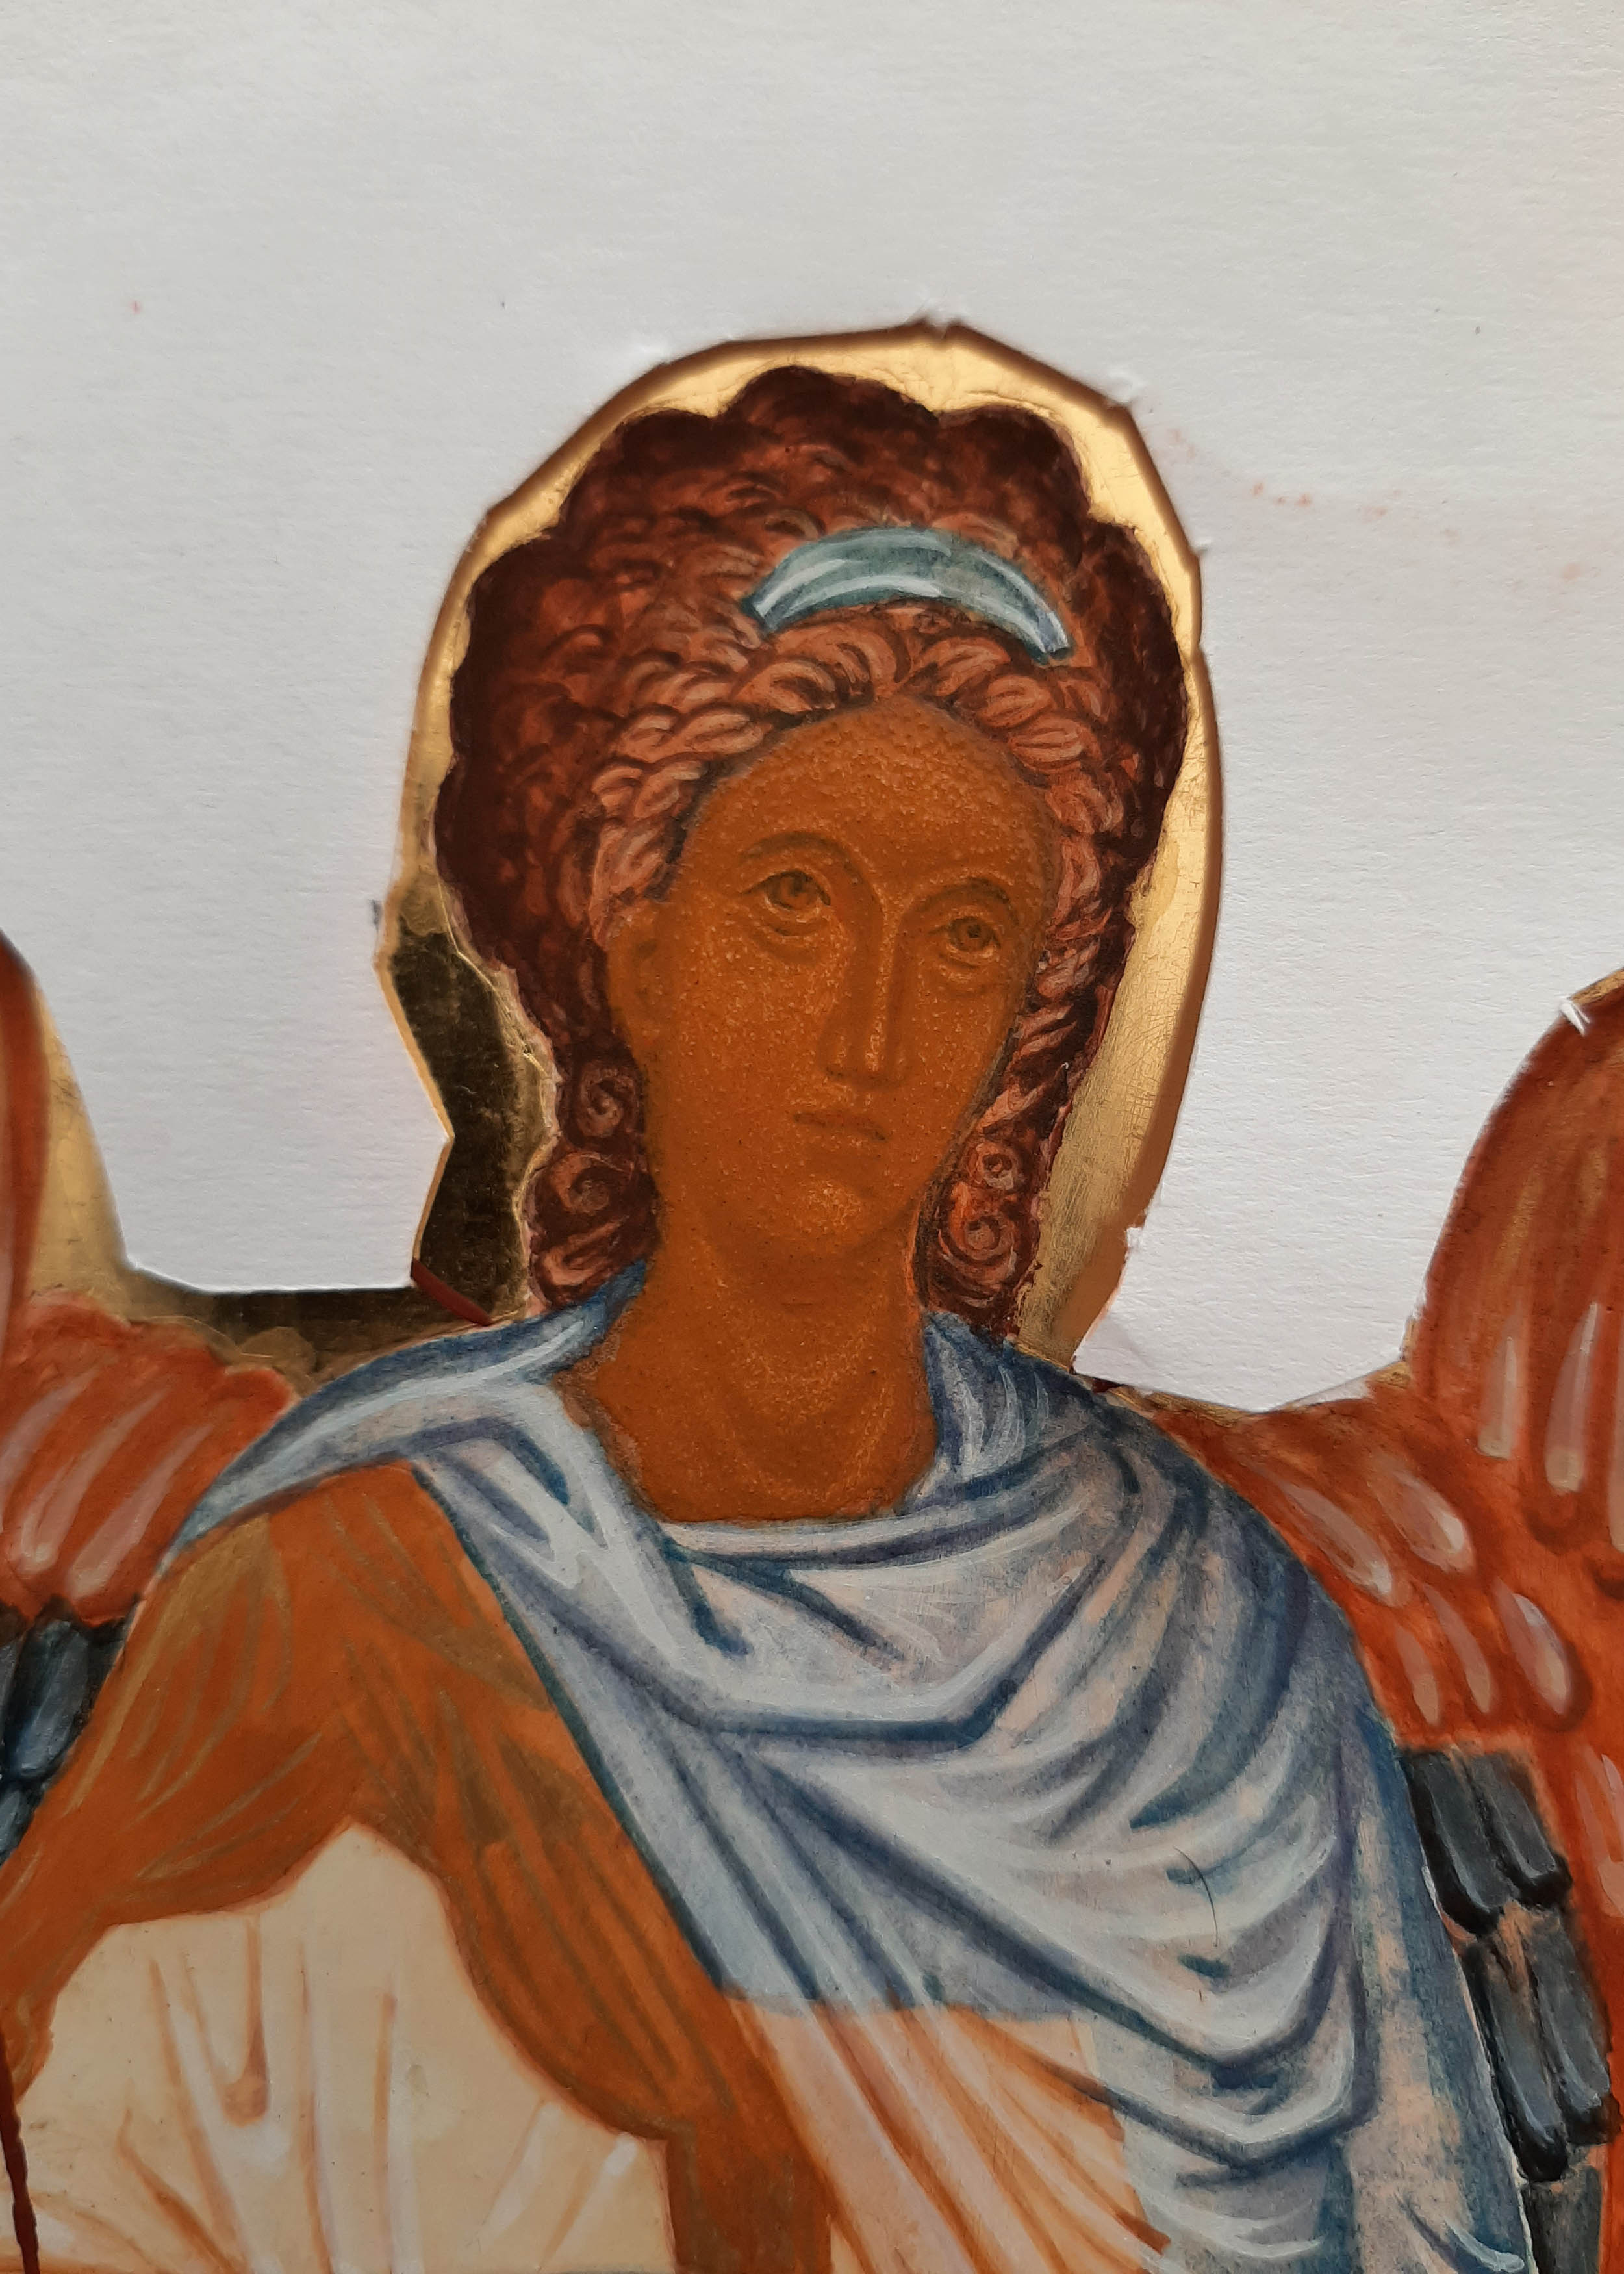
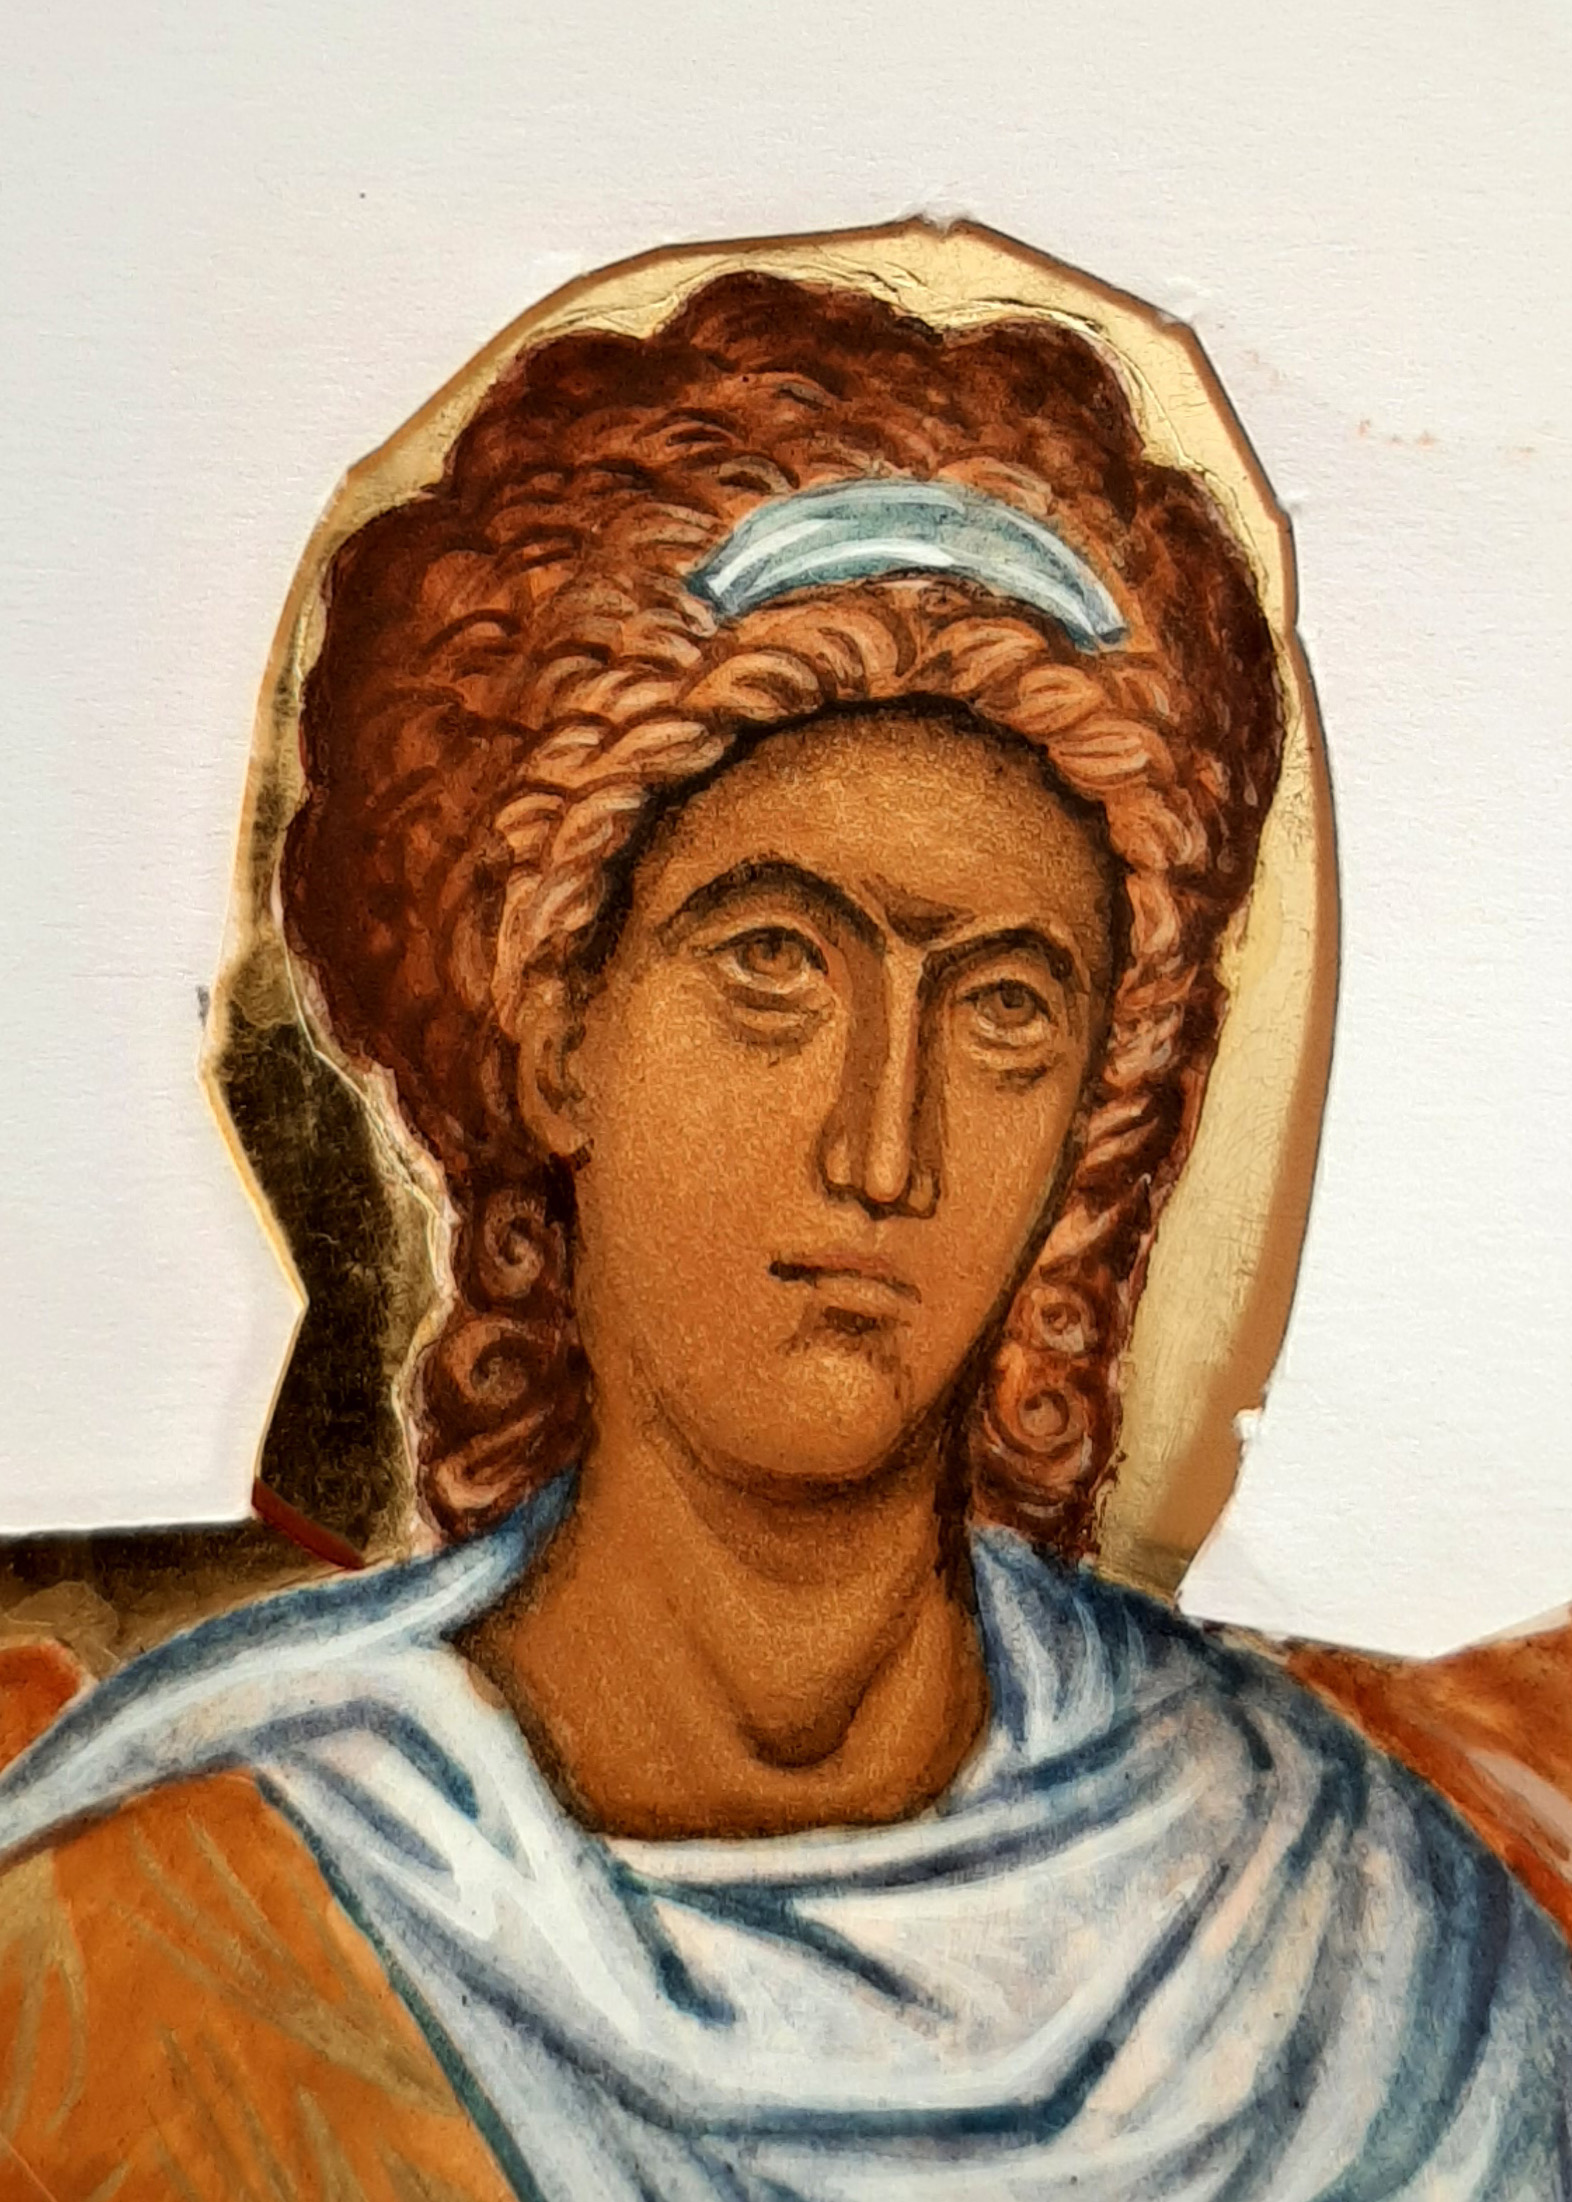
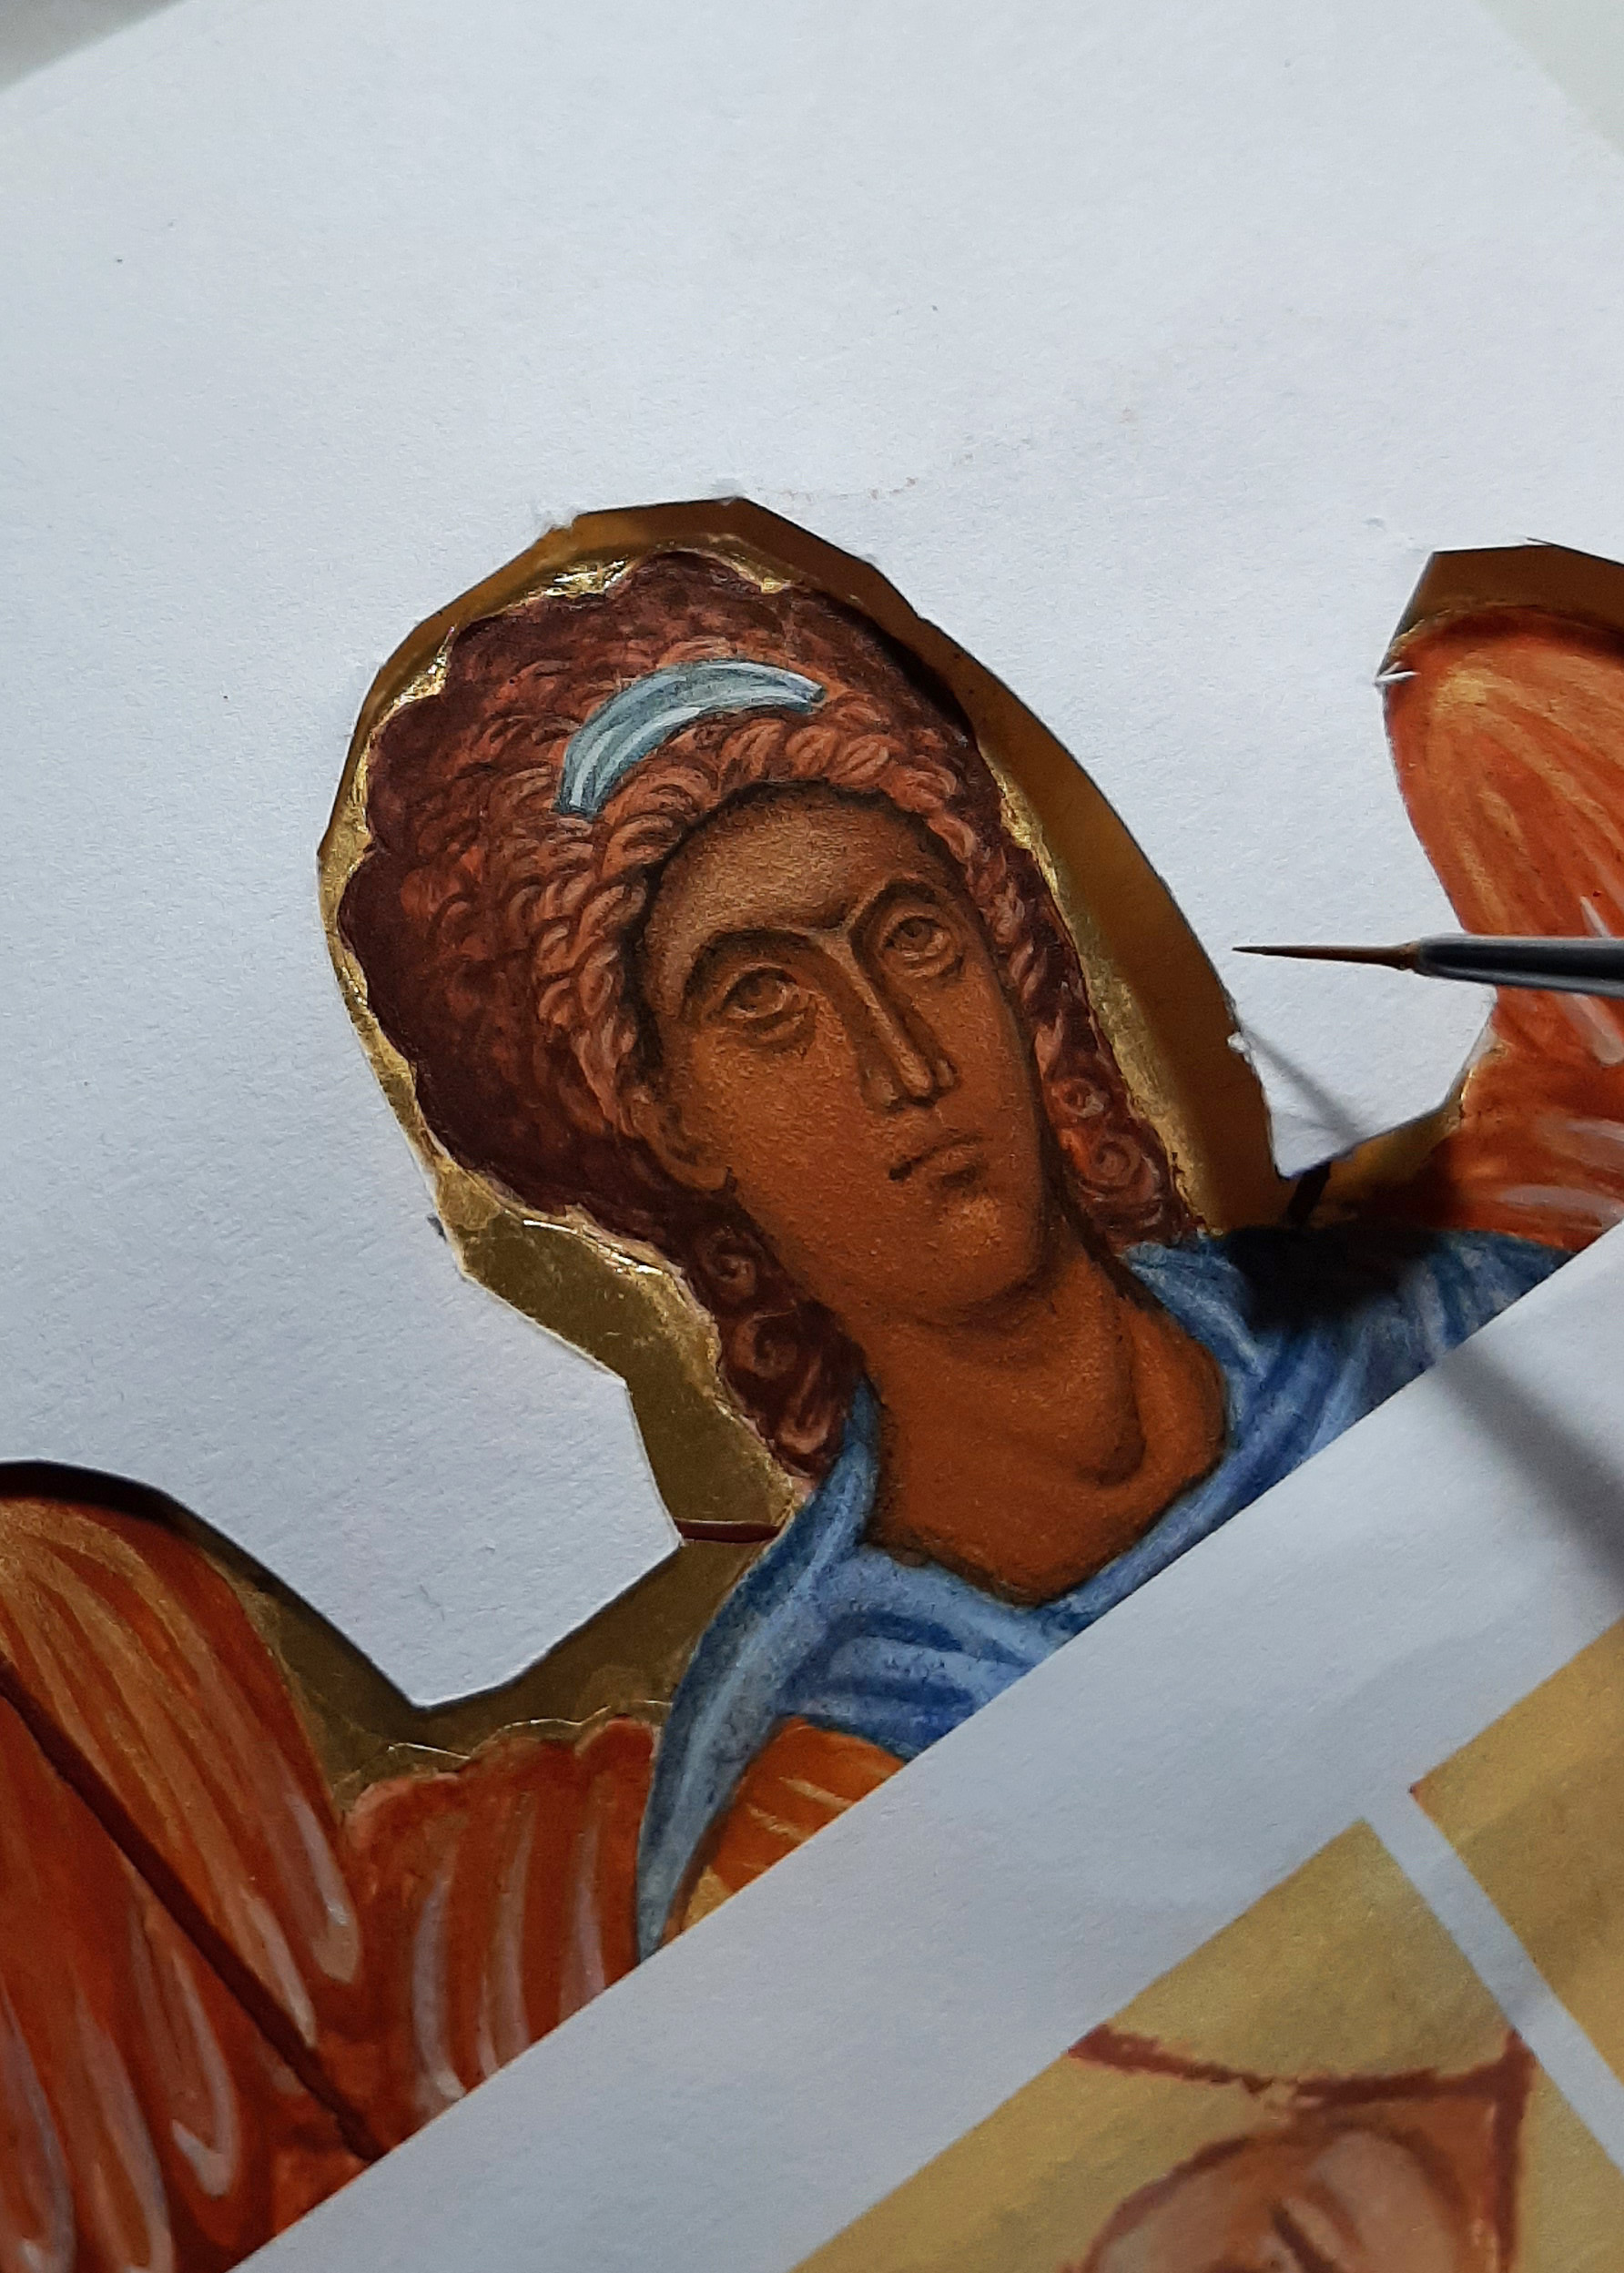
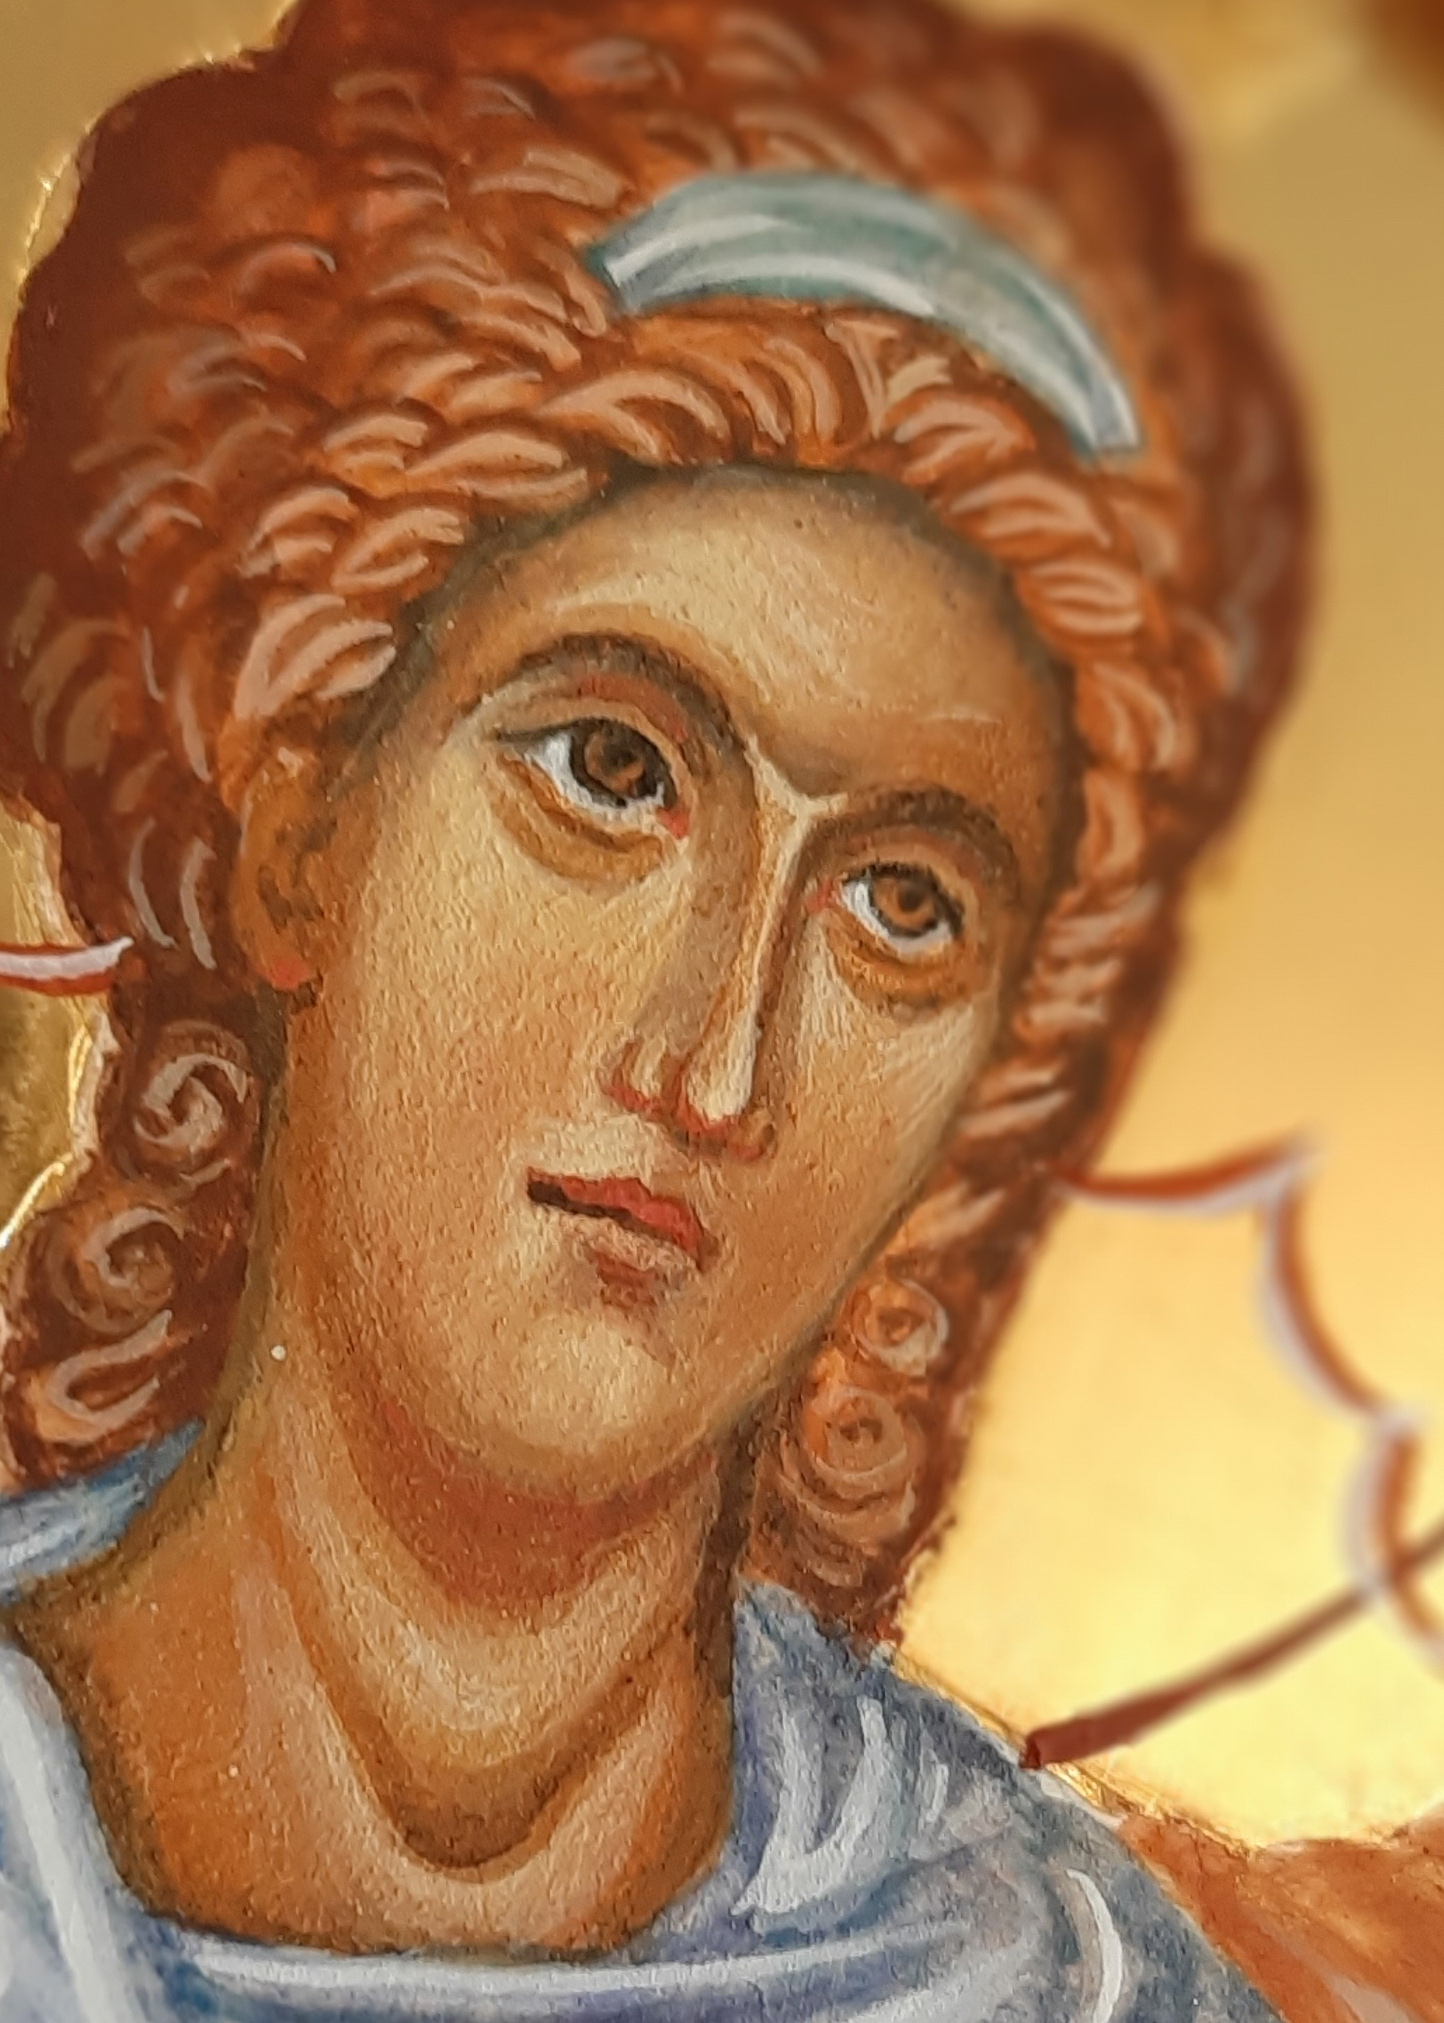
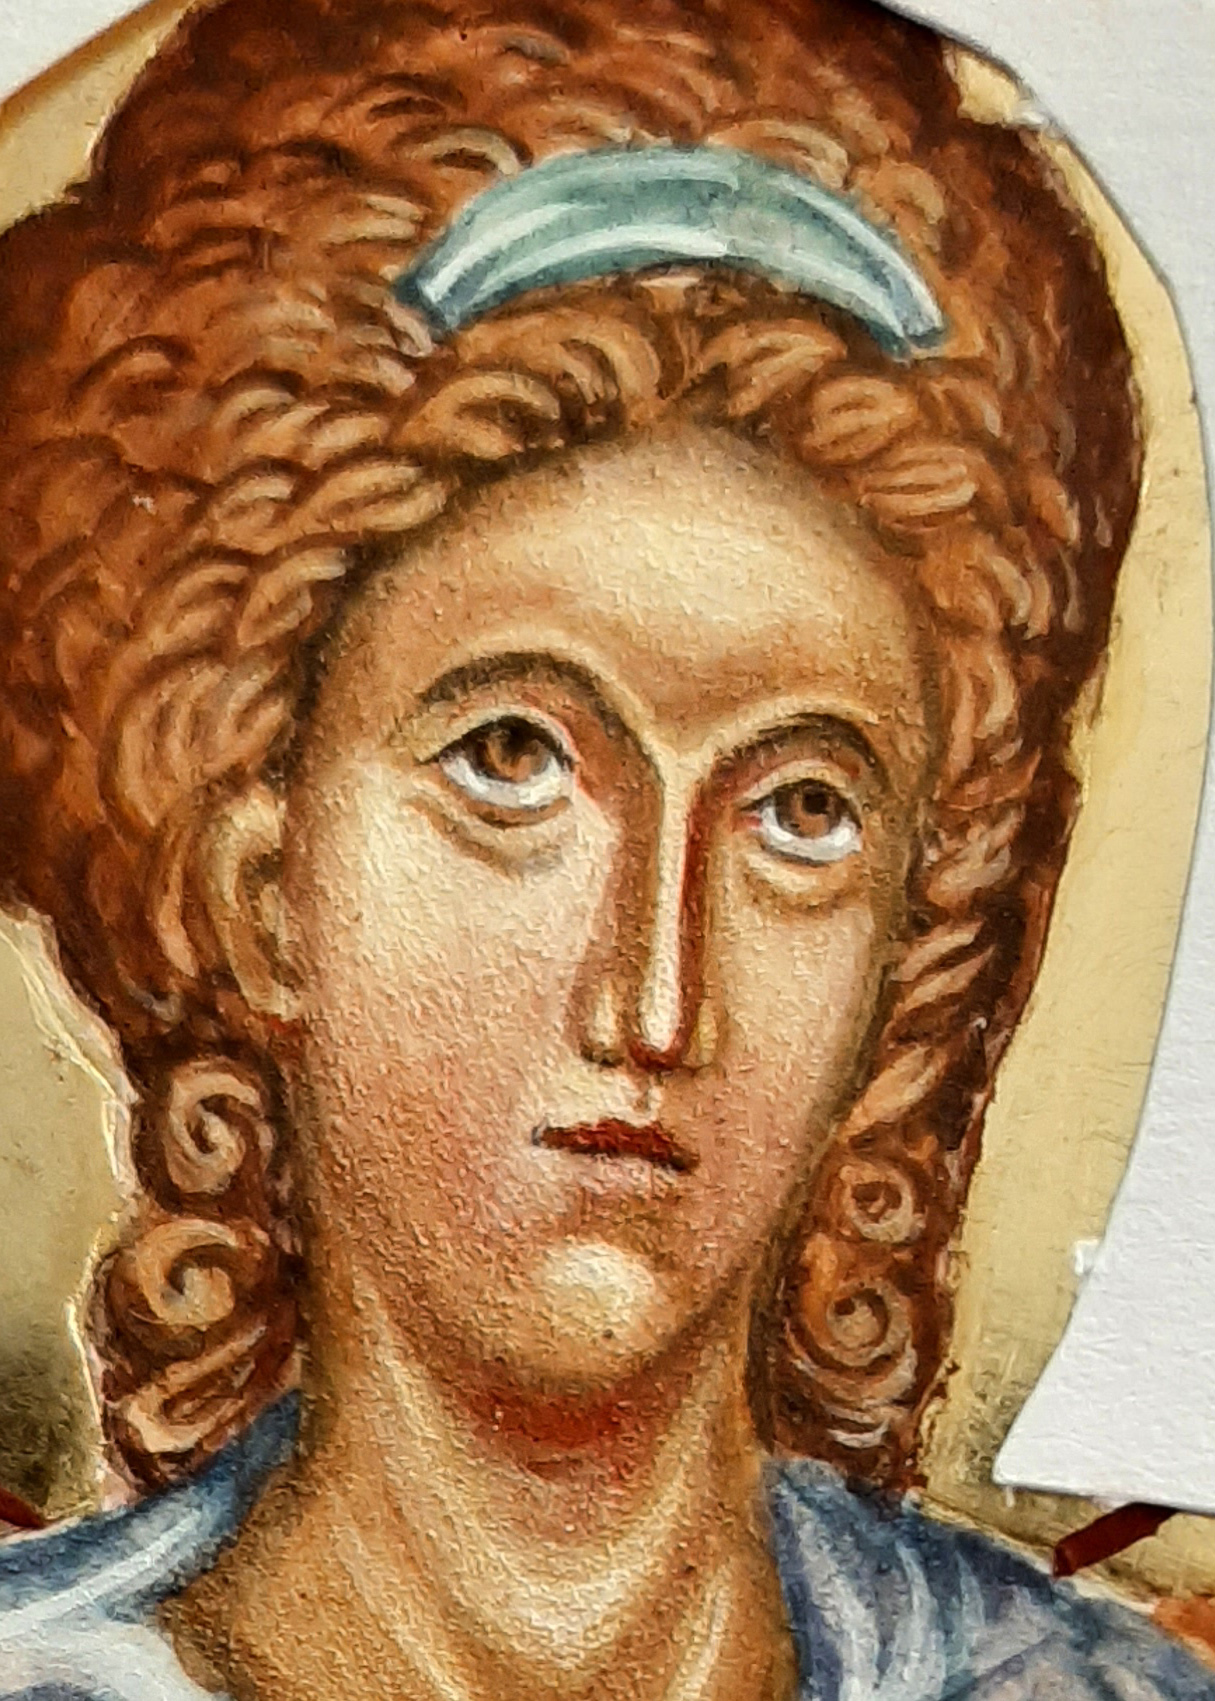
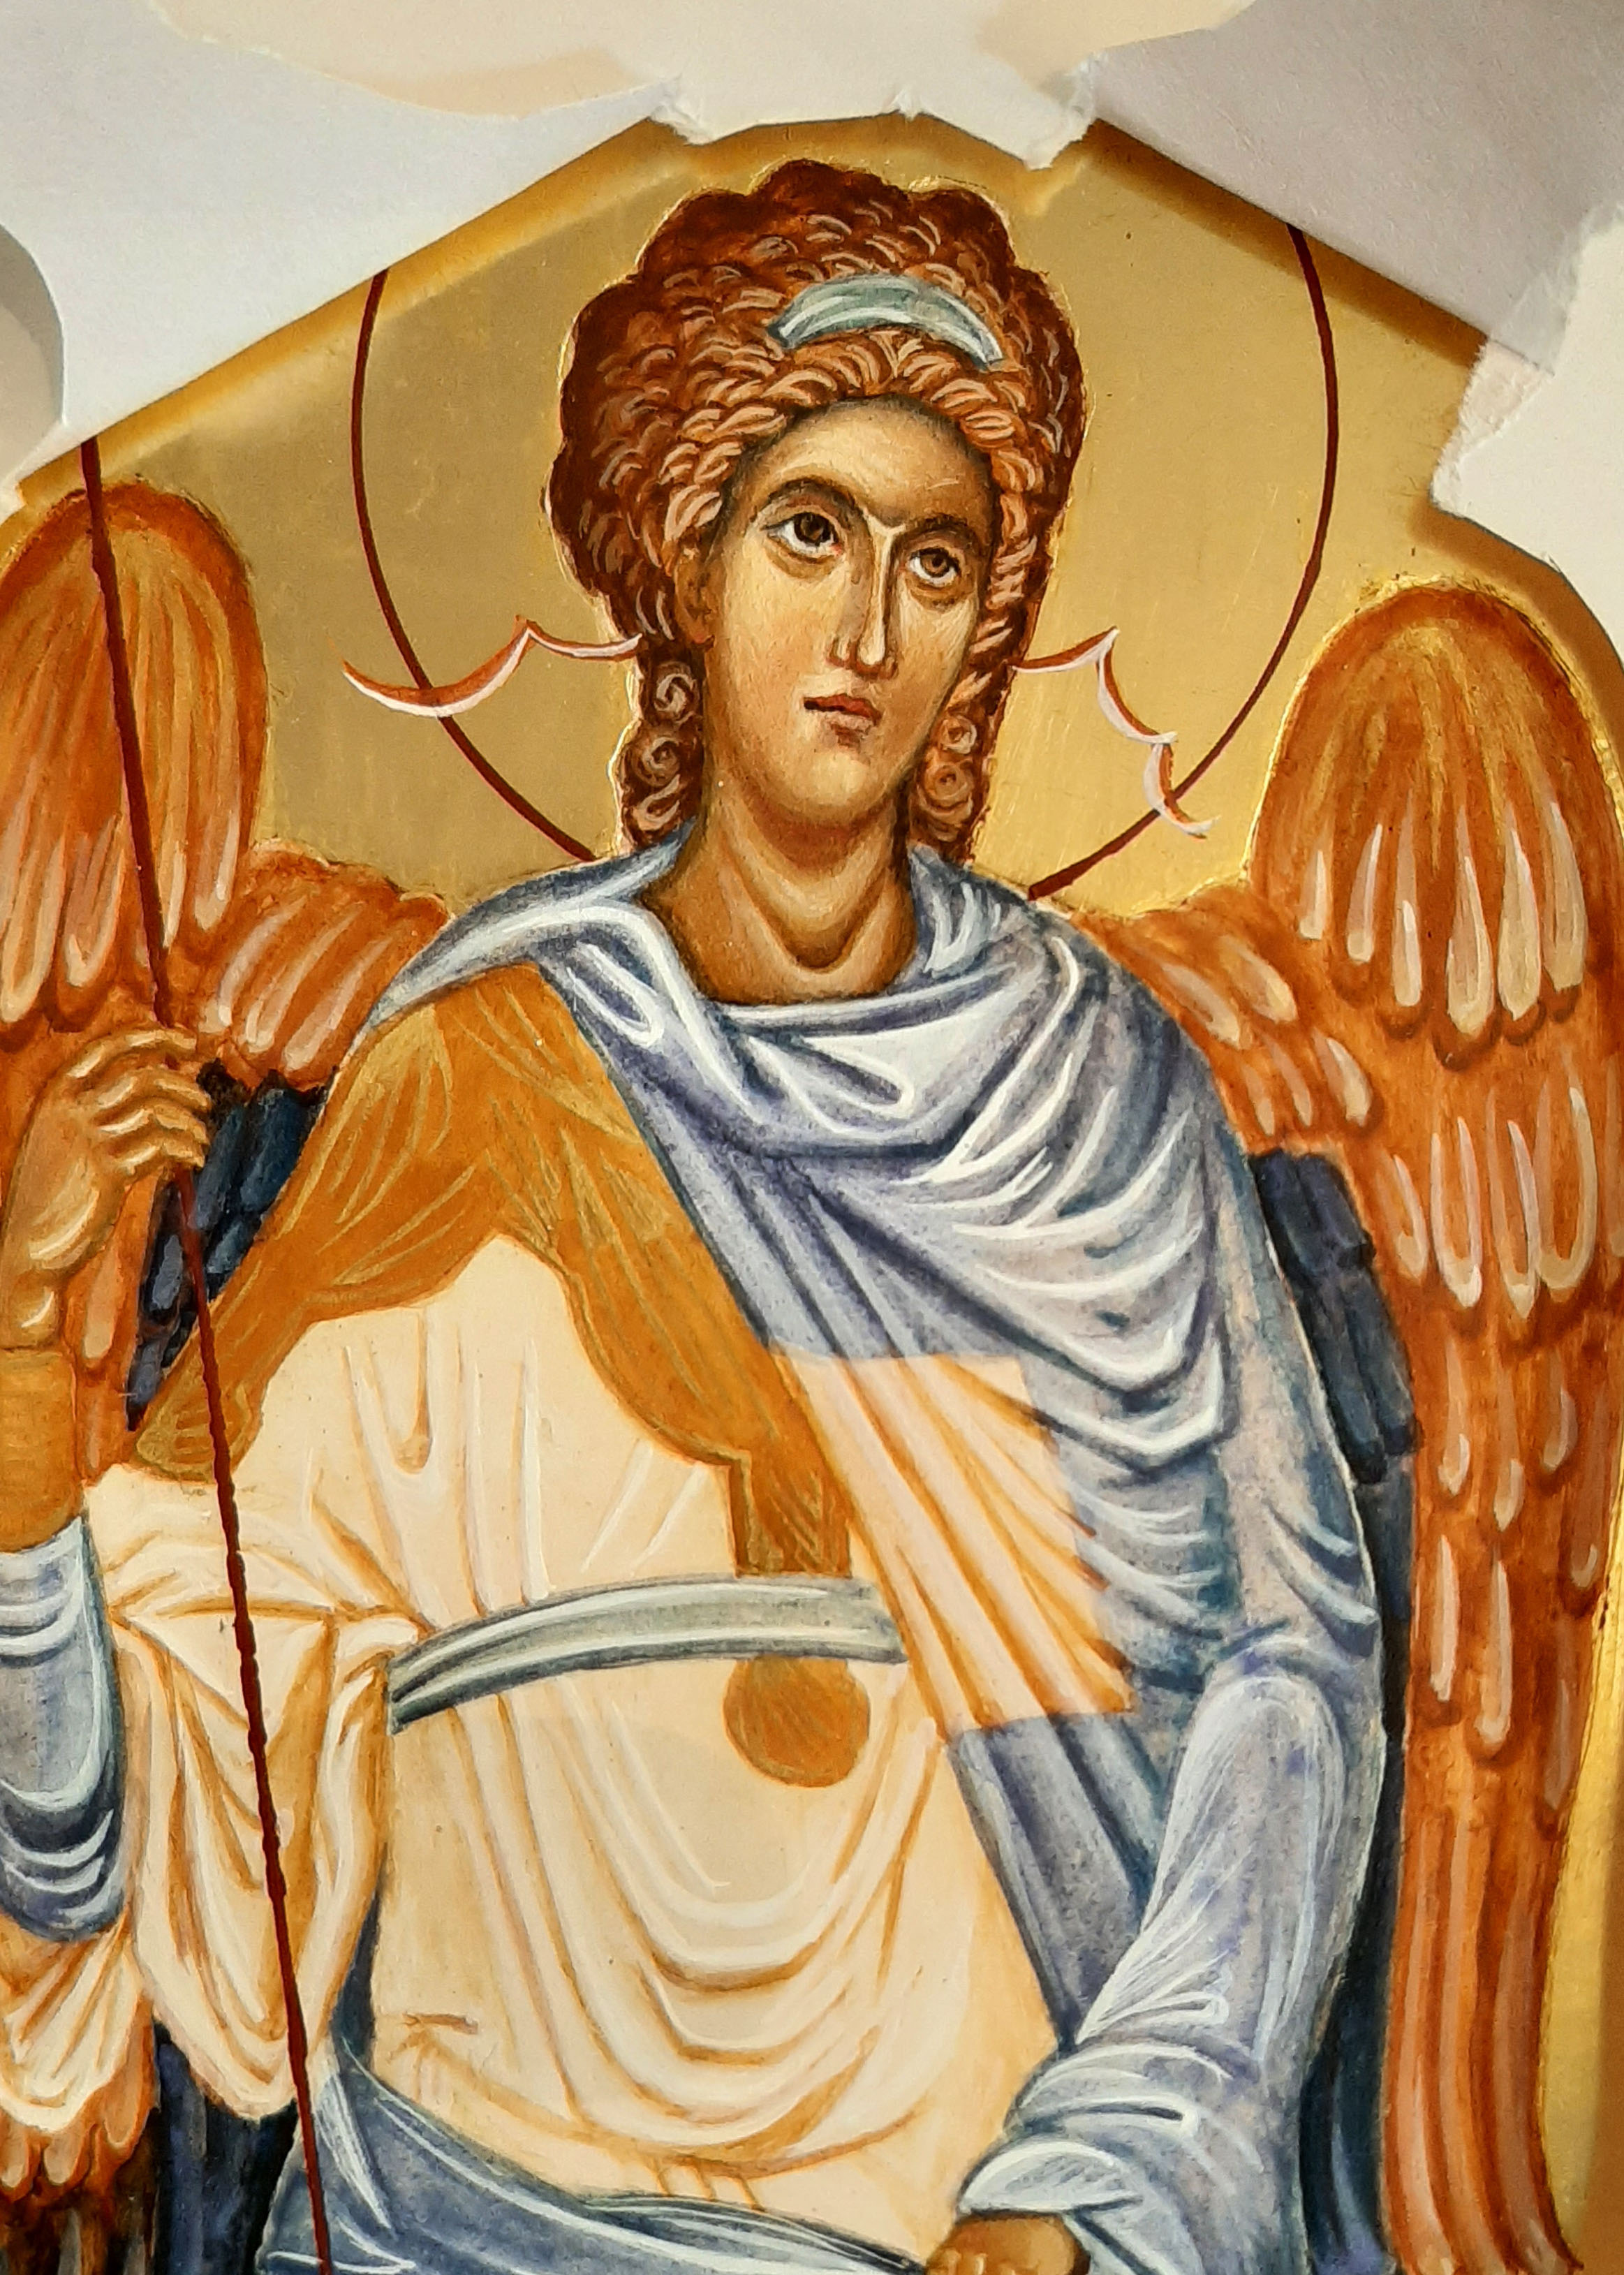
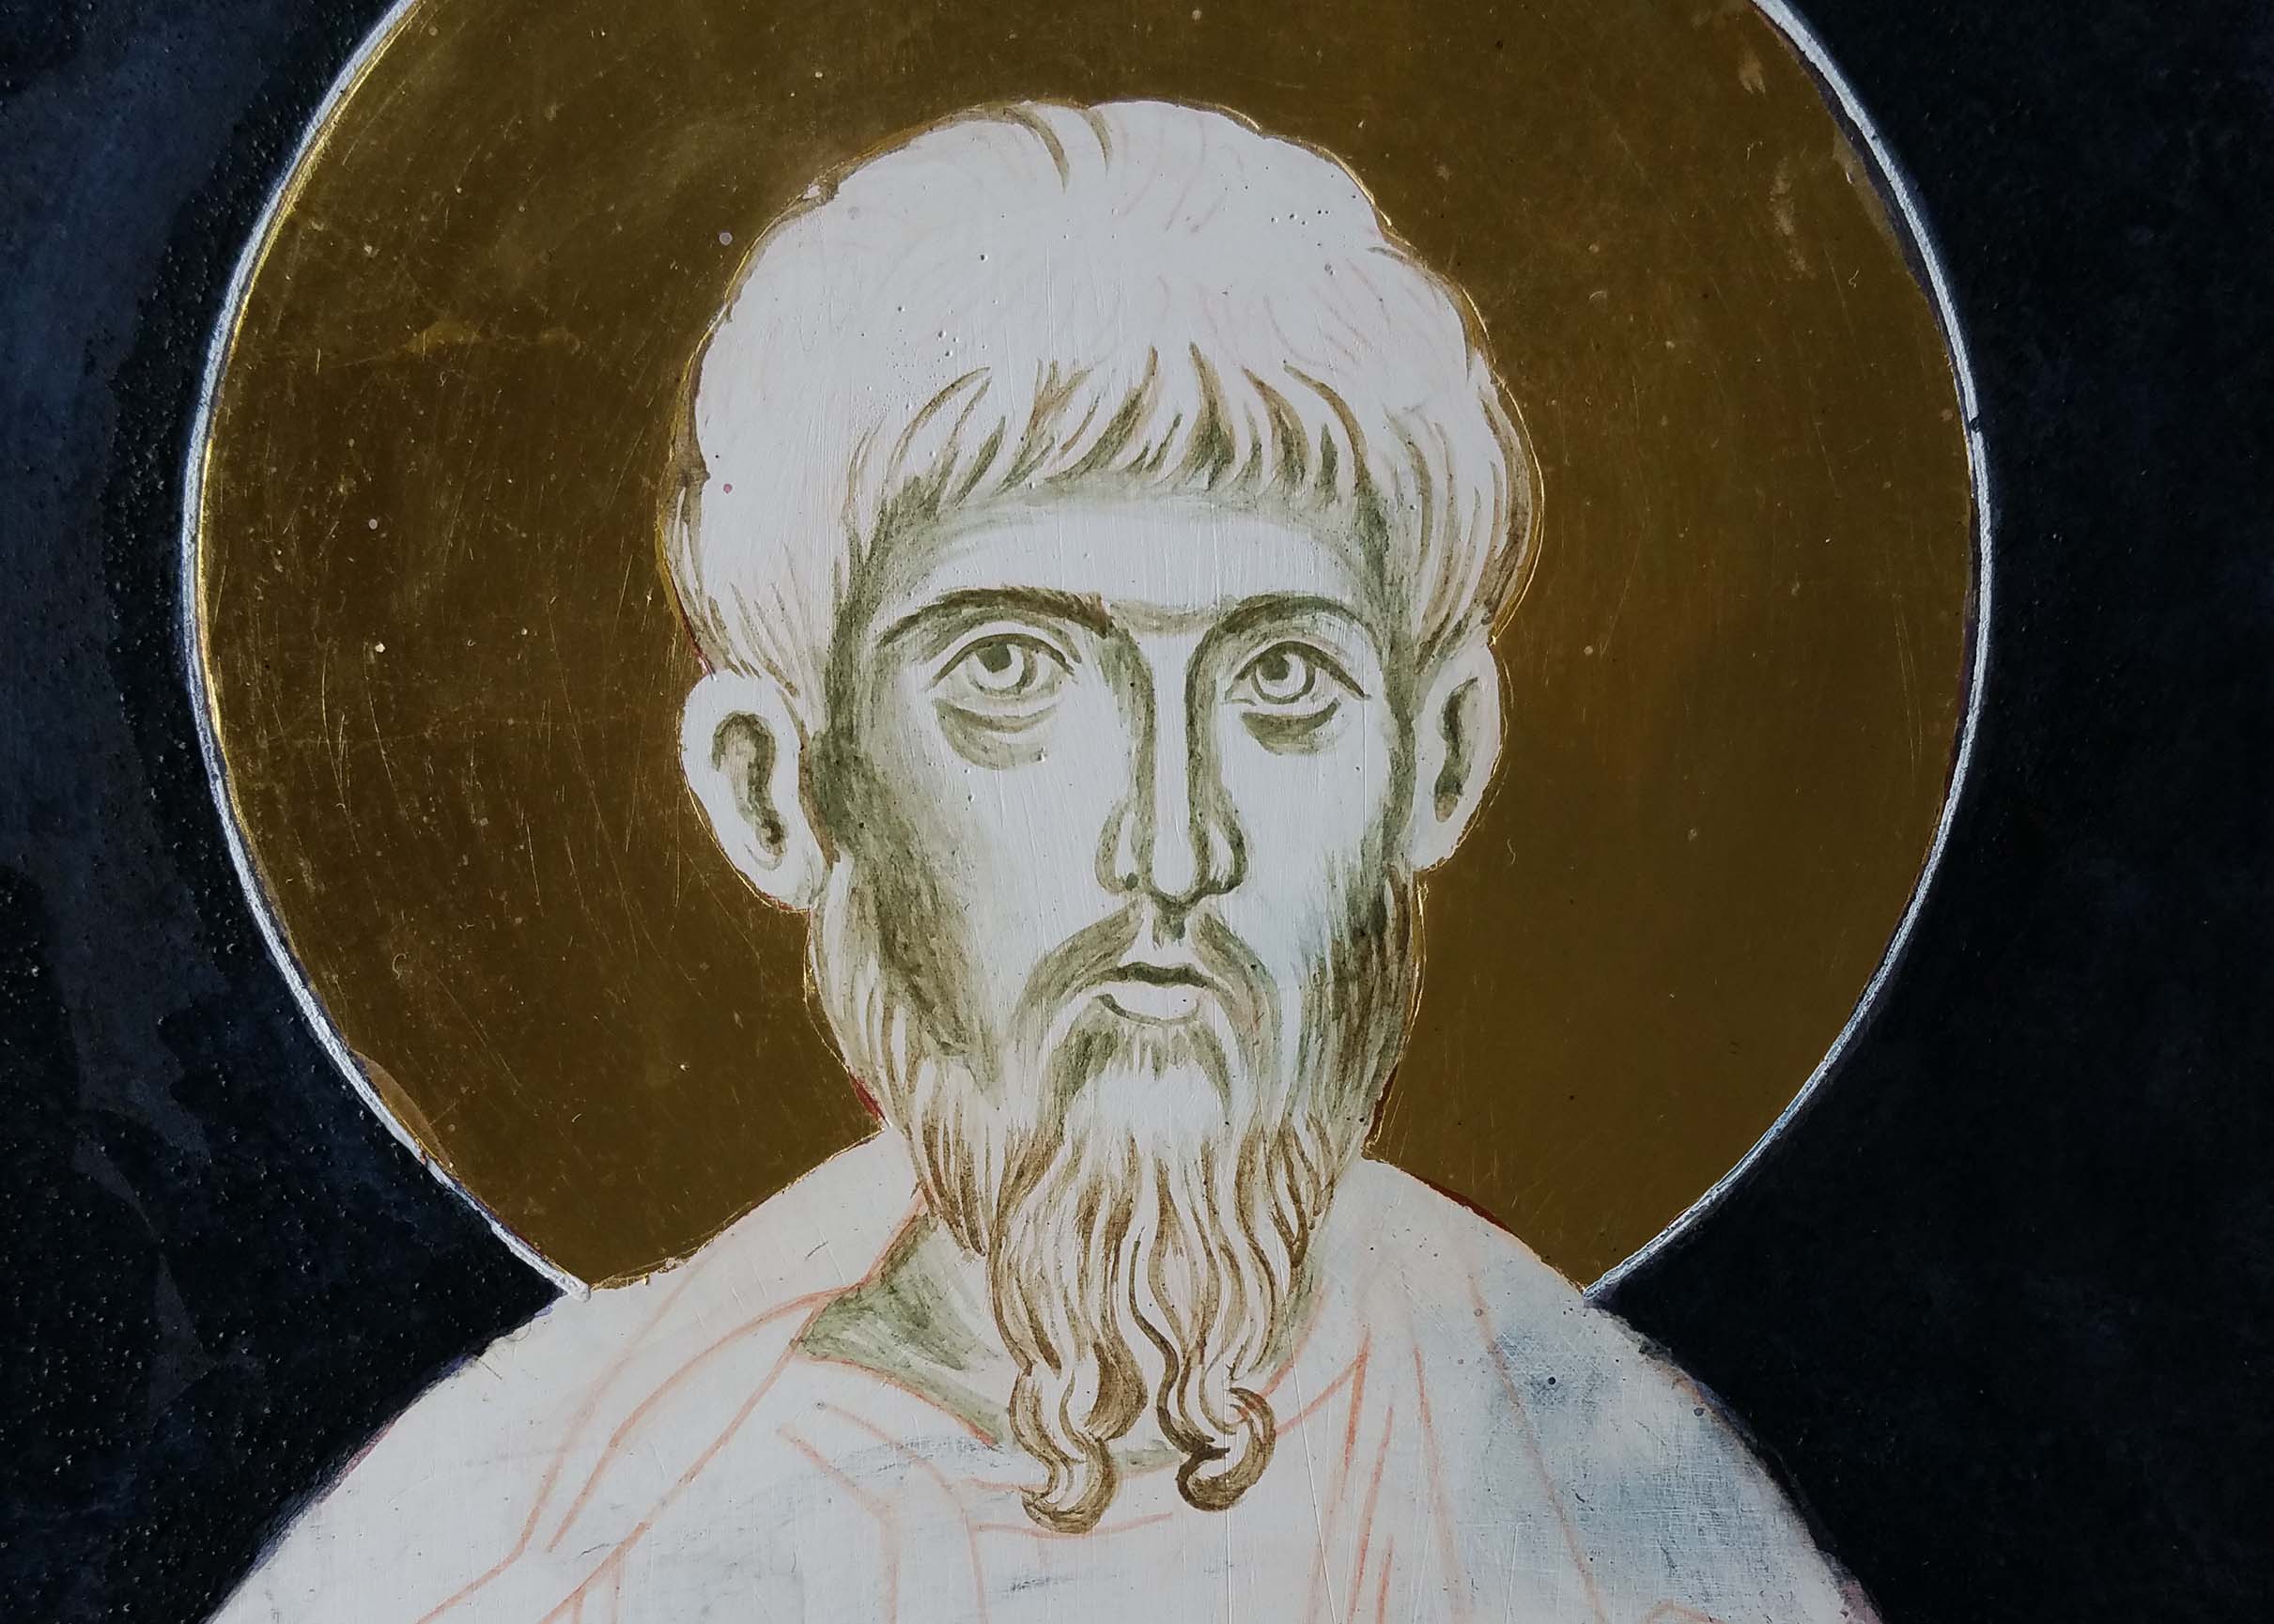
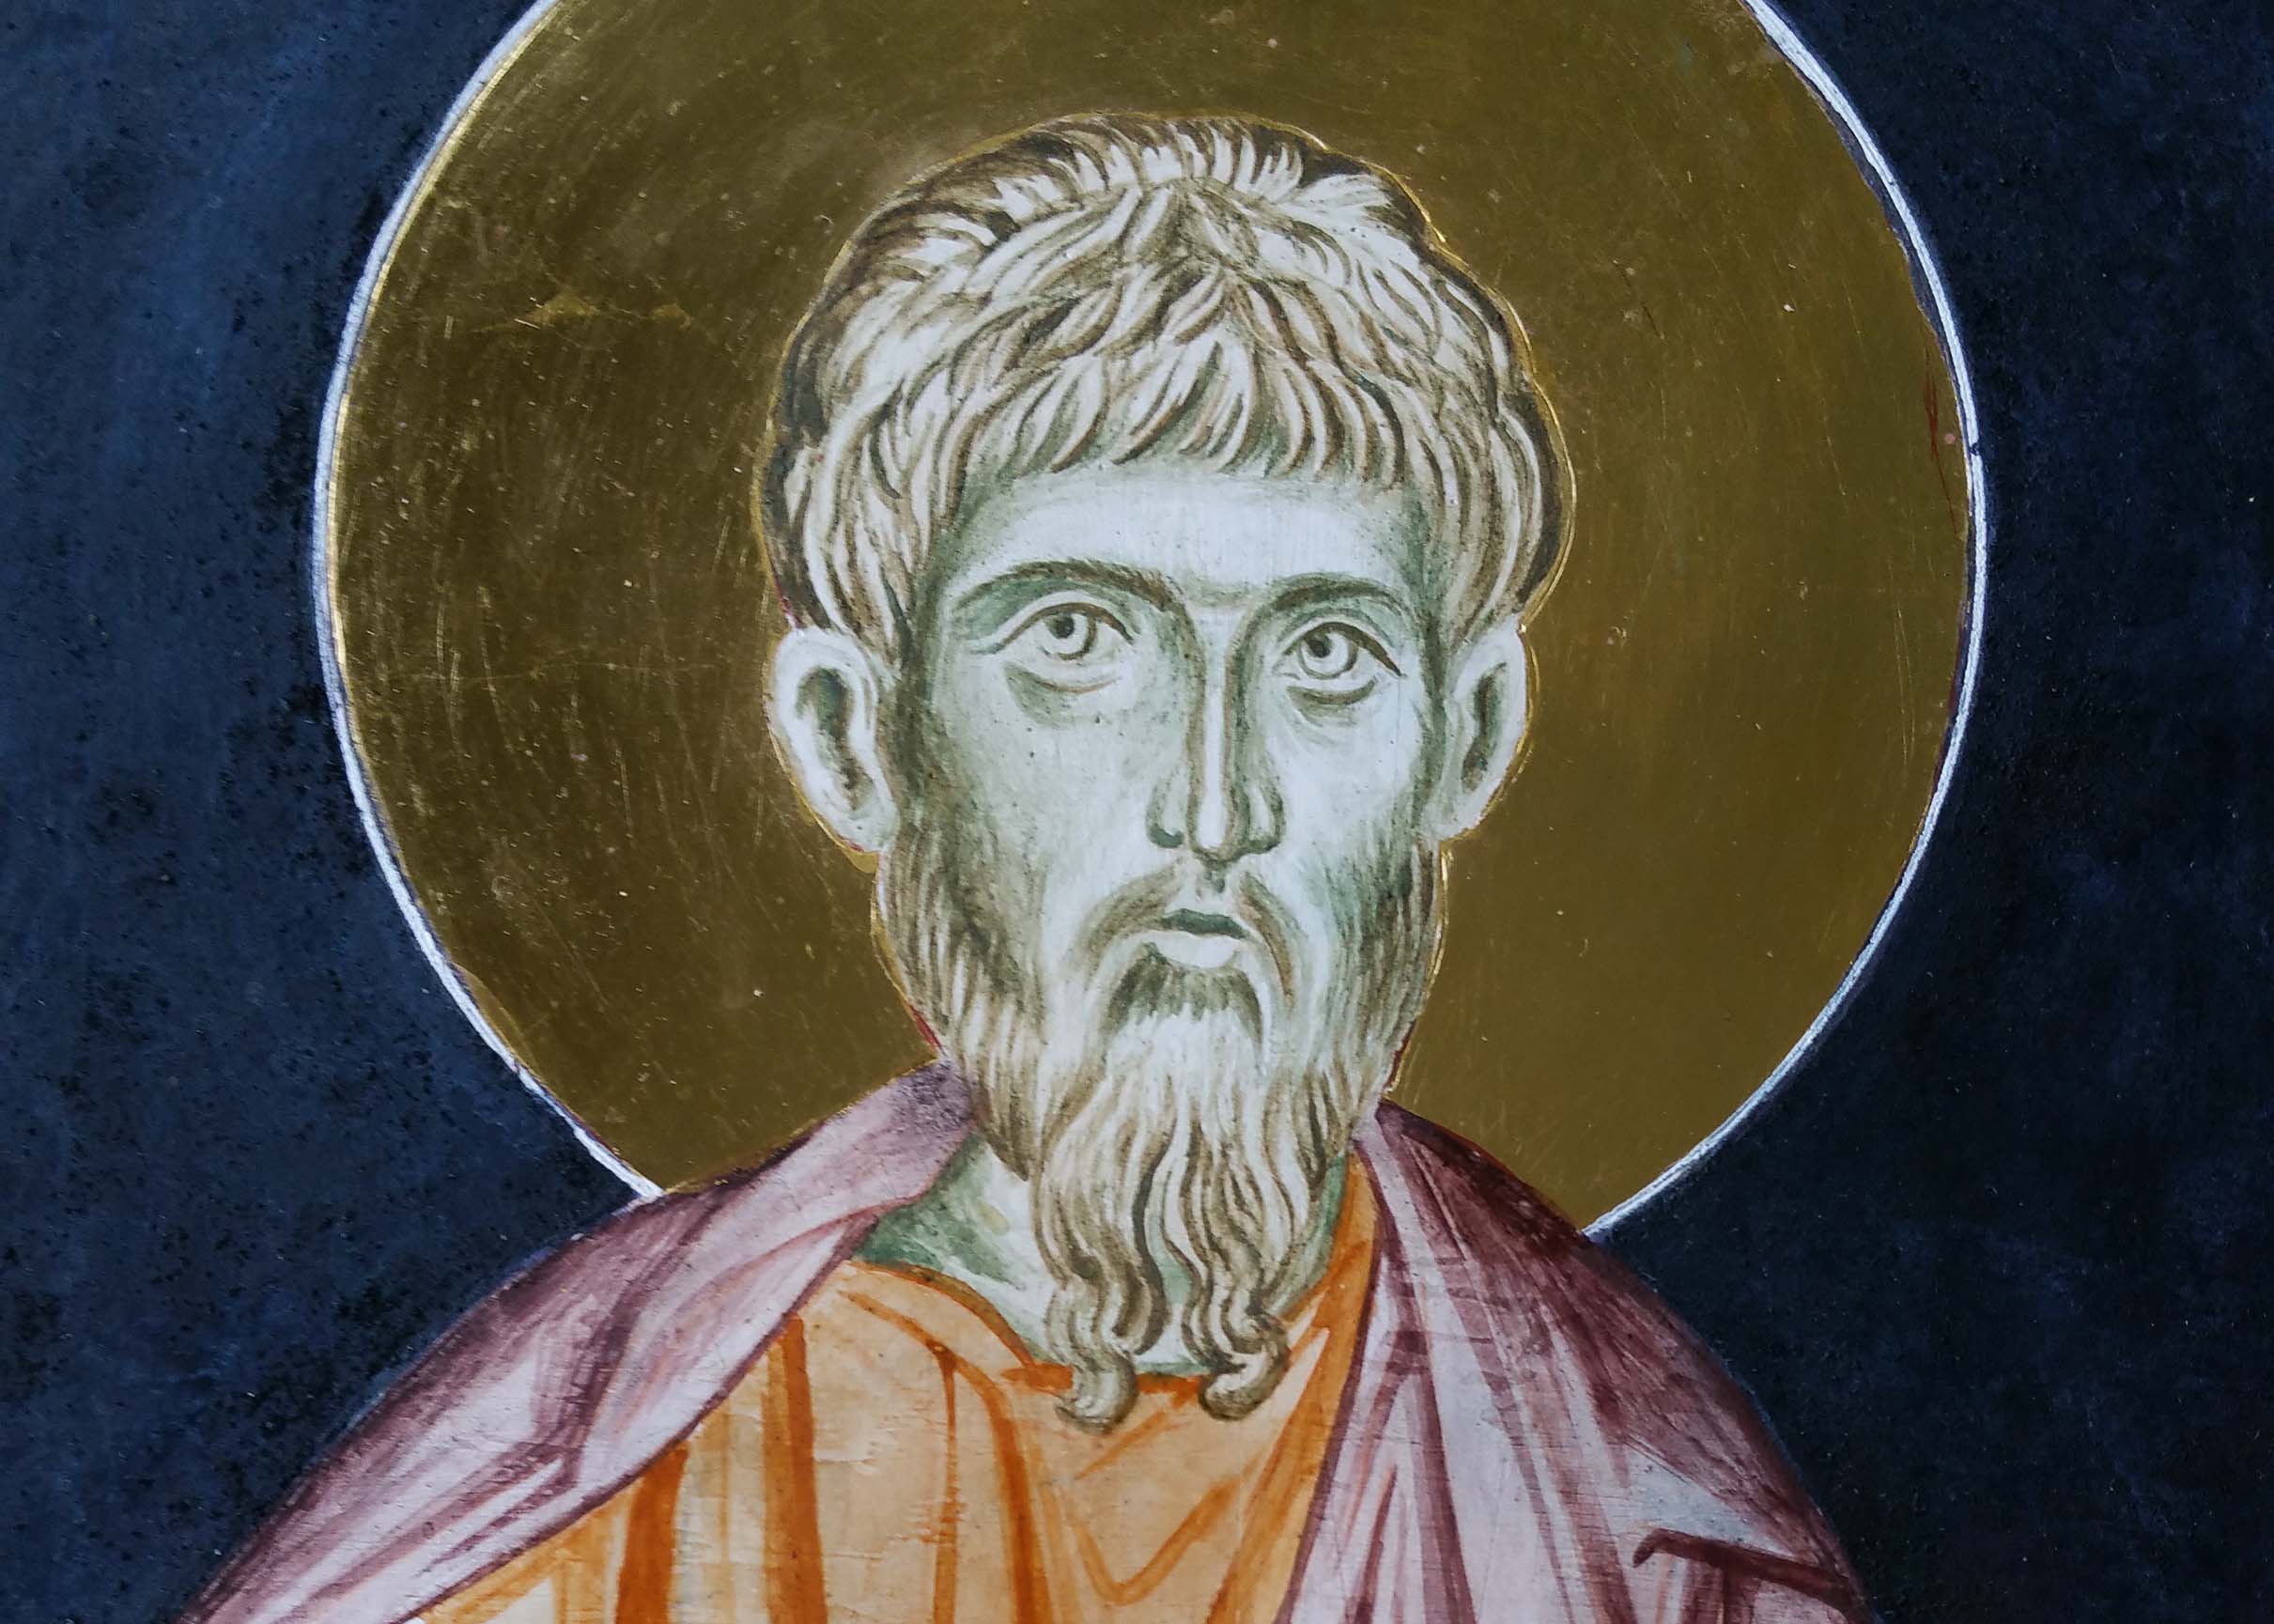
As I said in my previous post, I felt that this icon wasn’t quite complete. It wasn’t just the modelling and highlights on Archangel Michael’s face – but I felt it lacked presence. Since I had glazed the entire icon, I was prepared to work on it as a whole. I started with the face and applied thin layers of French Ochre Havanna, that lovely warm pigment that blends and evens out the different flesh tones.

I’ve learnt to leave some time between the underpainting of the face and applying the highlights. Letting the new paint rest for a few days works well as it is too easy to make holes in the layers when it is fresh. This is a small face, only 2.5cm brow to chin, so I need to be careful!
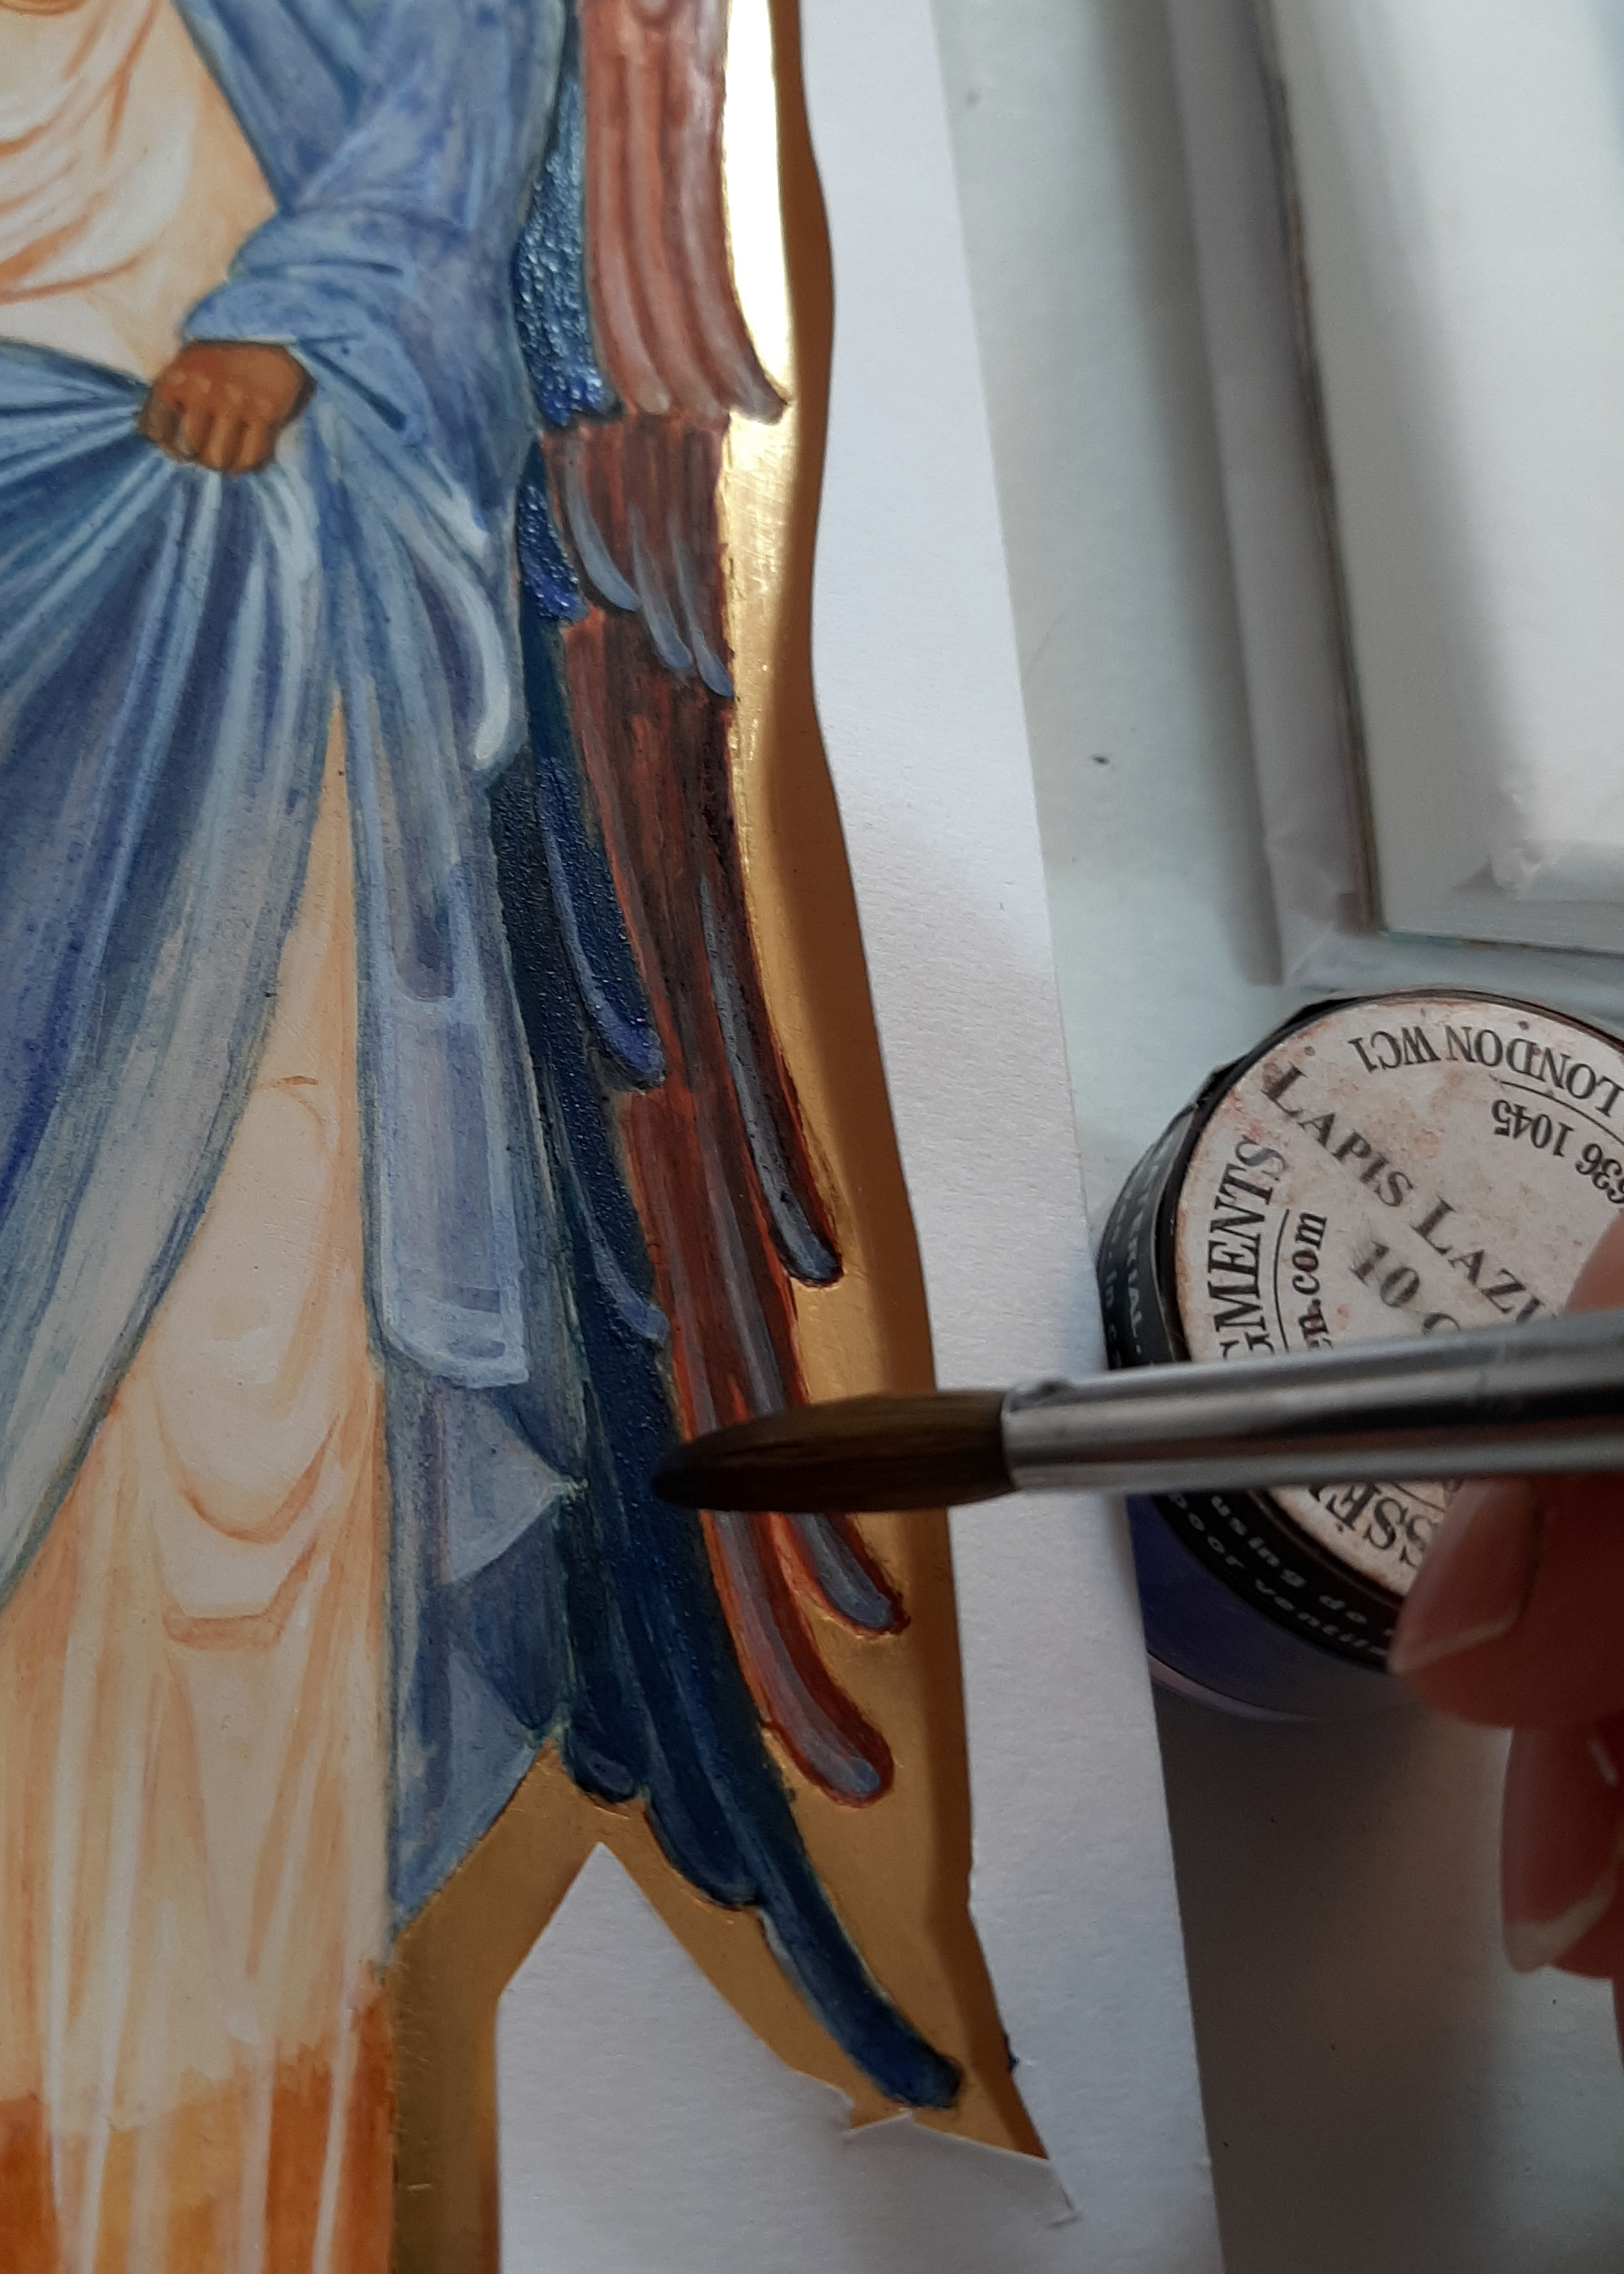
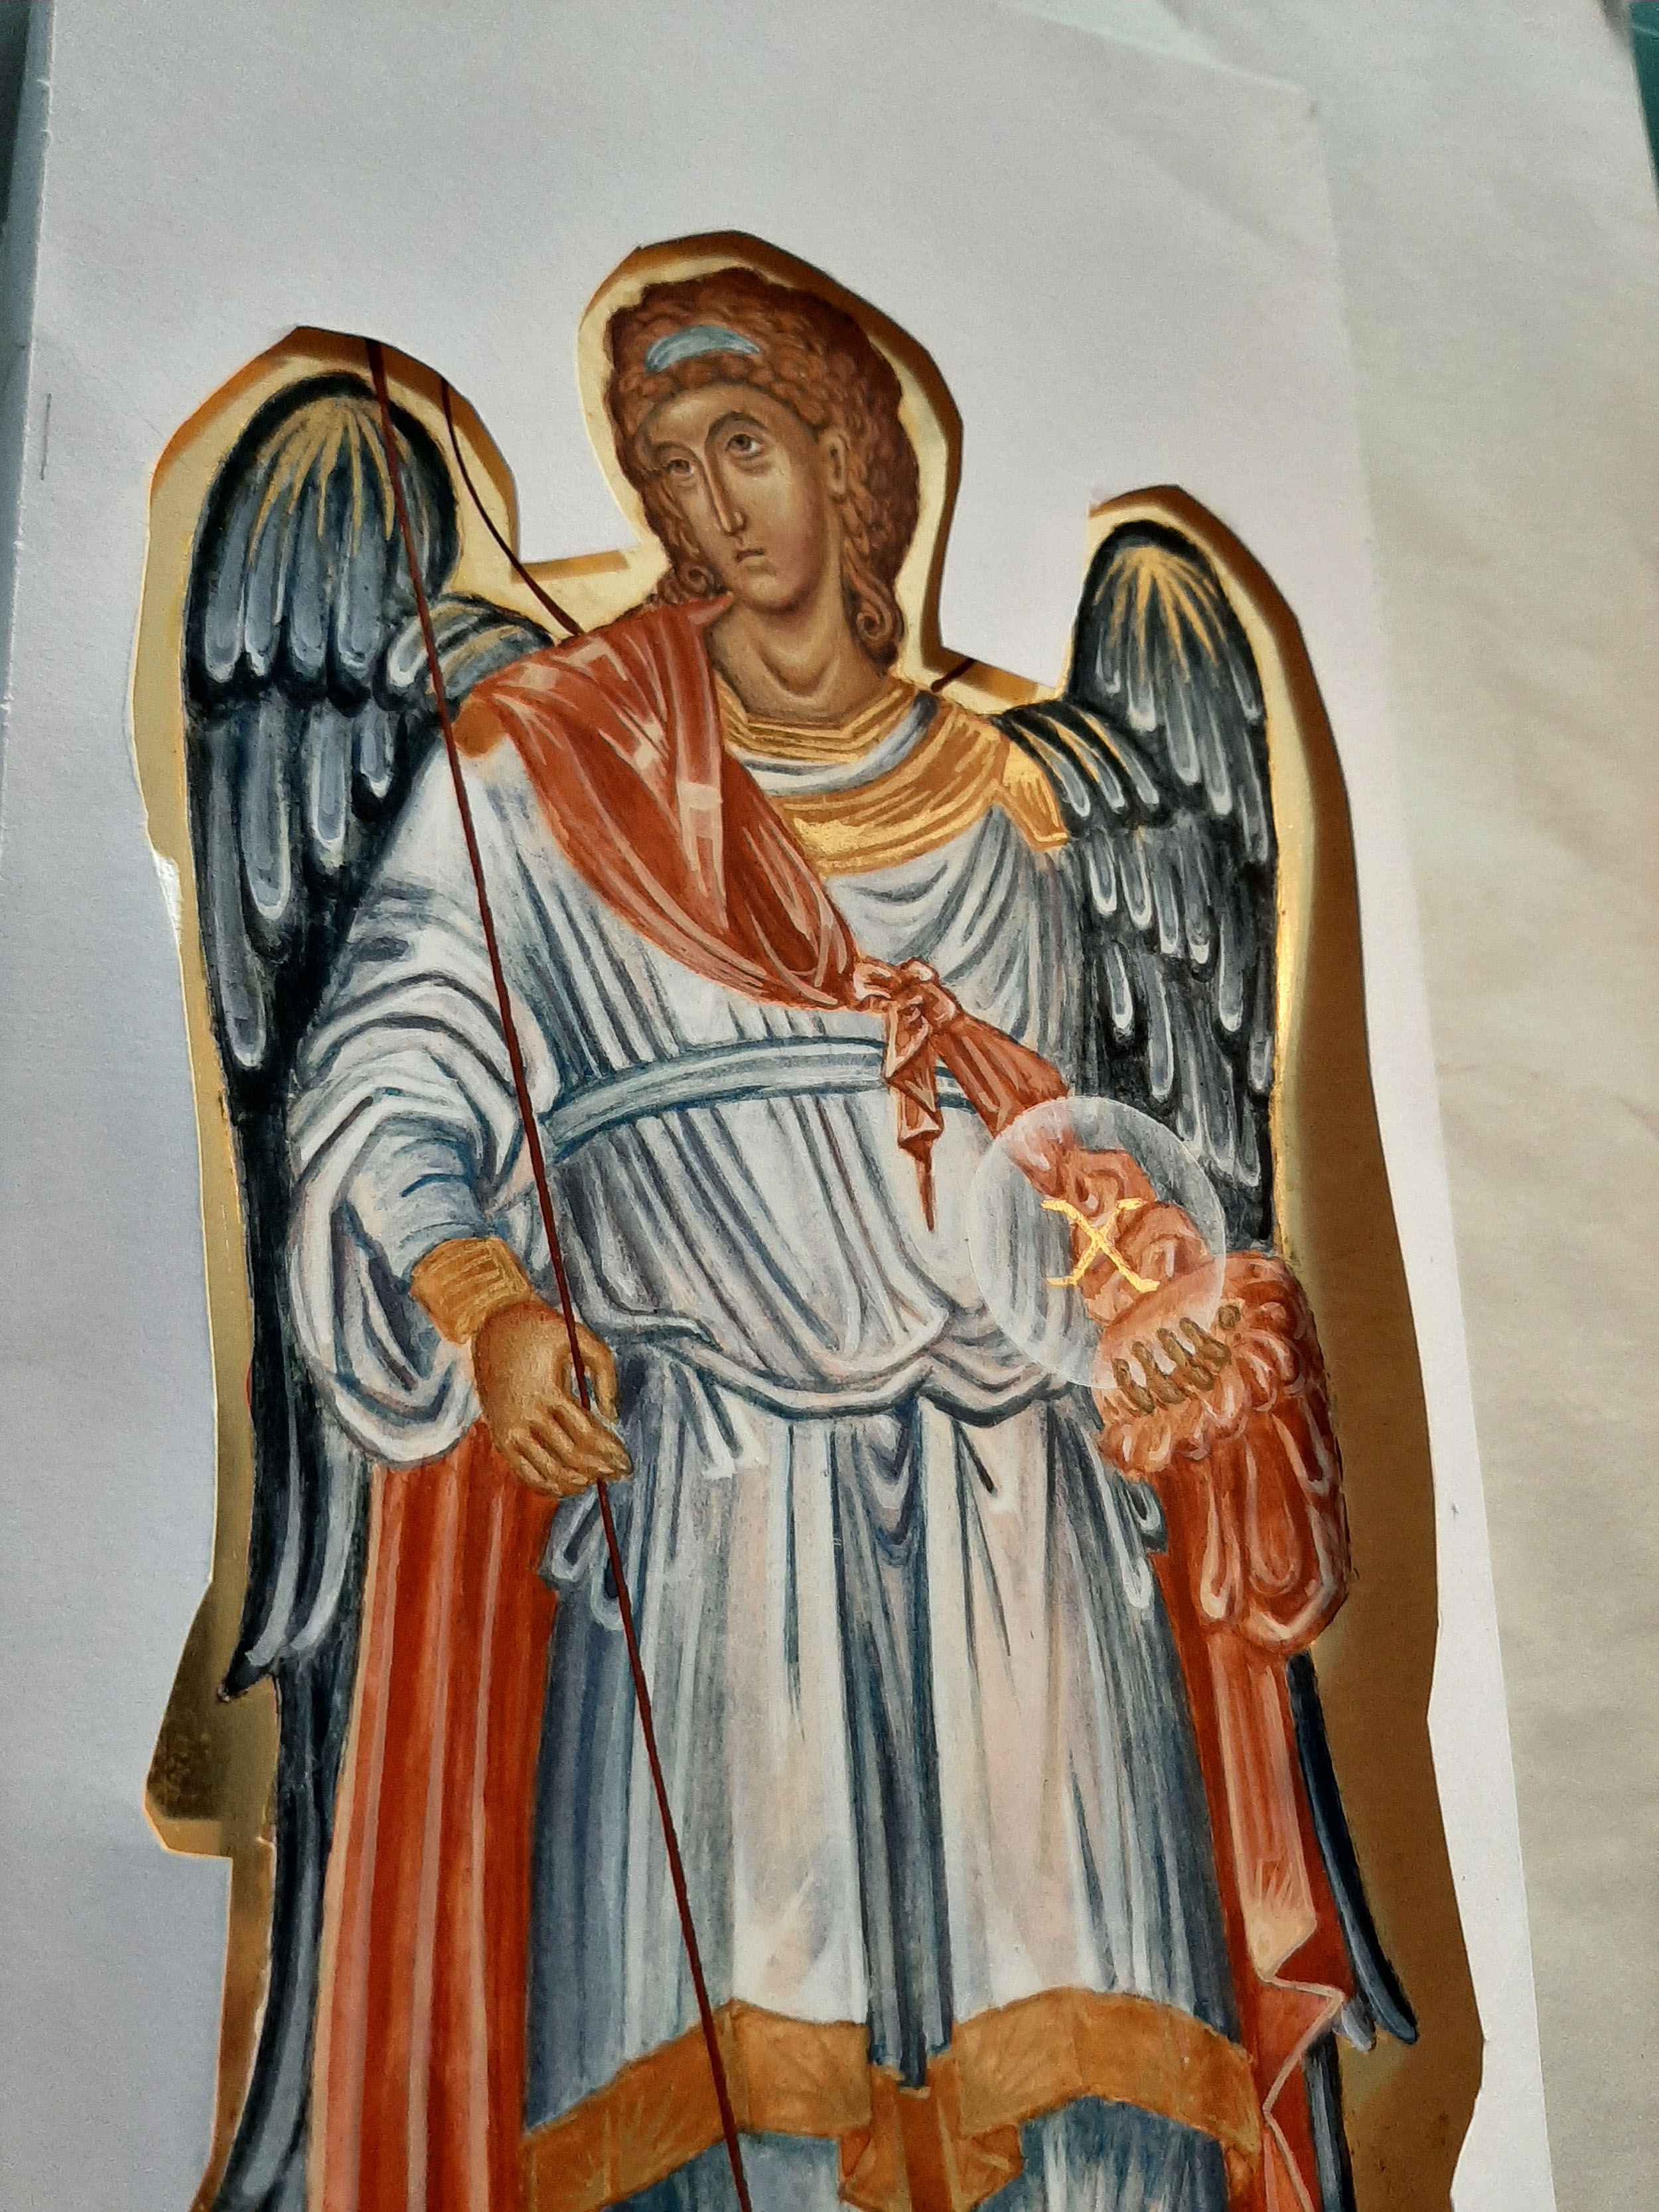
In the meantime, I had made a decision to extend the dark skies beyond the circle to balance the mountain area. The beauty of well-tempered paint is that it forms quite a hard surface after a year or so. With the dilute egg glaze acting as an isolating layer, I could easily remove the new paint if it didn’t look right. I had also decided to firm up the border in a deep red ochre.


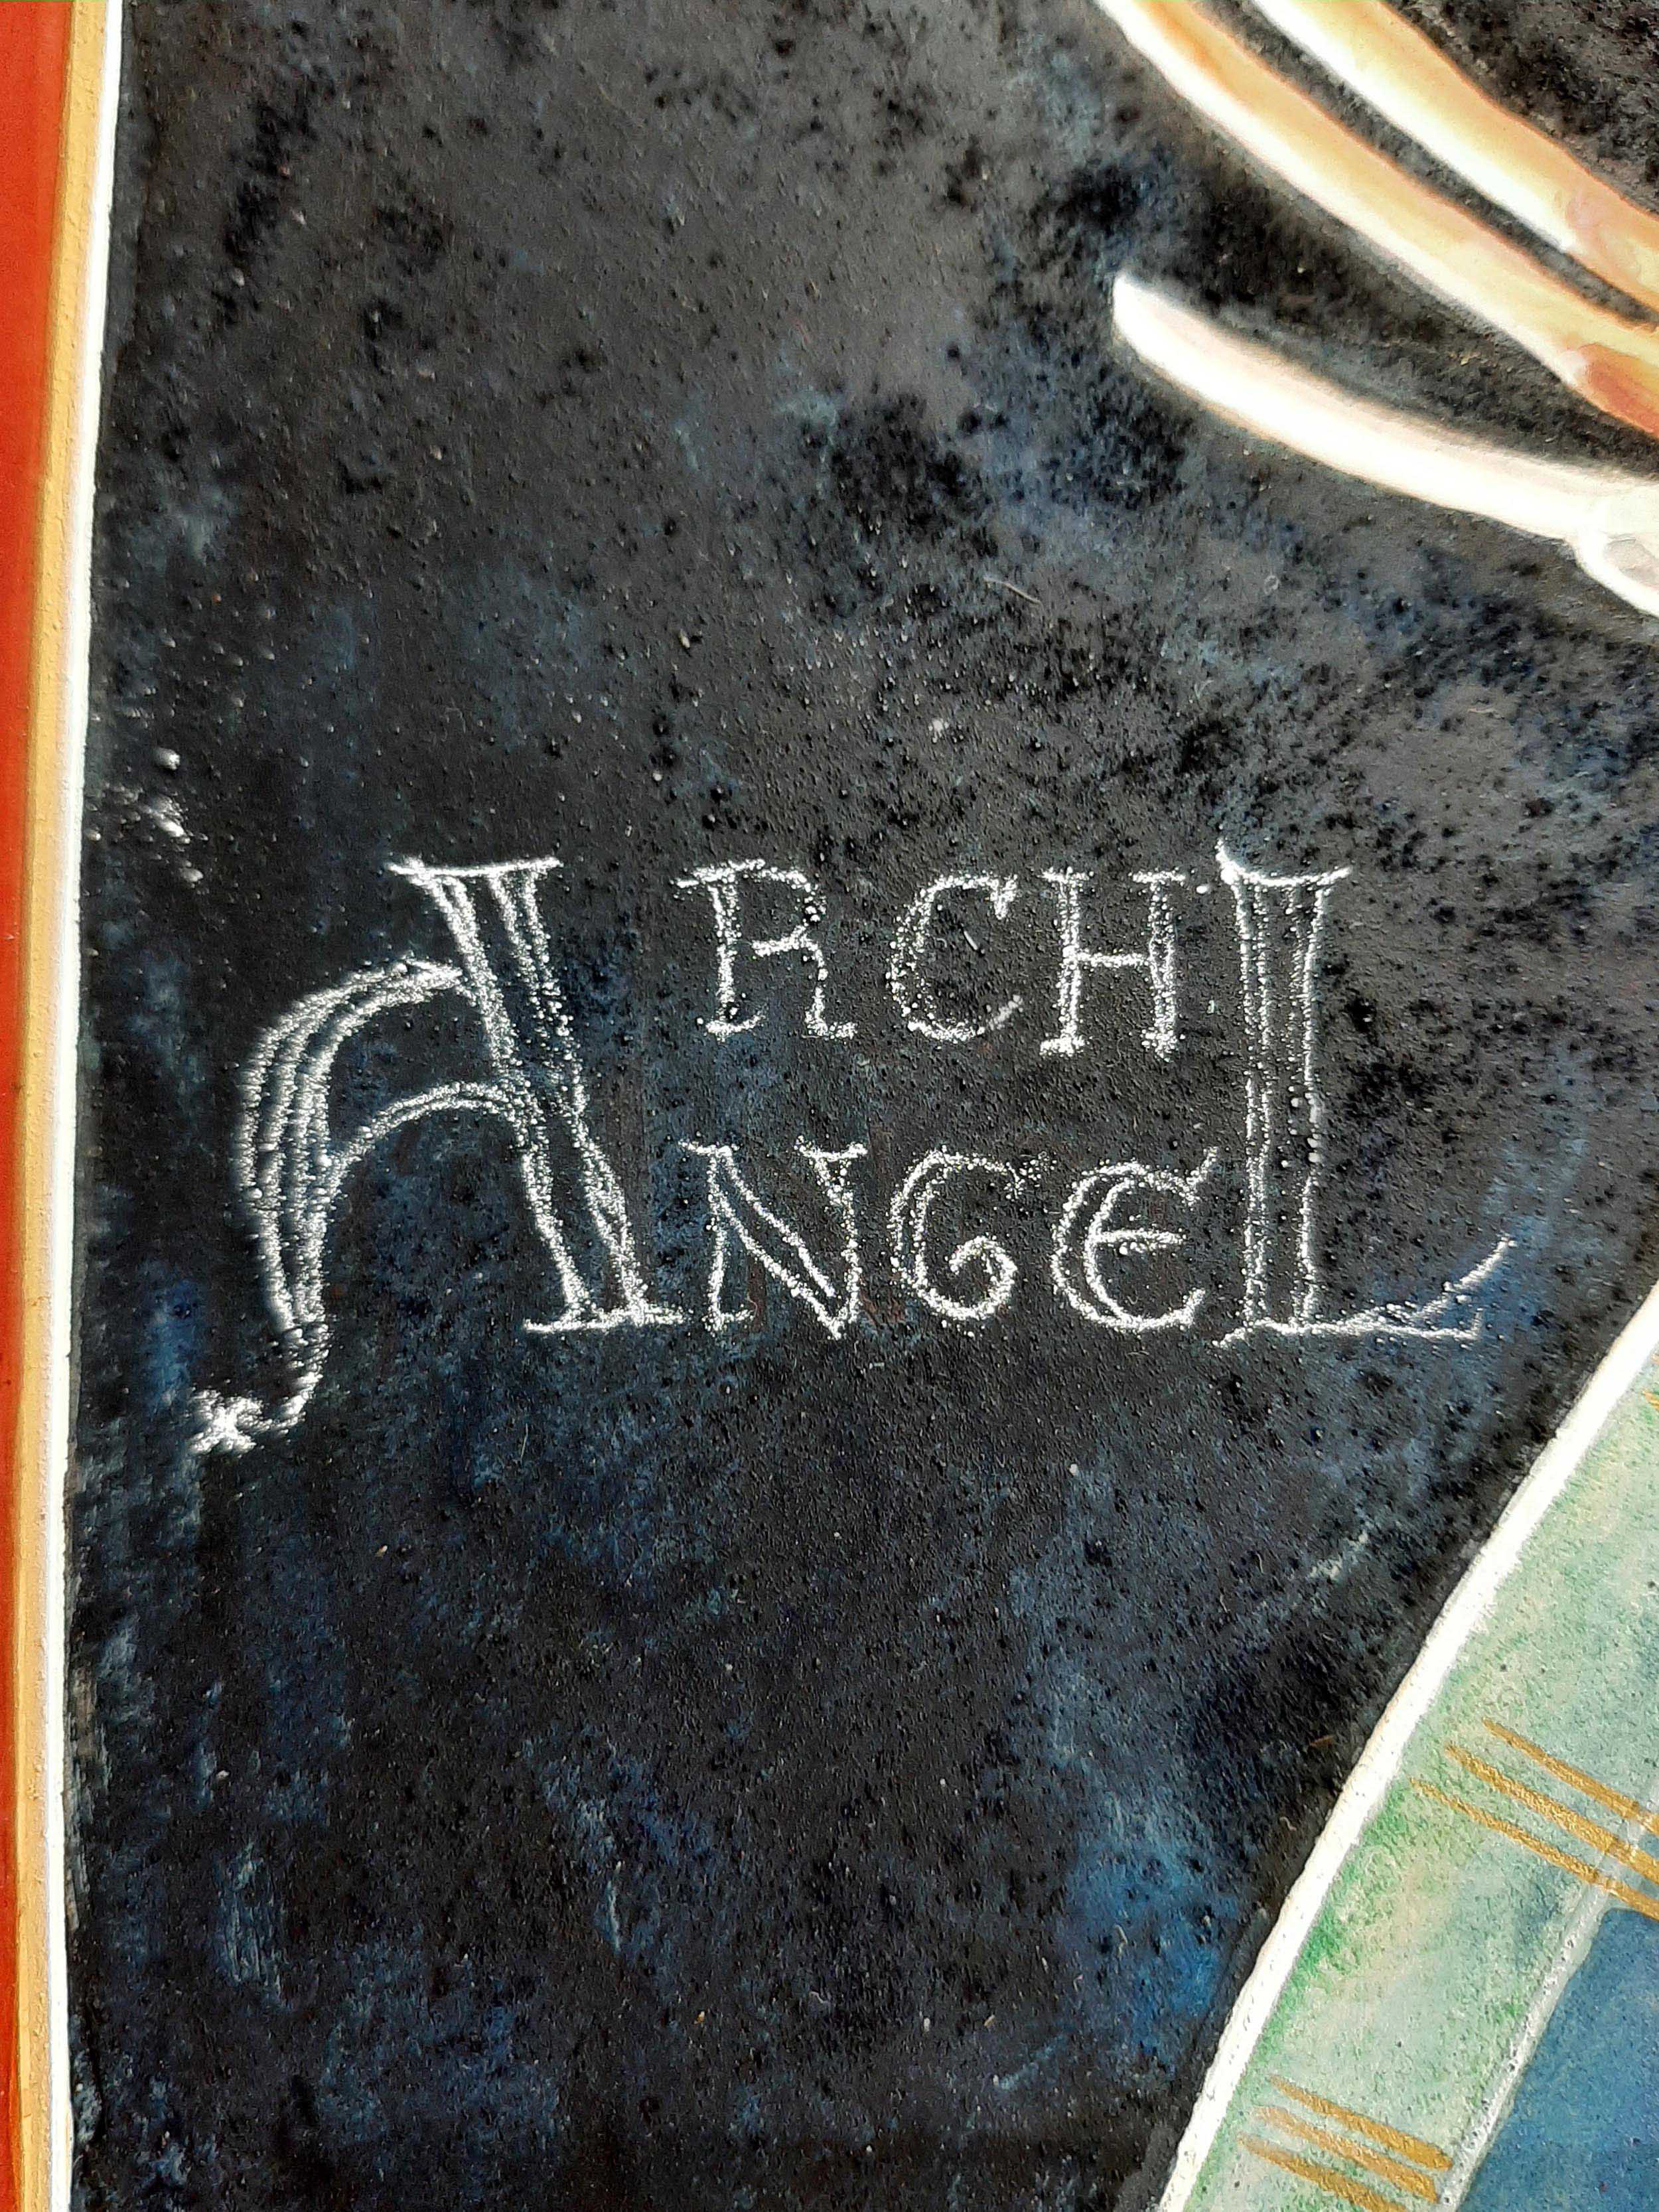
Here you can see the red letters disappearing behind the indigo.
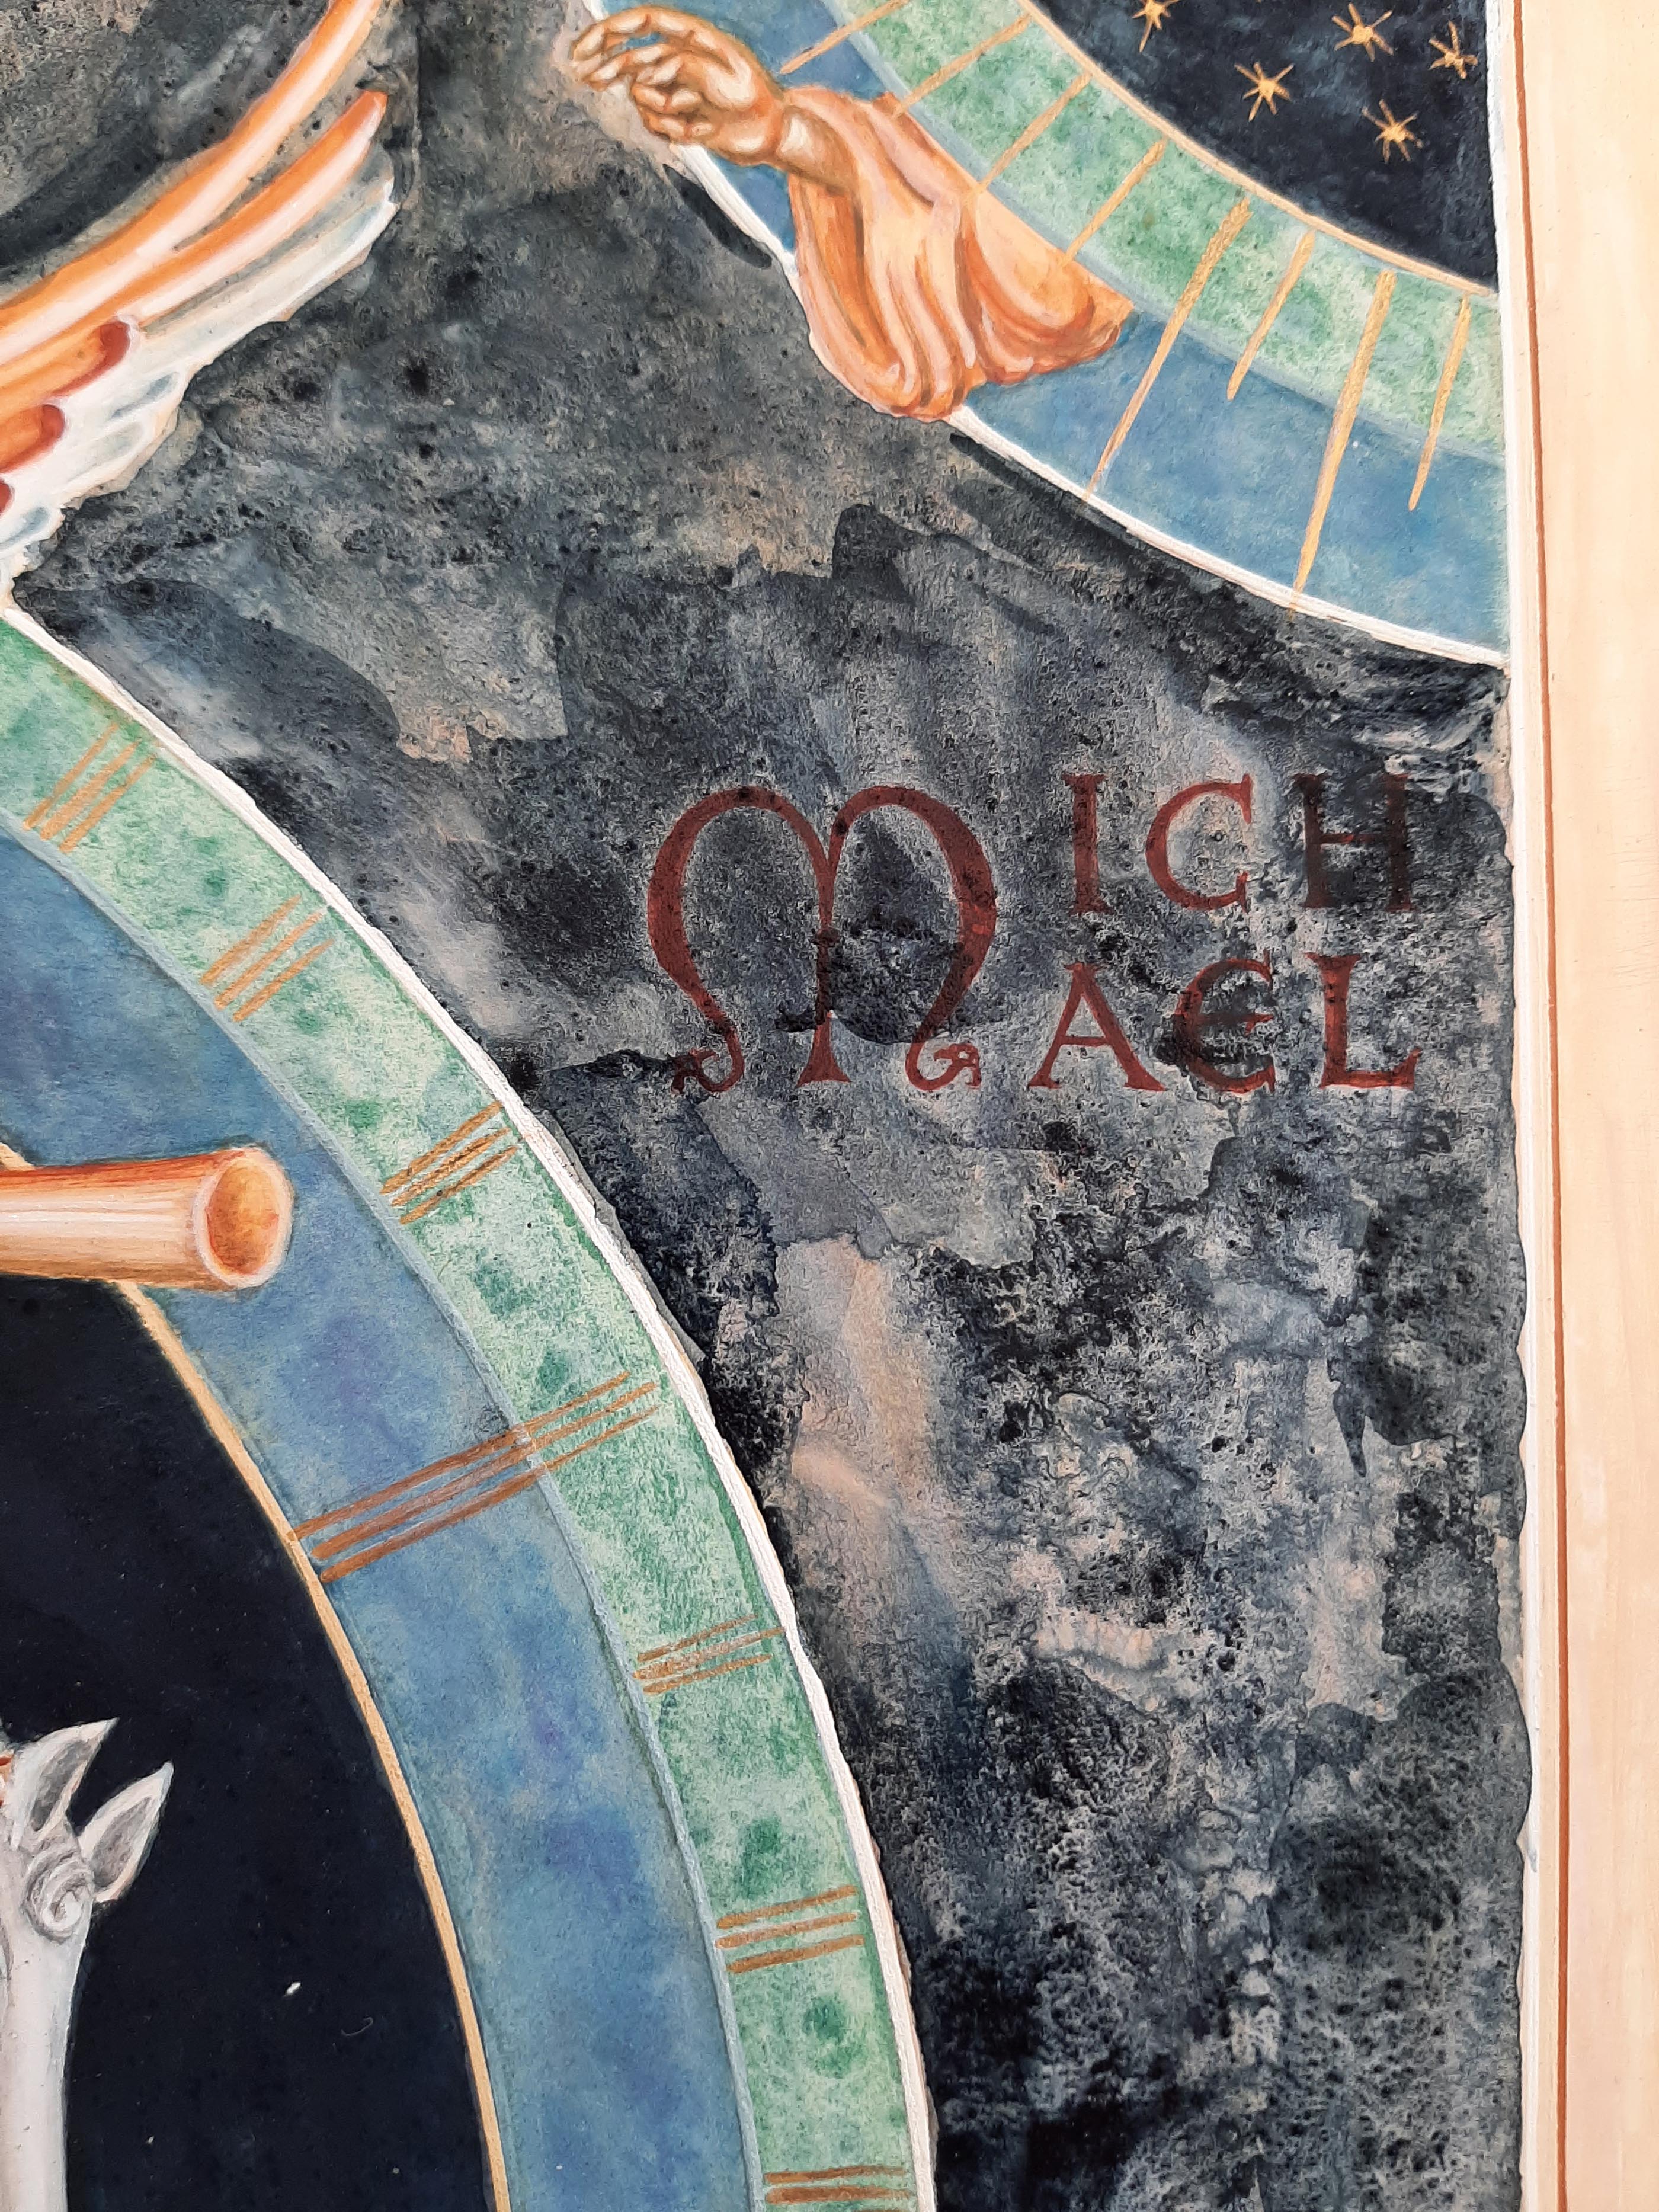
Using tracing paper with some titanium white pigment rubbed into the back, I transcribed the lettering and painted it back on.

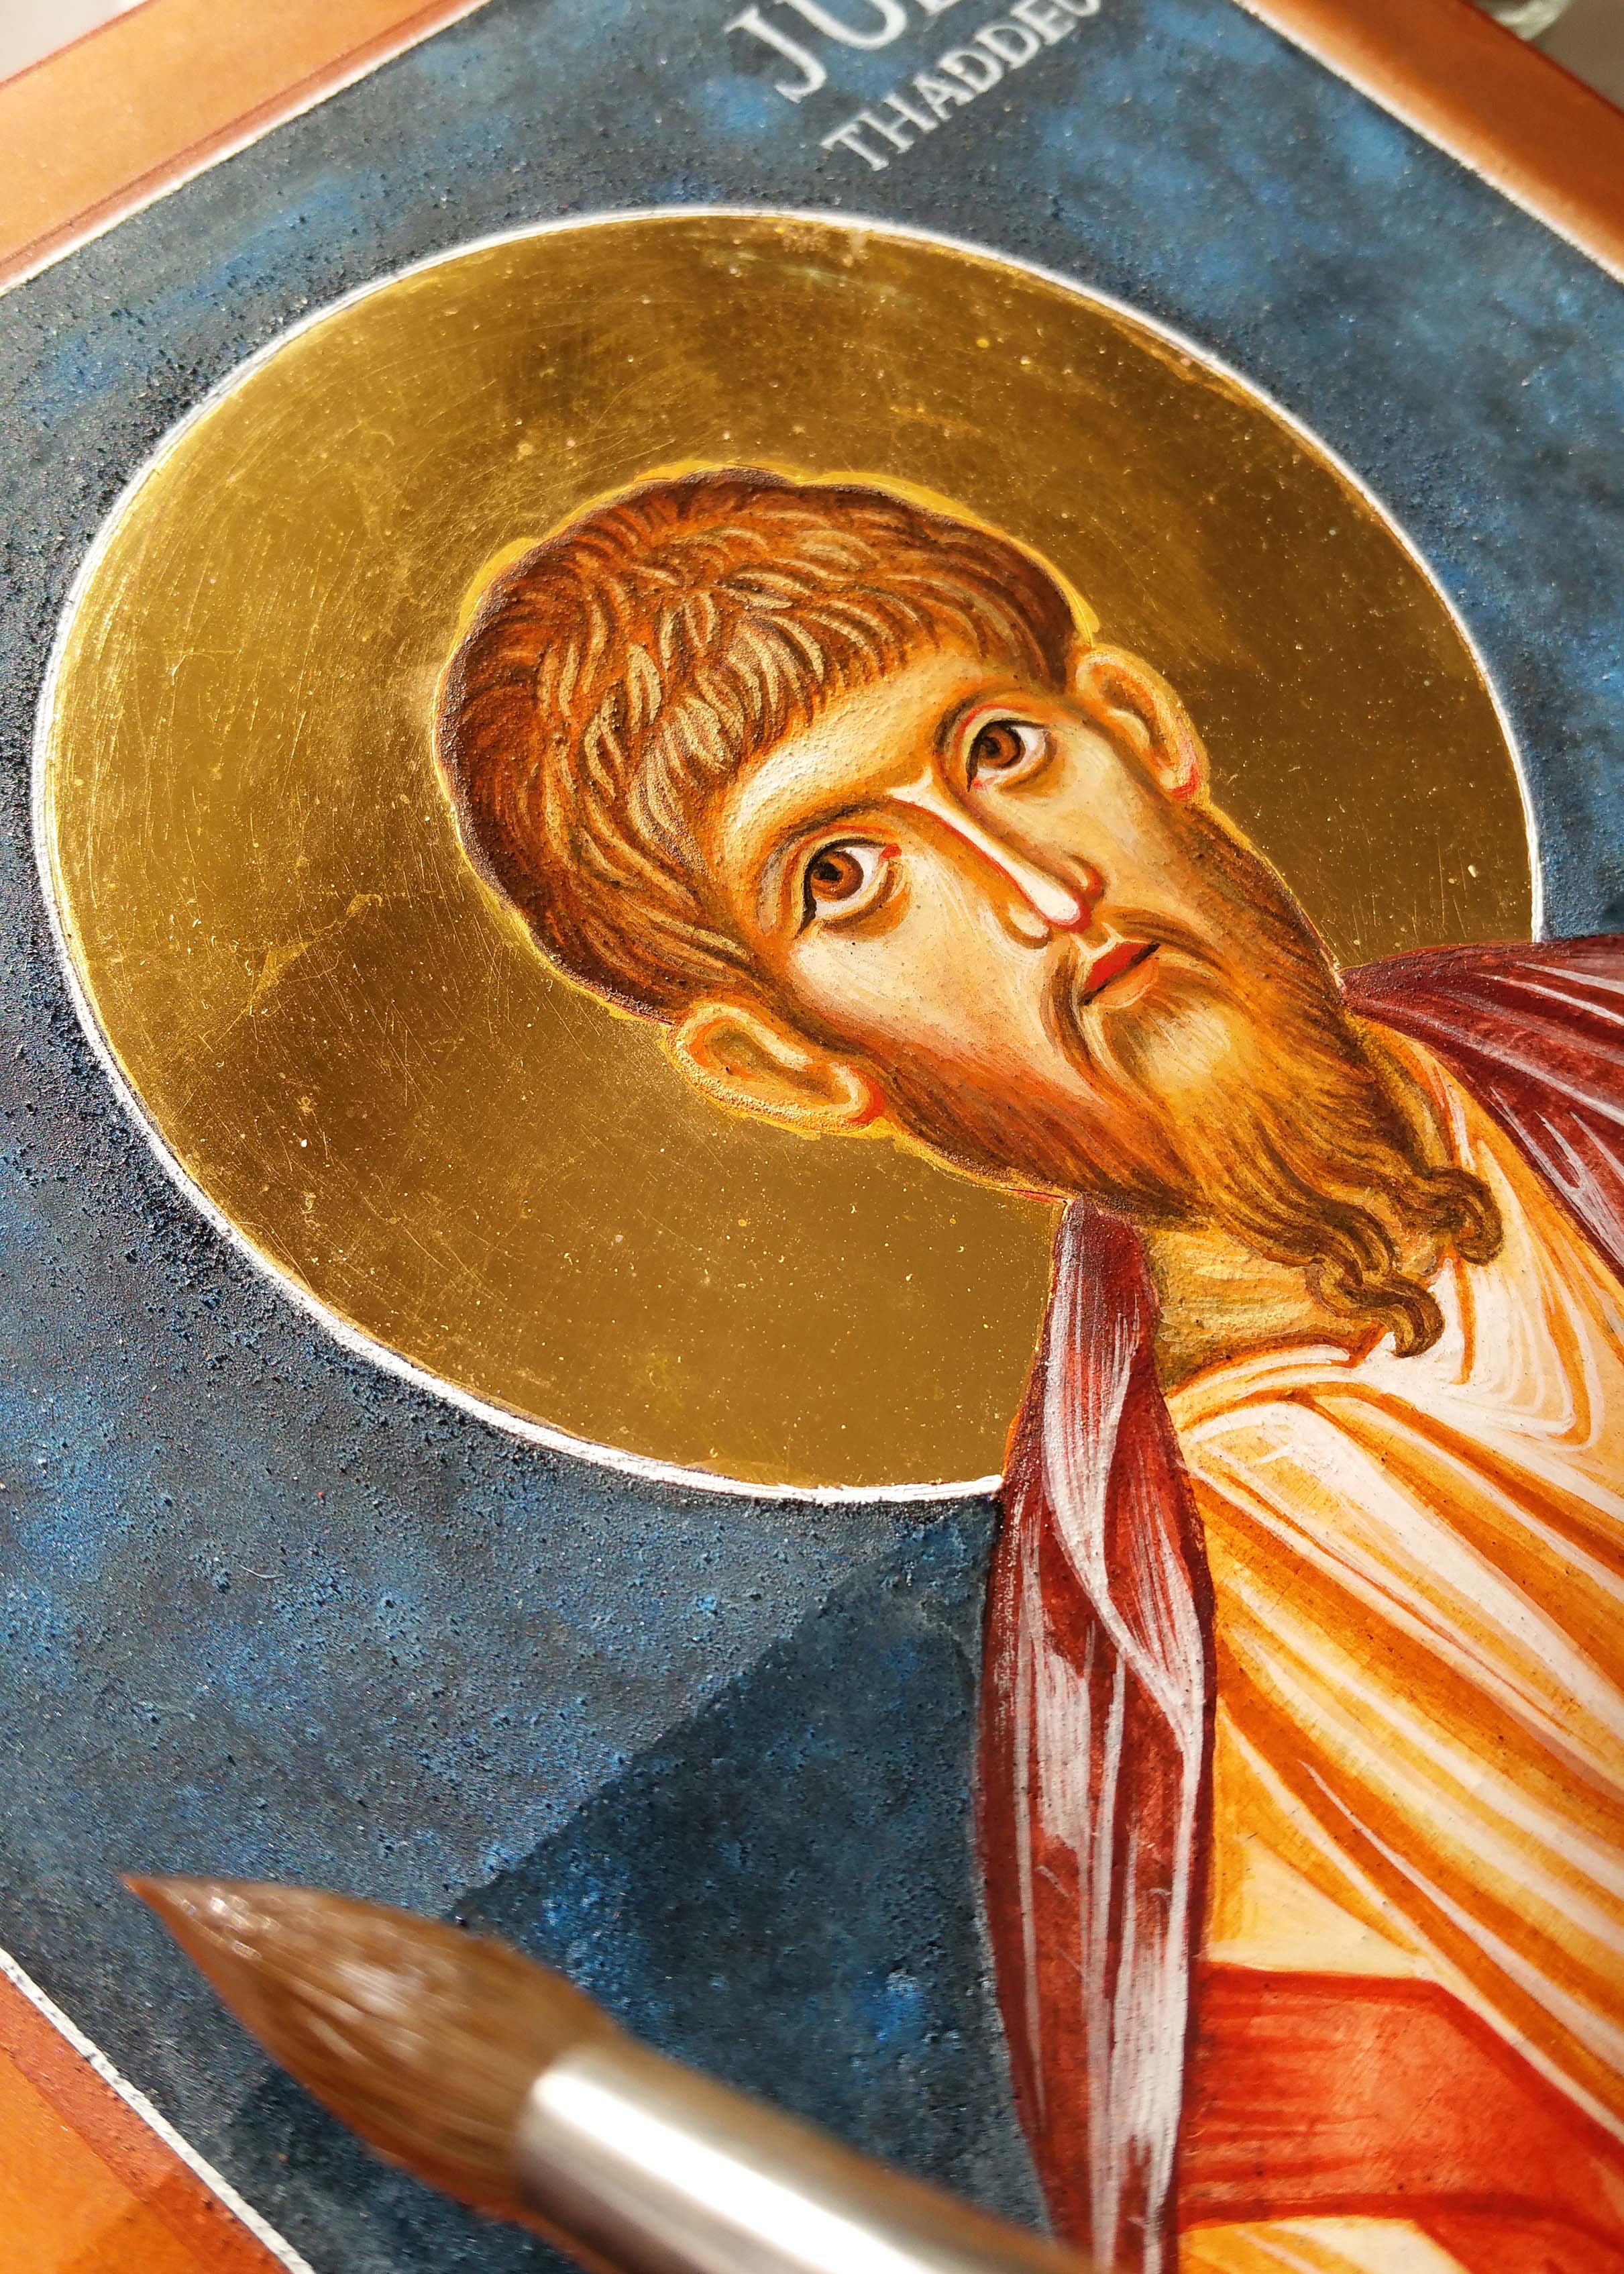
Going back to the face, I added the highlights back in, gave the hair a glaze of red ochre deep and a touch of ivory black and added the missing ribbons which signify listening.
I then added a wash of lapiz lazuli over the cloak and inner ring.

Final touch was to take the liner pen and draw the lines back crisply over the new red border. All in all, about week’s work but I was much happier with it!
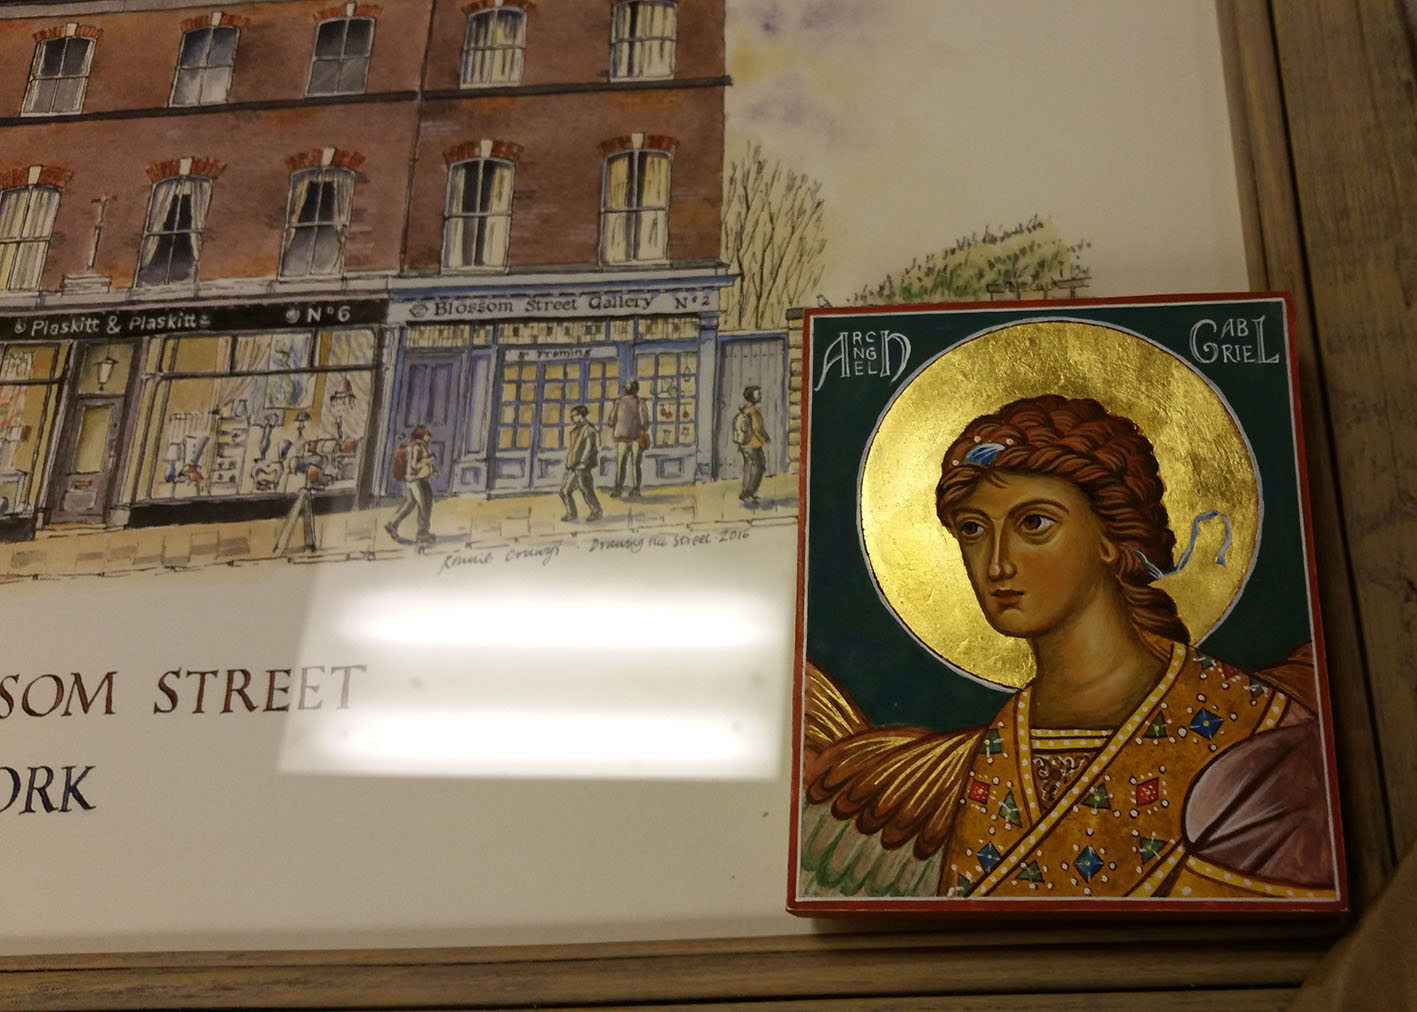
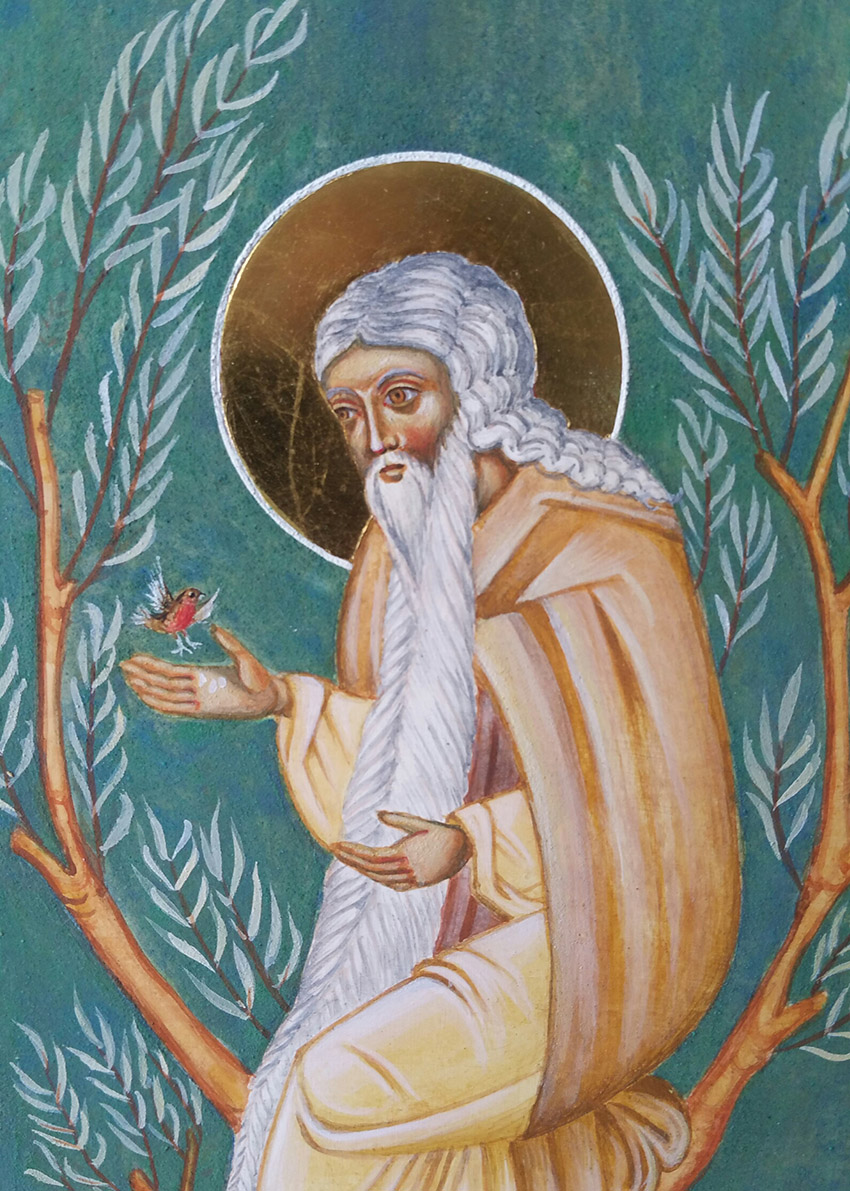
You can see more details of the finished icon here and as always, thanks for reading!