Icon Diploma Student

Learning to see with the eye of the heart

Posts tagged ‘spirituality’

Archangel Michael – final part 4

Welcome back to the last of this series – the final stage of painting the face where everything (hopefully) all comes together with some final rose tints, deep shadow lines and snow highlights….

Face and hair completed on icon of Archangel Michael
The warm rose tints have been applied here

Hints of rose are applied to the lips (just the upper middle part – leave shadows in the corners), cheeks, side and lower tip of the nose, crease of the upper eye, the lower part of chin and a triangular shape in the corner of the eye. Take care to apply in a thin wash blending with care.

Rose tints can be applied as a wash on the face between shaded areas and highlights.
Options for the rose red are:
a. Yellow Ochre Light (Maimeri) with a pinch of English Red Light
b. Yellow Ochre Light (Maimeri) and vermilion.

The dark raw umber details and hairline shadow still need to be applied..

Eyes:
Most of the eye whites are filled with the shadow tones and painted in two stages. The first is to mix raw umber and white – not using too much white or it becomes stark and opaque. Note the crescent shape of the eye and that the grey appears only on one side of the eye – the side opposite the direction that the face is looking. Leave the other side of the eye in the underpainting – something that I’ve completely overlooked with this one! Then apply the white crescent highlights around the iris. The pupil and edges of iris are black.

Dark raw umber shadows applied to lip creases, eye lids, ears, brow and hair line

Adding the red line under the chin gives a glow. I add the final white ‘snow’ highlights last of all – if they look too stark, add a wash of French Ochre. At the final stage, add a glaze of dilute egg stock over the entire face.

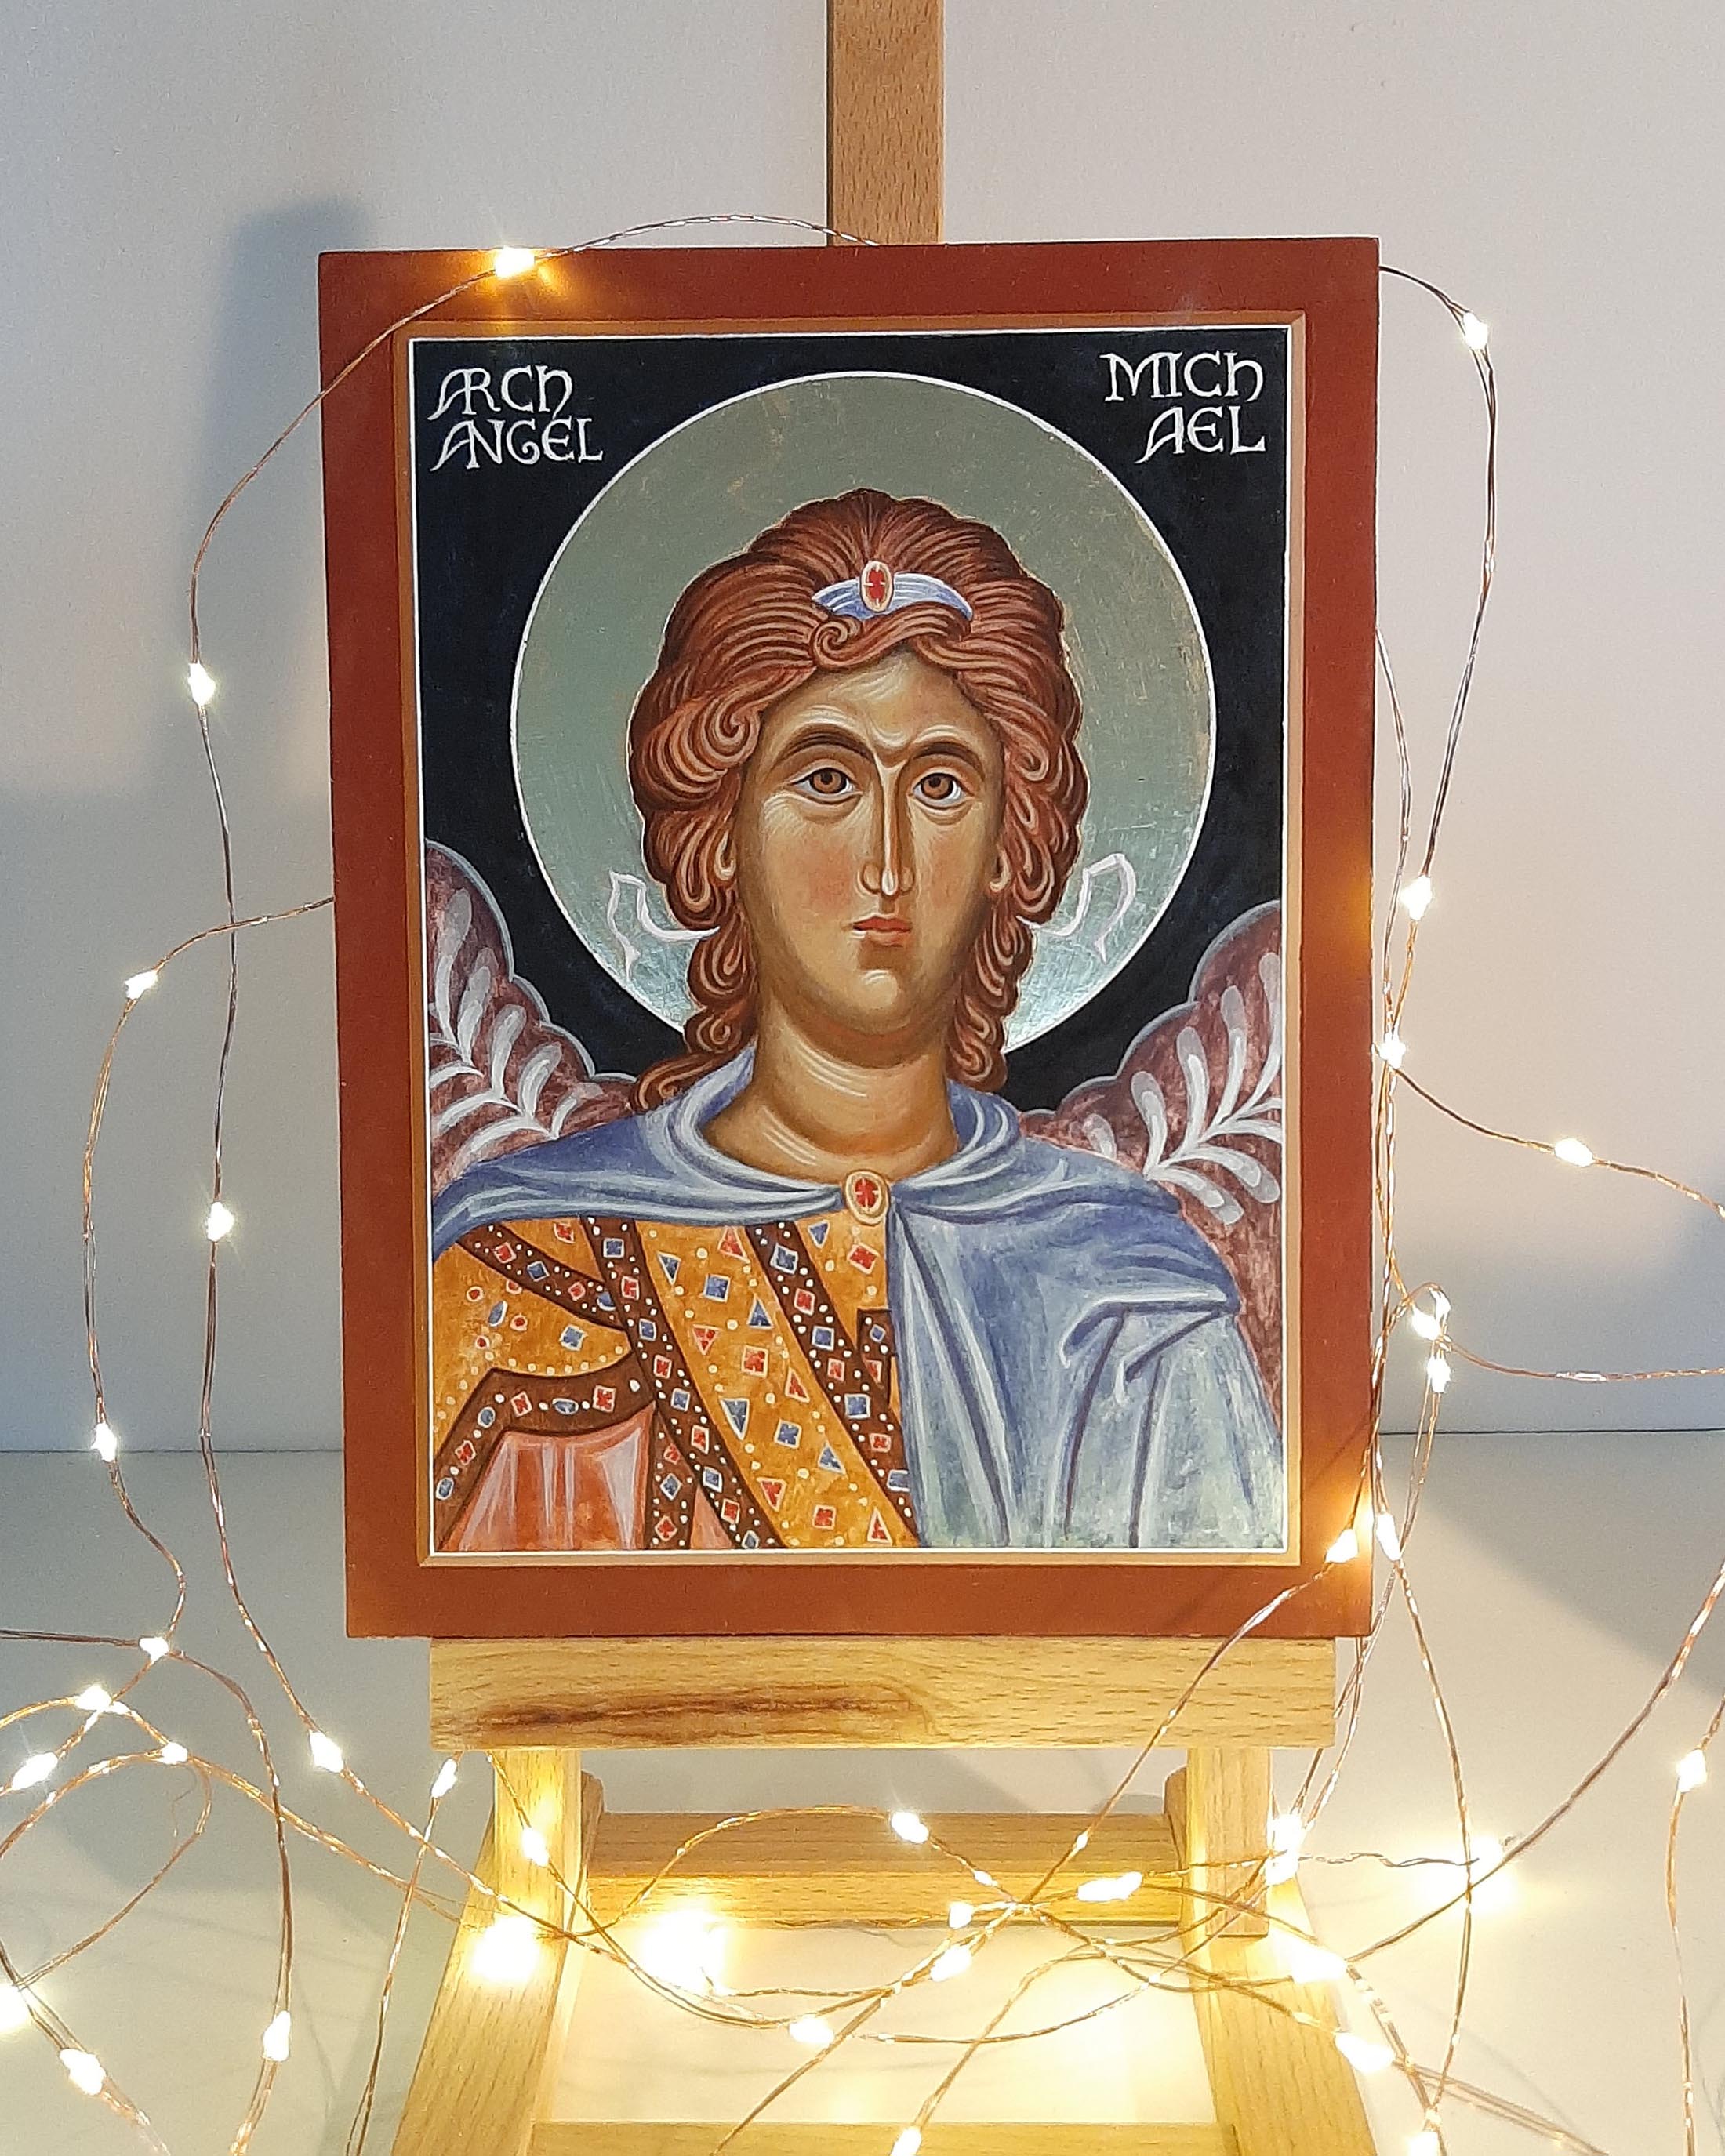
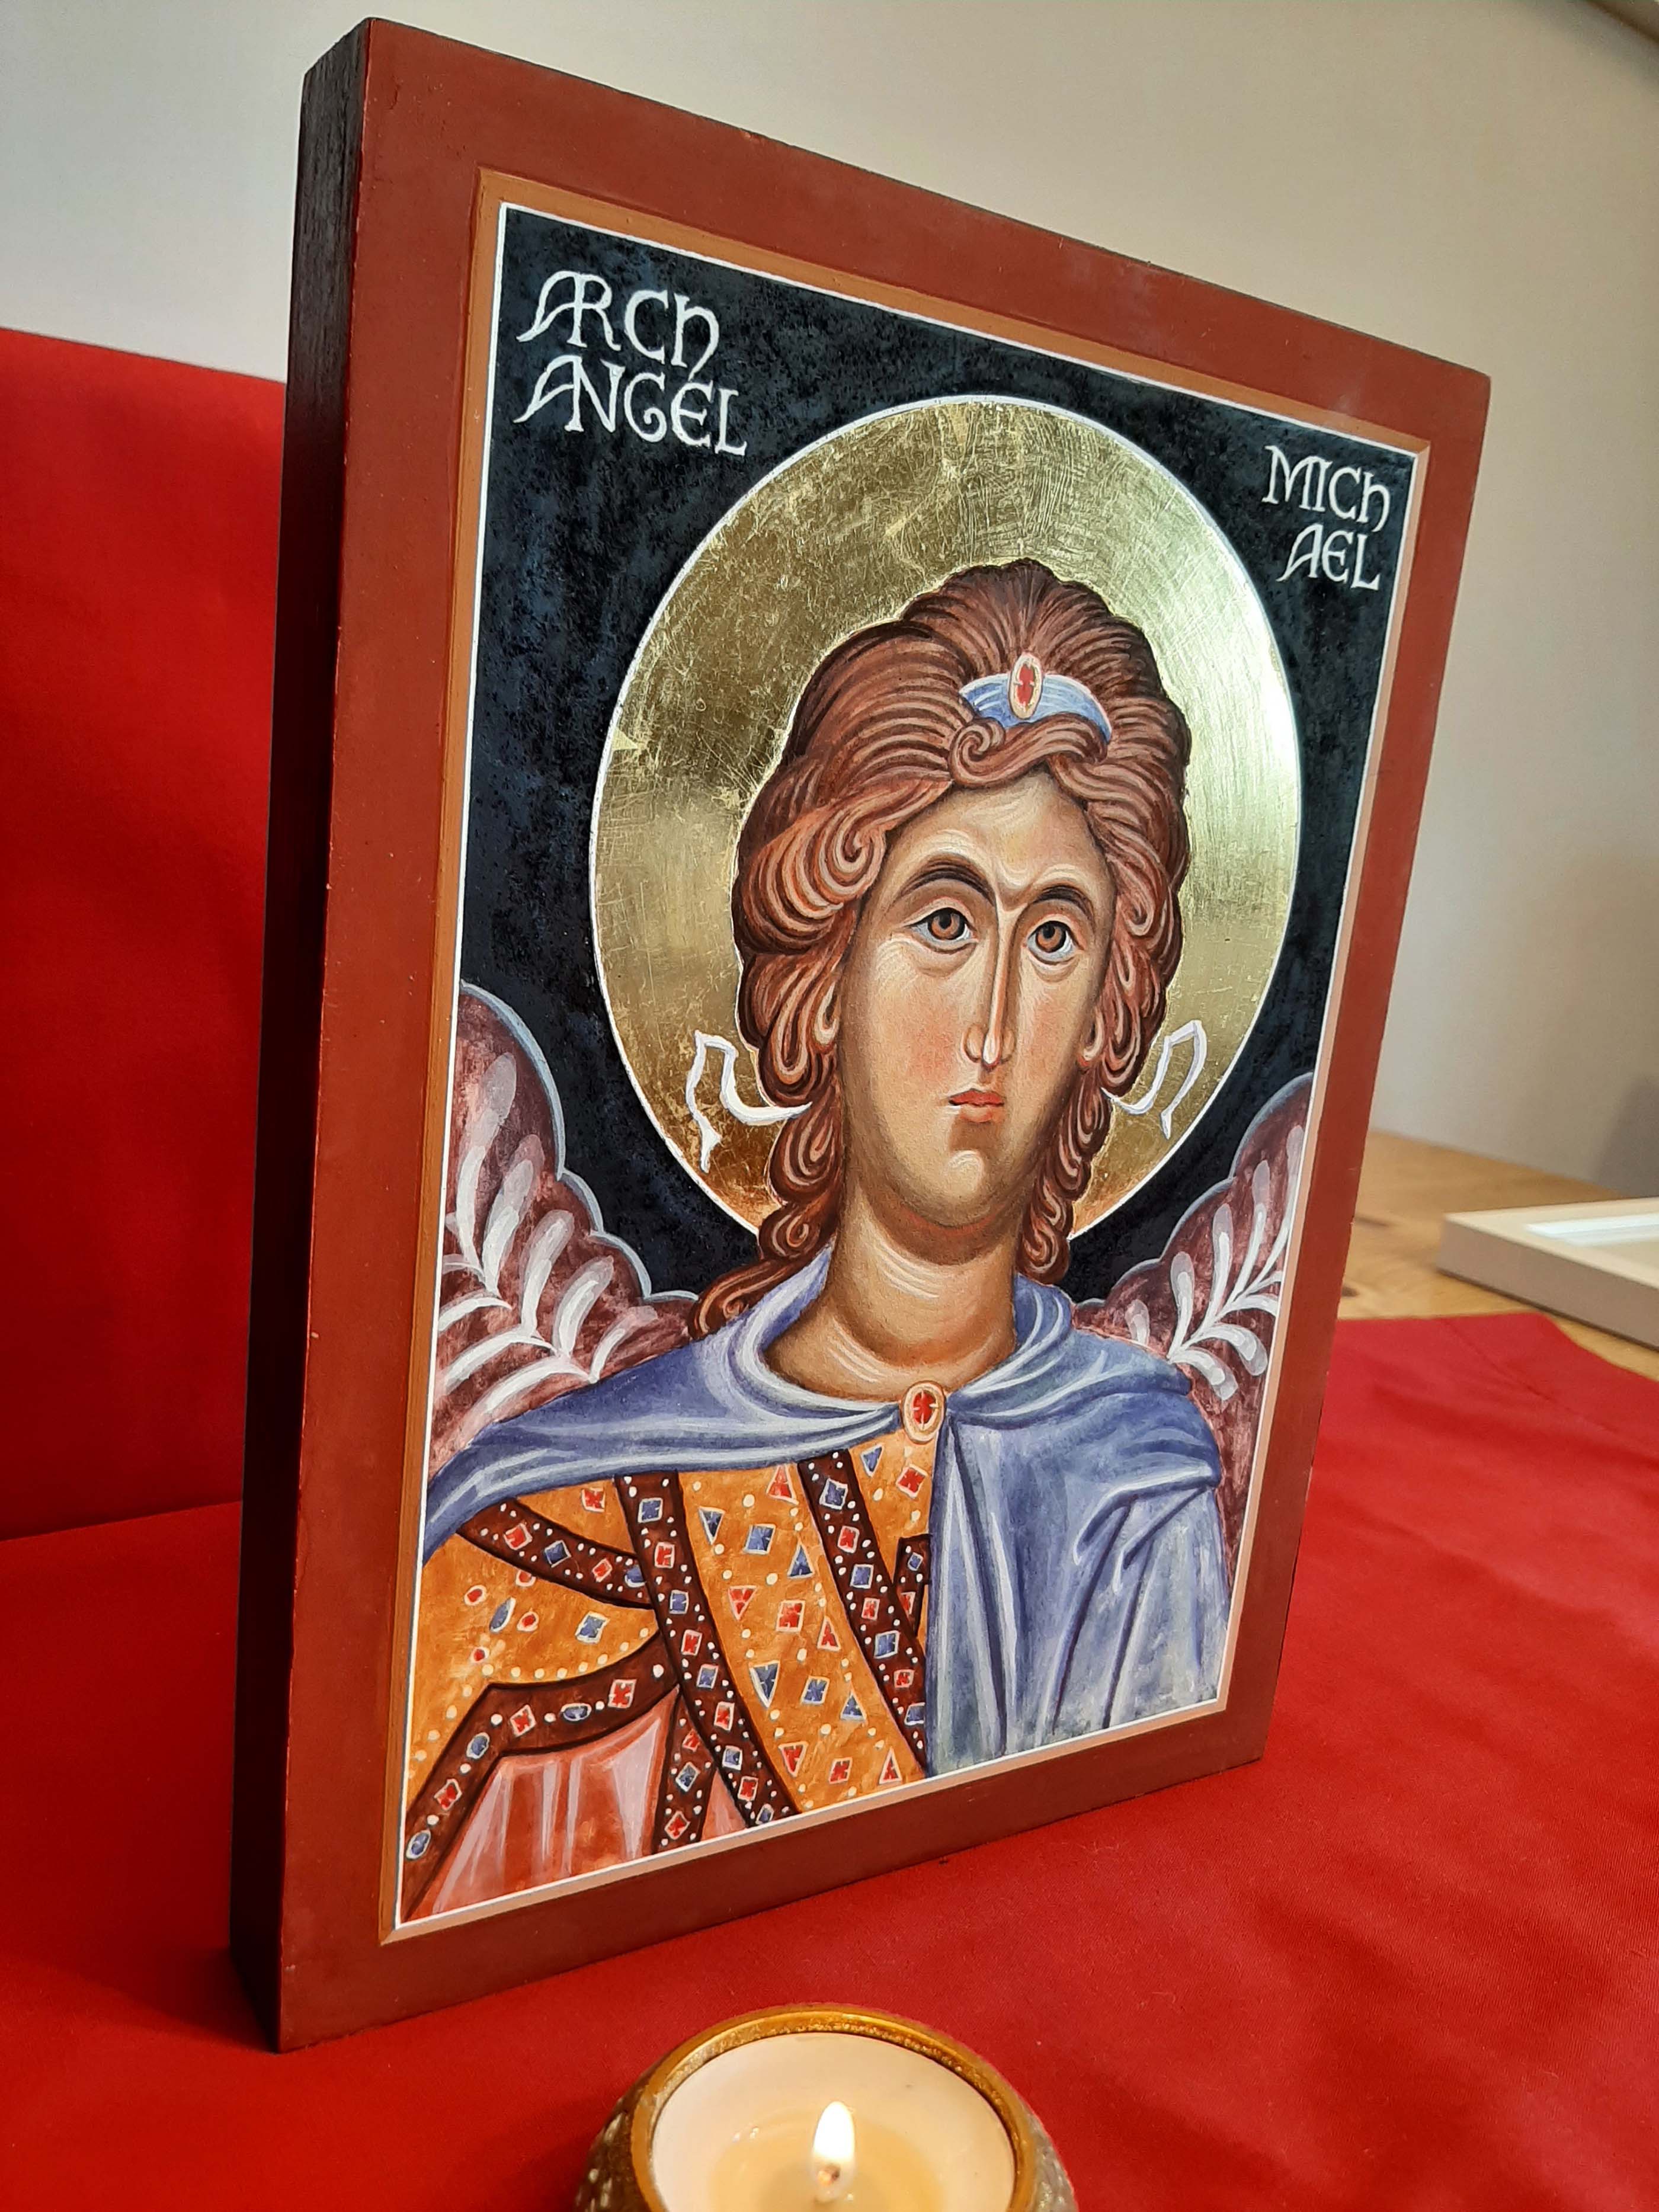
Done, but not finished! Time to add the ribbons and hair band, add highlights to the garments and finish details of jewels then finally to add the name.

The background paint will be well and truly dry by this time and will be a lot easier to apply the lettering. I draw the lettering out on paper then trace it on. I rub white pigment into the back of the tracing paper and trace that down on the icon. This leaves a faint outline of the name which I can paint over with white egg tempera using a fairly stong blend of white to get a creamy consistency.

Lettering for the title of Archangel Michael

I fit a picture cord to the back with a small certificate of authenticity.

Finishing the back of icon with paicture cord and label

In wrapping up this mini- series, I’d like to wish you and yours a very happy and peaceful Christmas and as always, thank you for joining me here.

Archangel Michael finished icon

All the very best for 2025

Ronnie 🙂

PS Finished icon available to buy here

Icon of Archangel Michael finished and lit up

Archangel Michael – Part 2

Welcome back to this reminder to myself as to how I painted this icon of Archangel Michael. By this time, the underpainting should be dry and stable ready for the membrane layers. 

These layers give the middle tone and I’ve found them quite tricky and easy to go wrong! I’ve learnt that if I smear or smudge it at any stage, just leave it! Go have a cup of tea and wait till the layer has fully dried and only then paint over it. If I do try and tidy up too soon – it leads to patchy holes back to the gesso.  

Using Yellow Ochre light (Maimeri) and a little Vermillion or English Red Ochre light and a touch of Titanium White, mix up a warm golden orange. French Ochre Havannah is another favourite of mine for the membrane. Go easy with the white as it’s a strong pigment. It’s best to mix it up separately then add a dash with the tip of your brush until you get a warm rich red gold. Paint out samples of the colour on some paper to see how it looks.  

Deepening the layers of the membrane onthe face of icon painting
Build up layers until you have a rich deep gold for the mid tones.

With a large squirrel mop held at 45 degrees or less to the board, not upright, sweep a light, even wash of membrane colour over the face but NOT the hair. Apply at least 4 or 5 membranes until you get a rich even golden colour. This is where you see how important it is to have a strong underpainting. If there are area on the membrane which are patchy, apply another layer and puddle in extra pigment where thin. 

Adding a thin layer of egg stock over the hair
I’ve added a glaze over the hair to seal the bare gesso

When the membranes are complete, you can apply a separating glaze of 10% egg, 90% water.

Aidan’s Tip: Go easy with the dilute egg stock mix – too much egg leaves a slippery surface which is hard to paint on.

Next stage is to work to deepen the shadows using Avana and a dash of ivory black or raw umber dark.

Defining the icon features with darkened tempera painting
Modelling the shape of the face with the darker layers

Again, building the forms up in thin layers – deepen the upper and lower eye sockets, the sides of the nose, the cheeks, jaw and hair lines. Deepen the upper lip, the shadow below the nose tip, the mouth meeting line, the corners of the mouth and the dip below the lower lip and round the chin.  Model the shape of the neck and where the garments leave a shadow. Last of all, finish the shadows with a thin glaze of dilute egg stock and leave it at least overnight.

Aidan’s Tip: If you get a paintbrush hair (or cat hair!) in the mix leave it alone until the paint is dry, then brush it off. It’s really easy to mess up at this stage and damaging the underpainting.

That’s all for this post…to be continued with adding the highlights.

In the meantime, if you’d like to see the finished icon for encouragement – it’s over here

Thanks for reading,

Ronnie 🙂