Icon Diploma Student

Learning to see with the eye of the heart

Posts tagged ‘pigments’

Membrane Technique for icon faces

icon painter's work space

Spring cleaned workspace

I’ve had a few requests for a glimpse at my notes from the icon diploma course taught by Aidan Hart at the PSTA. There are a lot to sift through and they’re a bit illegible, even to me. However, I plan to revisit and re-write them at each stage of painting an icon but bear with me as this may take a while!

painting with italian Gold Ochre pigment and Ivory black

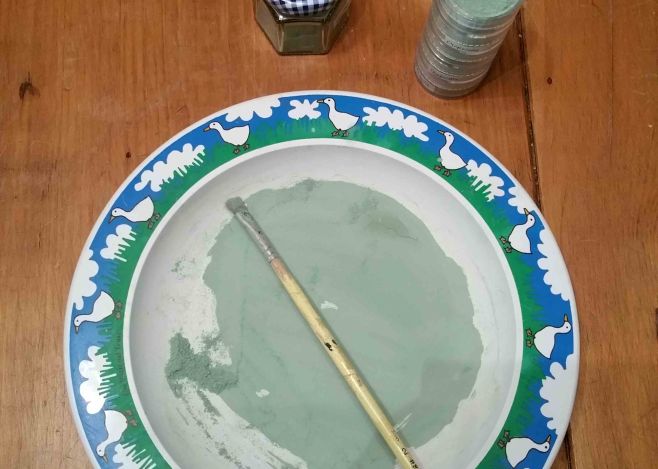
Underpainting the faces

I’ve already made a start with the pigment grinding crib sheet and now that I’m currently underpainting an icon, I’ve written up my notes for this stage. They are on my website on the Crib Sheet page and I will share a link at the end of this post.

underpainting face of Blessed Virgin and Christ Child

Underpainting complete

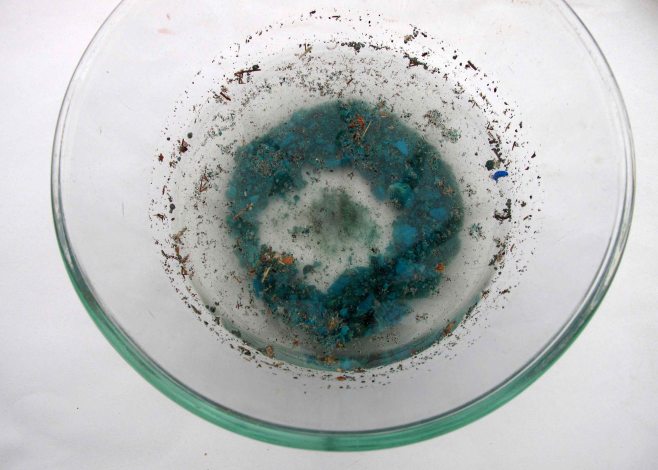
For the underpainting, I’ve found that mixing an earth green from Italian yellow ochre and ivory black has been a little less sticky than using terre verte.

Don’t forget to apply a dilute wash over all the unpainted areas before applying the membrane or it won’t cover evenly.

I still find it tricky to apply the membrane layers evenly but at least I know better not to fiddle with uneven areas. Just go and do something else for a few hours to let it properly dry then apply another couple of thin layers.

icon painting with membrane technique

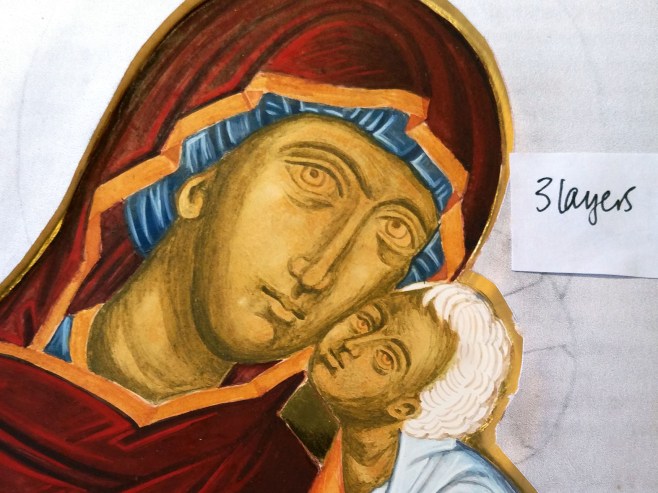
Three layers of thinly painted membrane applied

Next stage is applying the shading and highlights, but for now here are my notes: Membrane technique part one underpainting and membrane

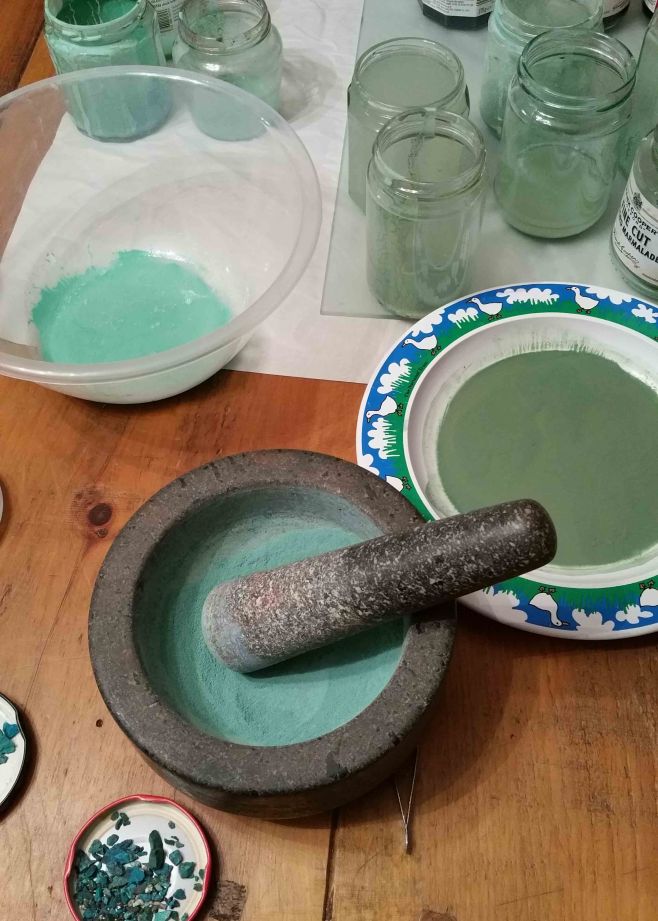
By the way, the pigment grinding demonstration went well. More on the results of that when I use the pigment to paint!

finished mid tones on an icon face

Five layers of the membrane applied

Thanks for reading,

Ronnie

Colour Crunching

3 Stones variety of colour

Variety of colour in a handful of washed ‘Chrysocolla’

A very happy New Year to you! Hope you are all blessed with a little peace wherever you are over these twelve days of Christmas.

Our final icon for the diploma course will be a festal icon. I have chosen the Nativity in which I am planning to use some soft earth colours. To get me set up for the year ahead, I’ve been crunching minerals to make my own pigments with some surprising results.

I had a small batch of Chrysocolla which I bought from the Lapidary Shop in Burslem, Staffordshire. This is a bright blue-green copper based mineral, closely associated with malachite and azurite.

1 Chrysocolla rough stones

Chrysocolla as rough cut mineral fragments

Before I began to grind it with a pestle and mortar, I separated out some of the brighter and darker pieces to divide it into three batches.  This post is mostly photos so please join me for a minute to enjoy the gorgeous rich colours which have emerged from this exciting mineral.


2 Chrysocolla washing stones

First wash the chrysocolla to remove debris, then let it dry out.

4 Chrysocolla colour variants

Grind with pestle and mortar before fine-grinding on the slab and muller.  Note the jars for levigating the finely ground mix scooped up from the slab.

Crunch about a tablespoon at a time until it is the texture of fine salt. Then tip the powder on to the slab, add a tablespoon of water and grind until really smooth, anything from 5 to 10 minutes with firm rotating movement.

The next few photos will give you an idea of the variety of greens which can be found in this mineral.

5 Chrysocolla.jpg

Add water by the spoon to the pigment. Use a plastic palette knife to scoope the mix back to the middle.

6 Chrysocolla

Copper green

7 Chrysocolla

Earth green

When the pigment is smooth and fine, use a spatula and a mop paintbrush to scoop up the mix and drop into a jar of water. Let it settle for half an hour, then pour off the top water into another jar and let that settle. Have another jar of water to rinse your brush in between batches and you will collect more pigment as you go along. I used over a dozen jars for this process.

8 Chrysocolla

Softer earth green

9 chrysocolla

Blue green

I poured the mix from the bottom of the jars onto plates as it dries out faster. When it’s dried, use a stiff brush and gather it into a jar.

10 Drying pigments

levigated chrysocolla pigment

Variety of greens all from separating and levigating the ground pigment.

To see Aidan Hart demonstrating this process in one of the diploma classes, please have a look at the You Tube video Aidan Hart demonstrates grinding azurite pigment.

I now have a great selection of greens! I also ground up some Haemetite, azurite, pyrites and malachite. All came out pretty well.

Thanks for reading.

Ronnie

jars of pigment

Array of green pigments all from the same batch of chrysocolla.