Icon Diploma Student

Learning to see with the eye of the heart

Posts tagged ‘Drawing’

Sanding for St Hilda of Whitby

Icon board

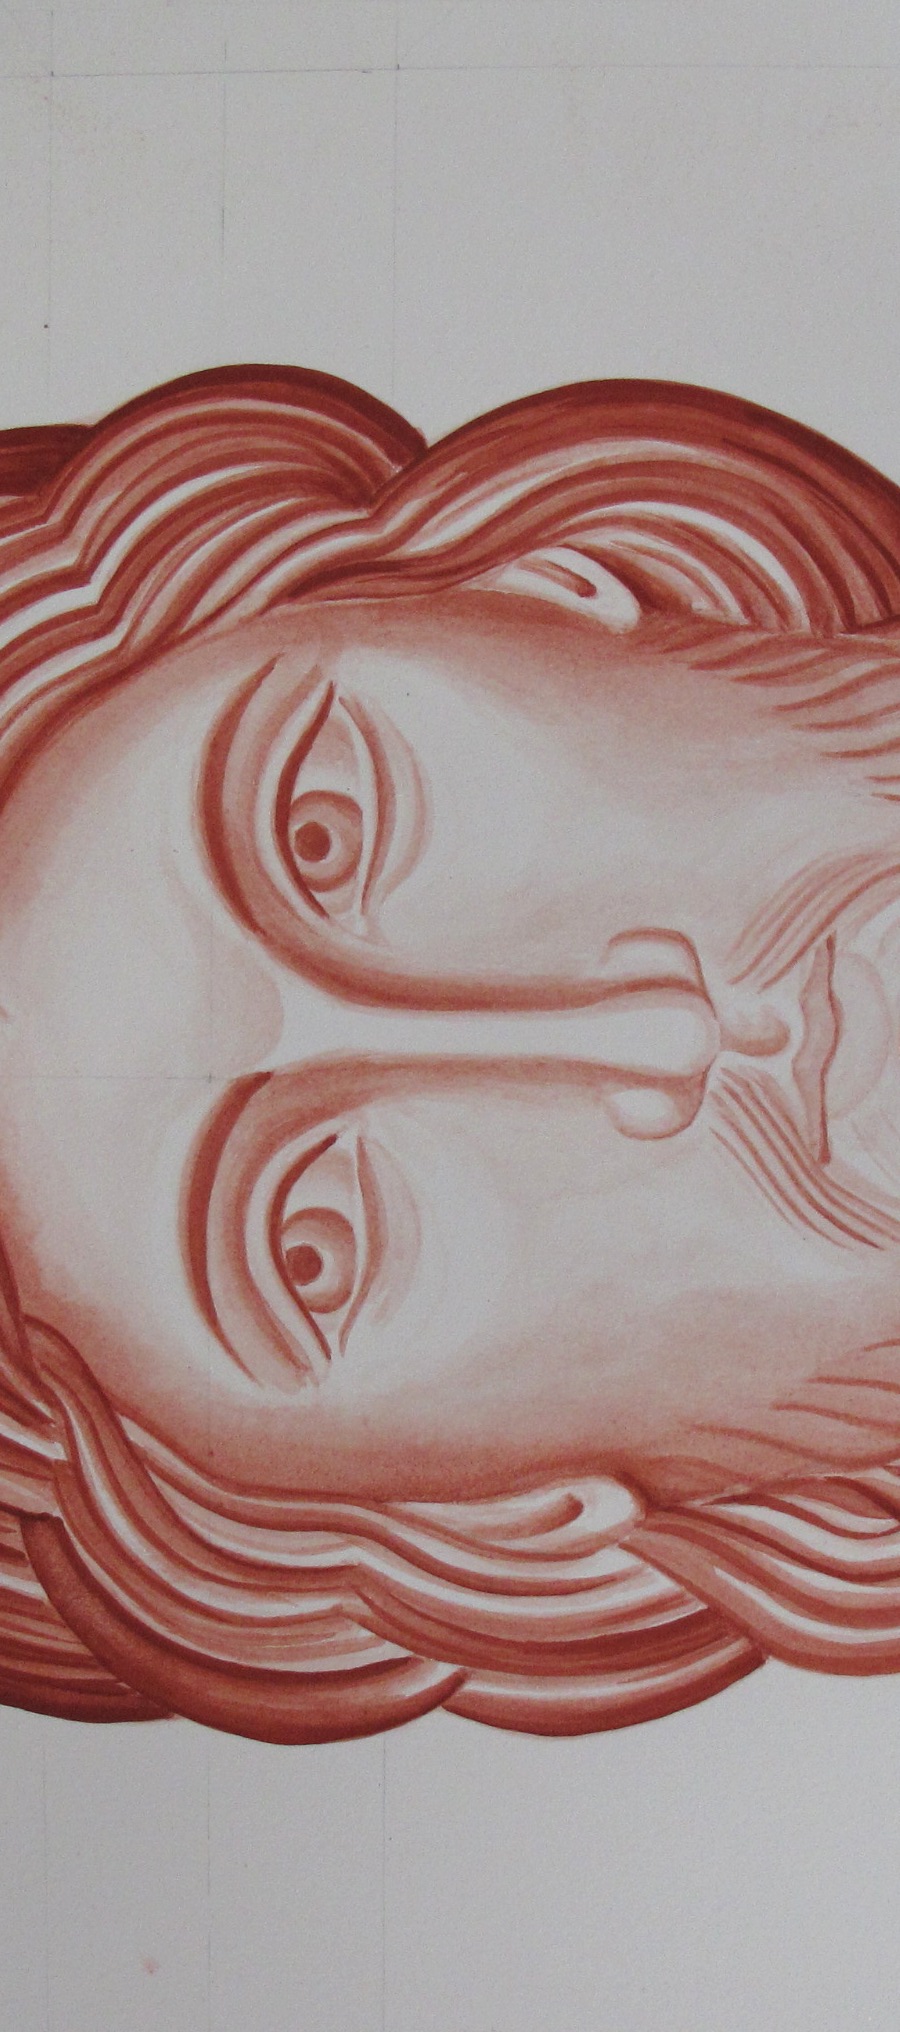
Highlight surface scratches on a gessoed icon board by rubbing in red ochre pigment

St Hilda of Whitby

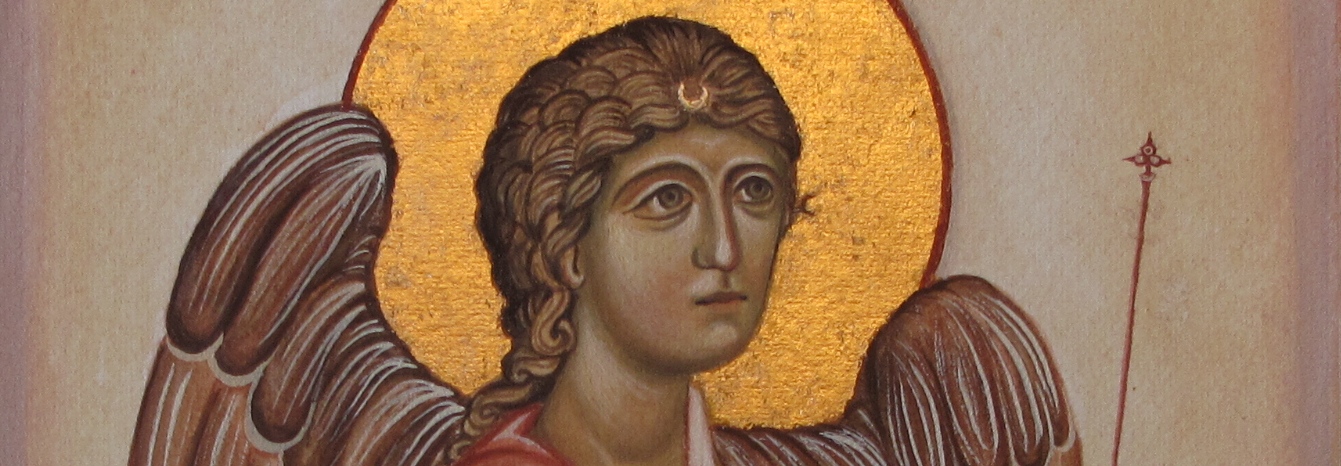
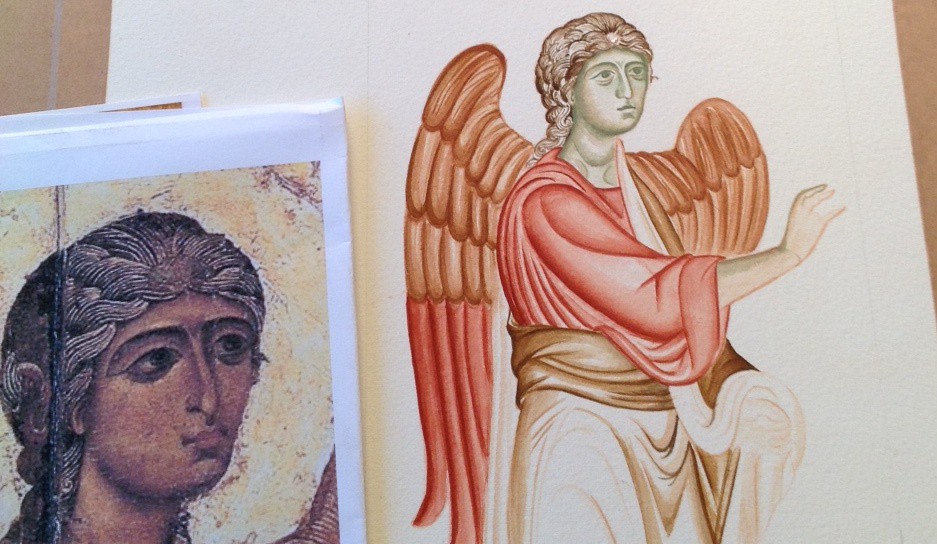
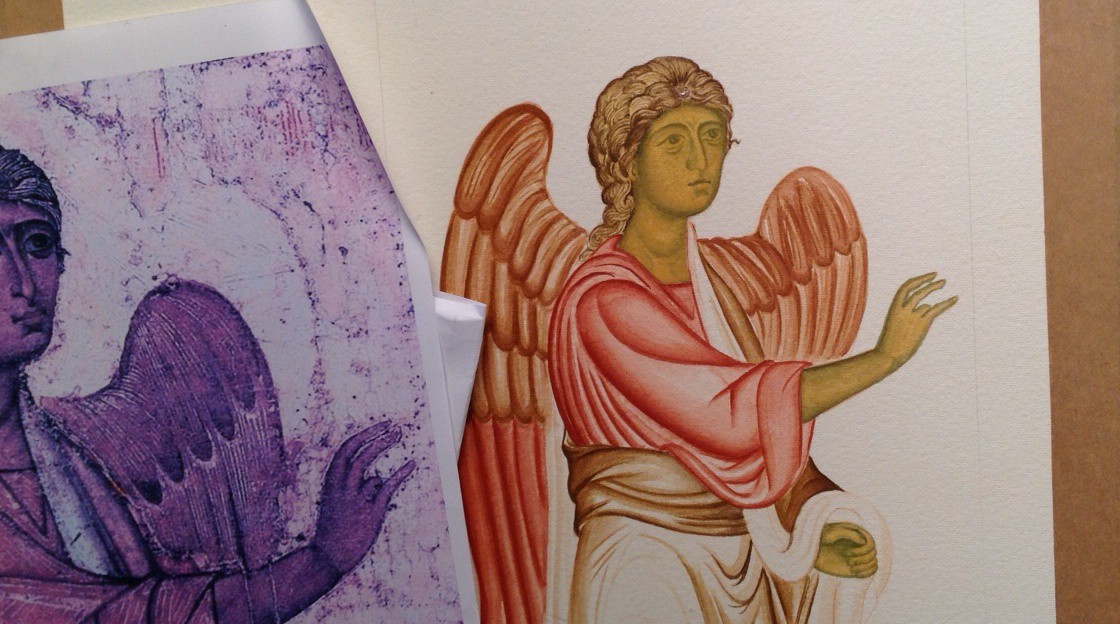
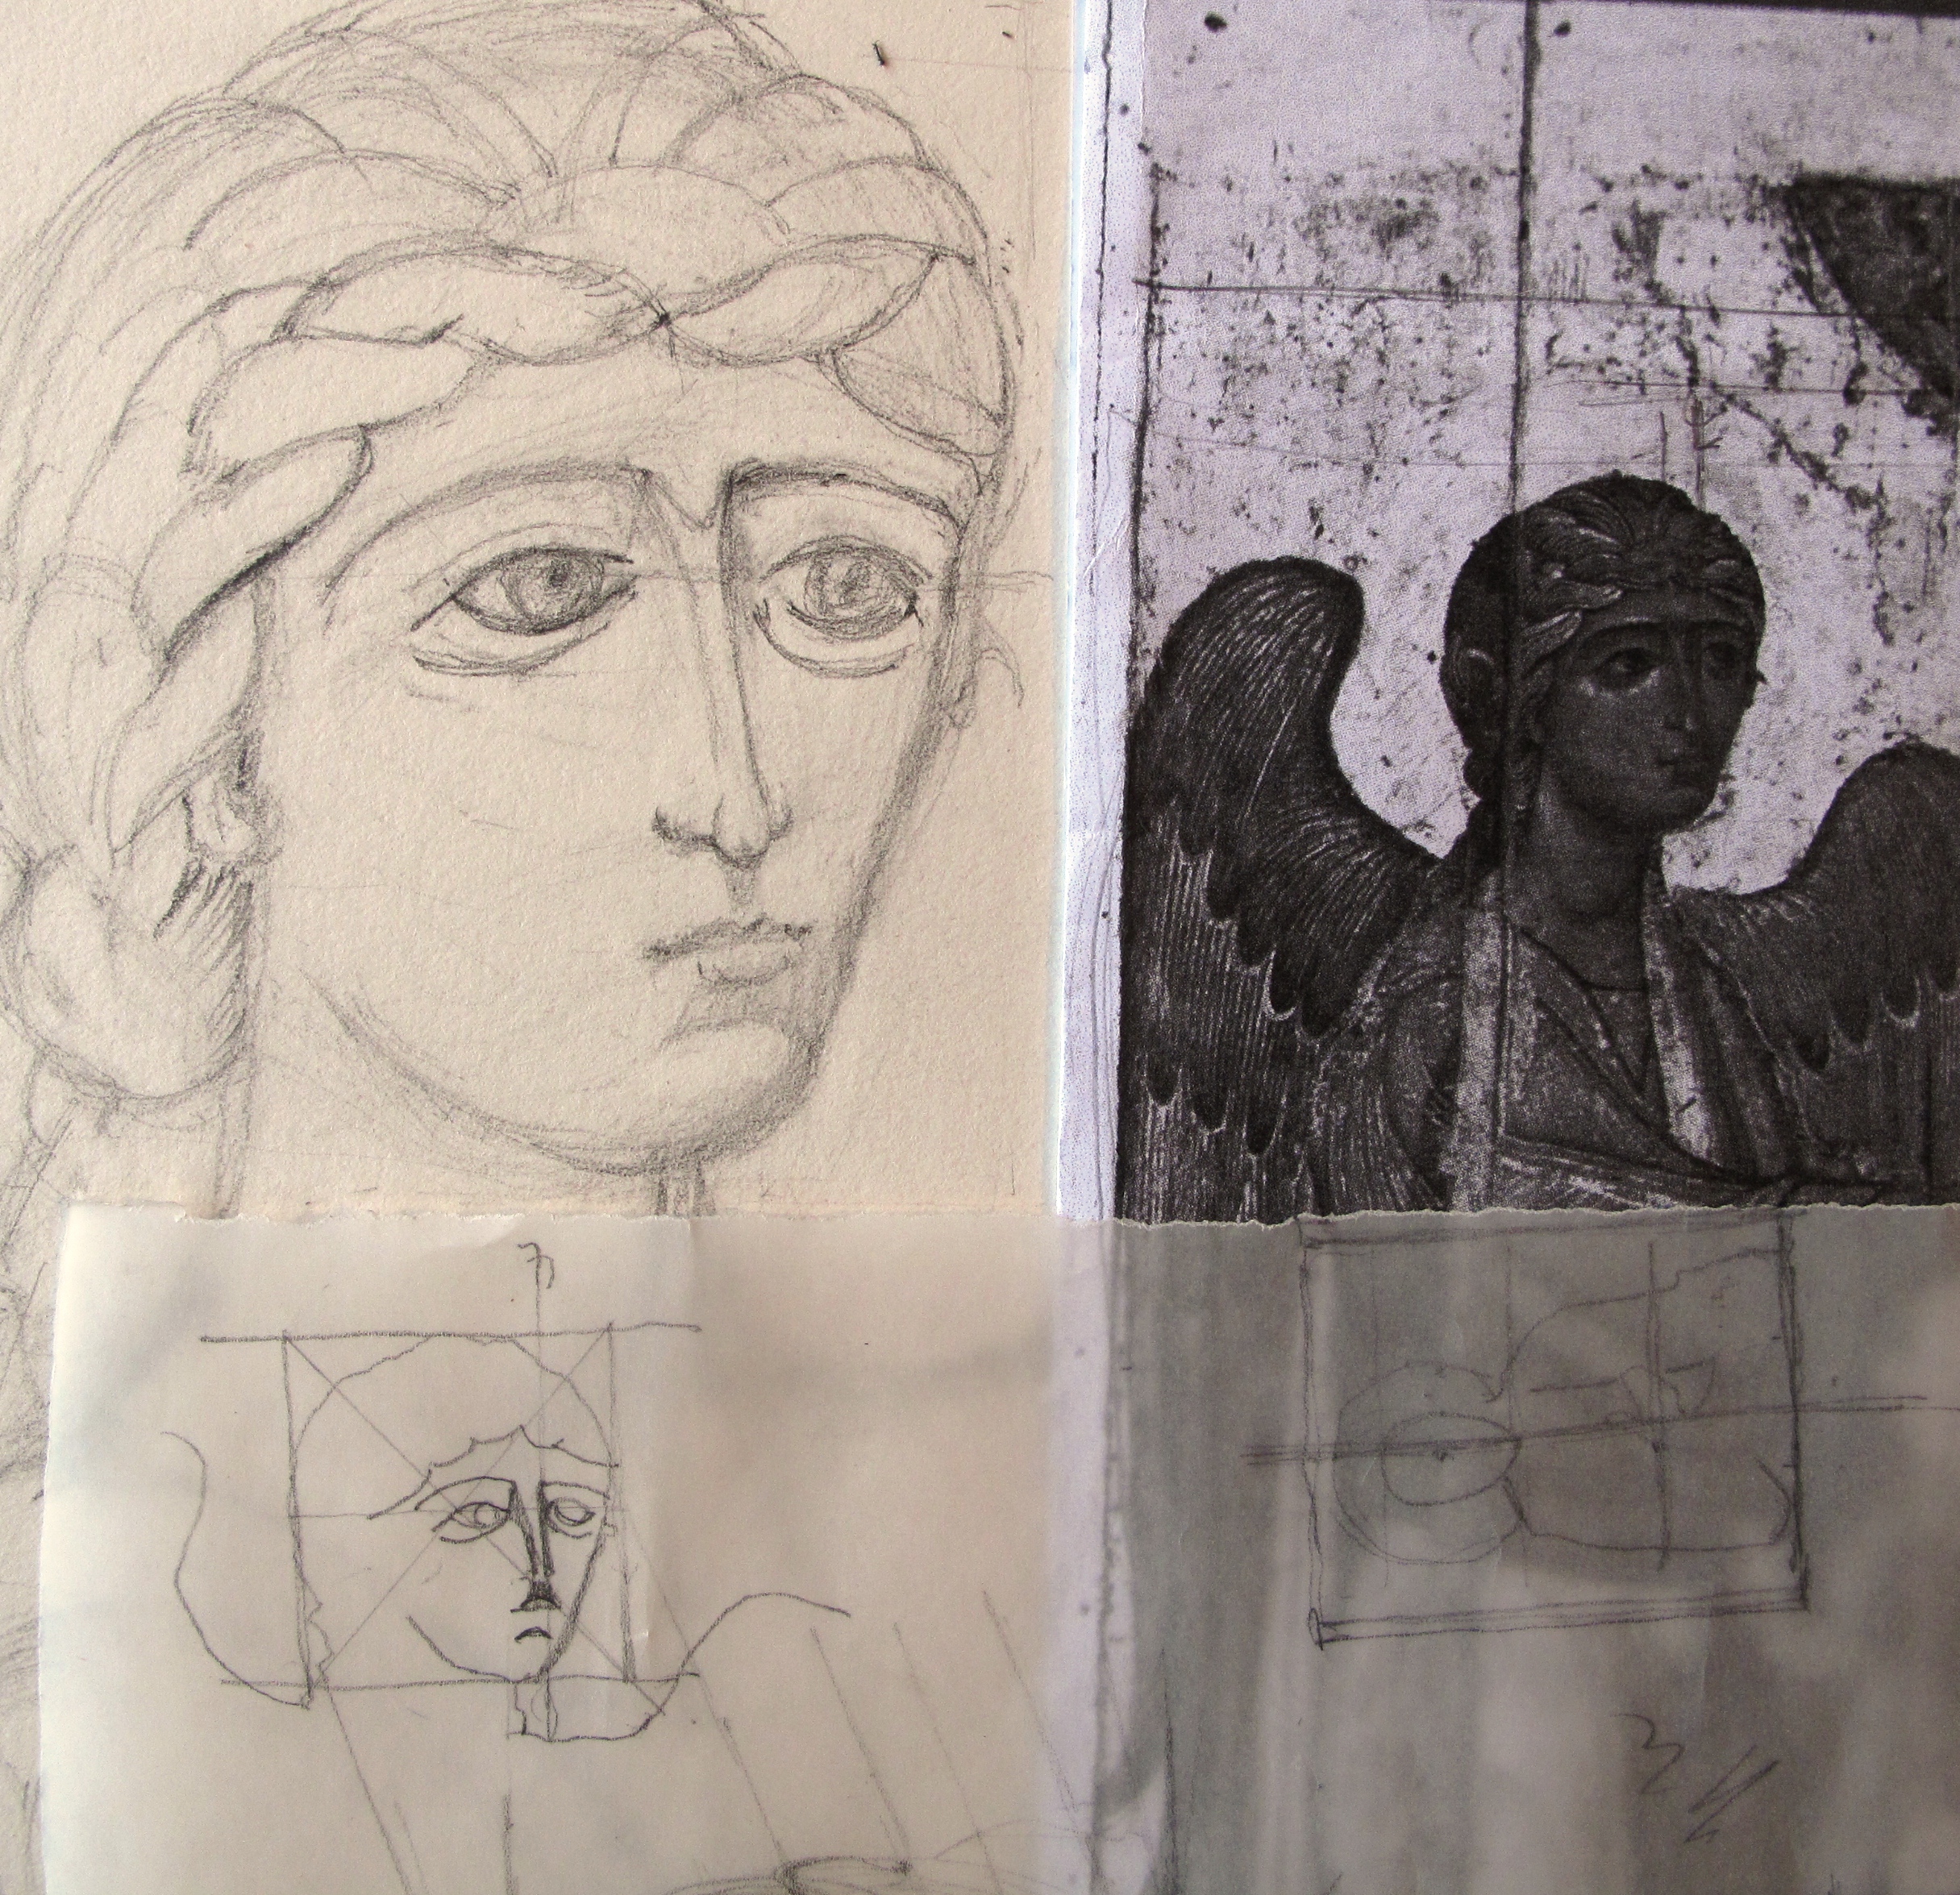
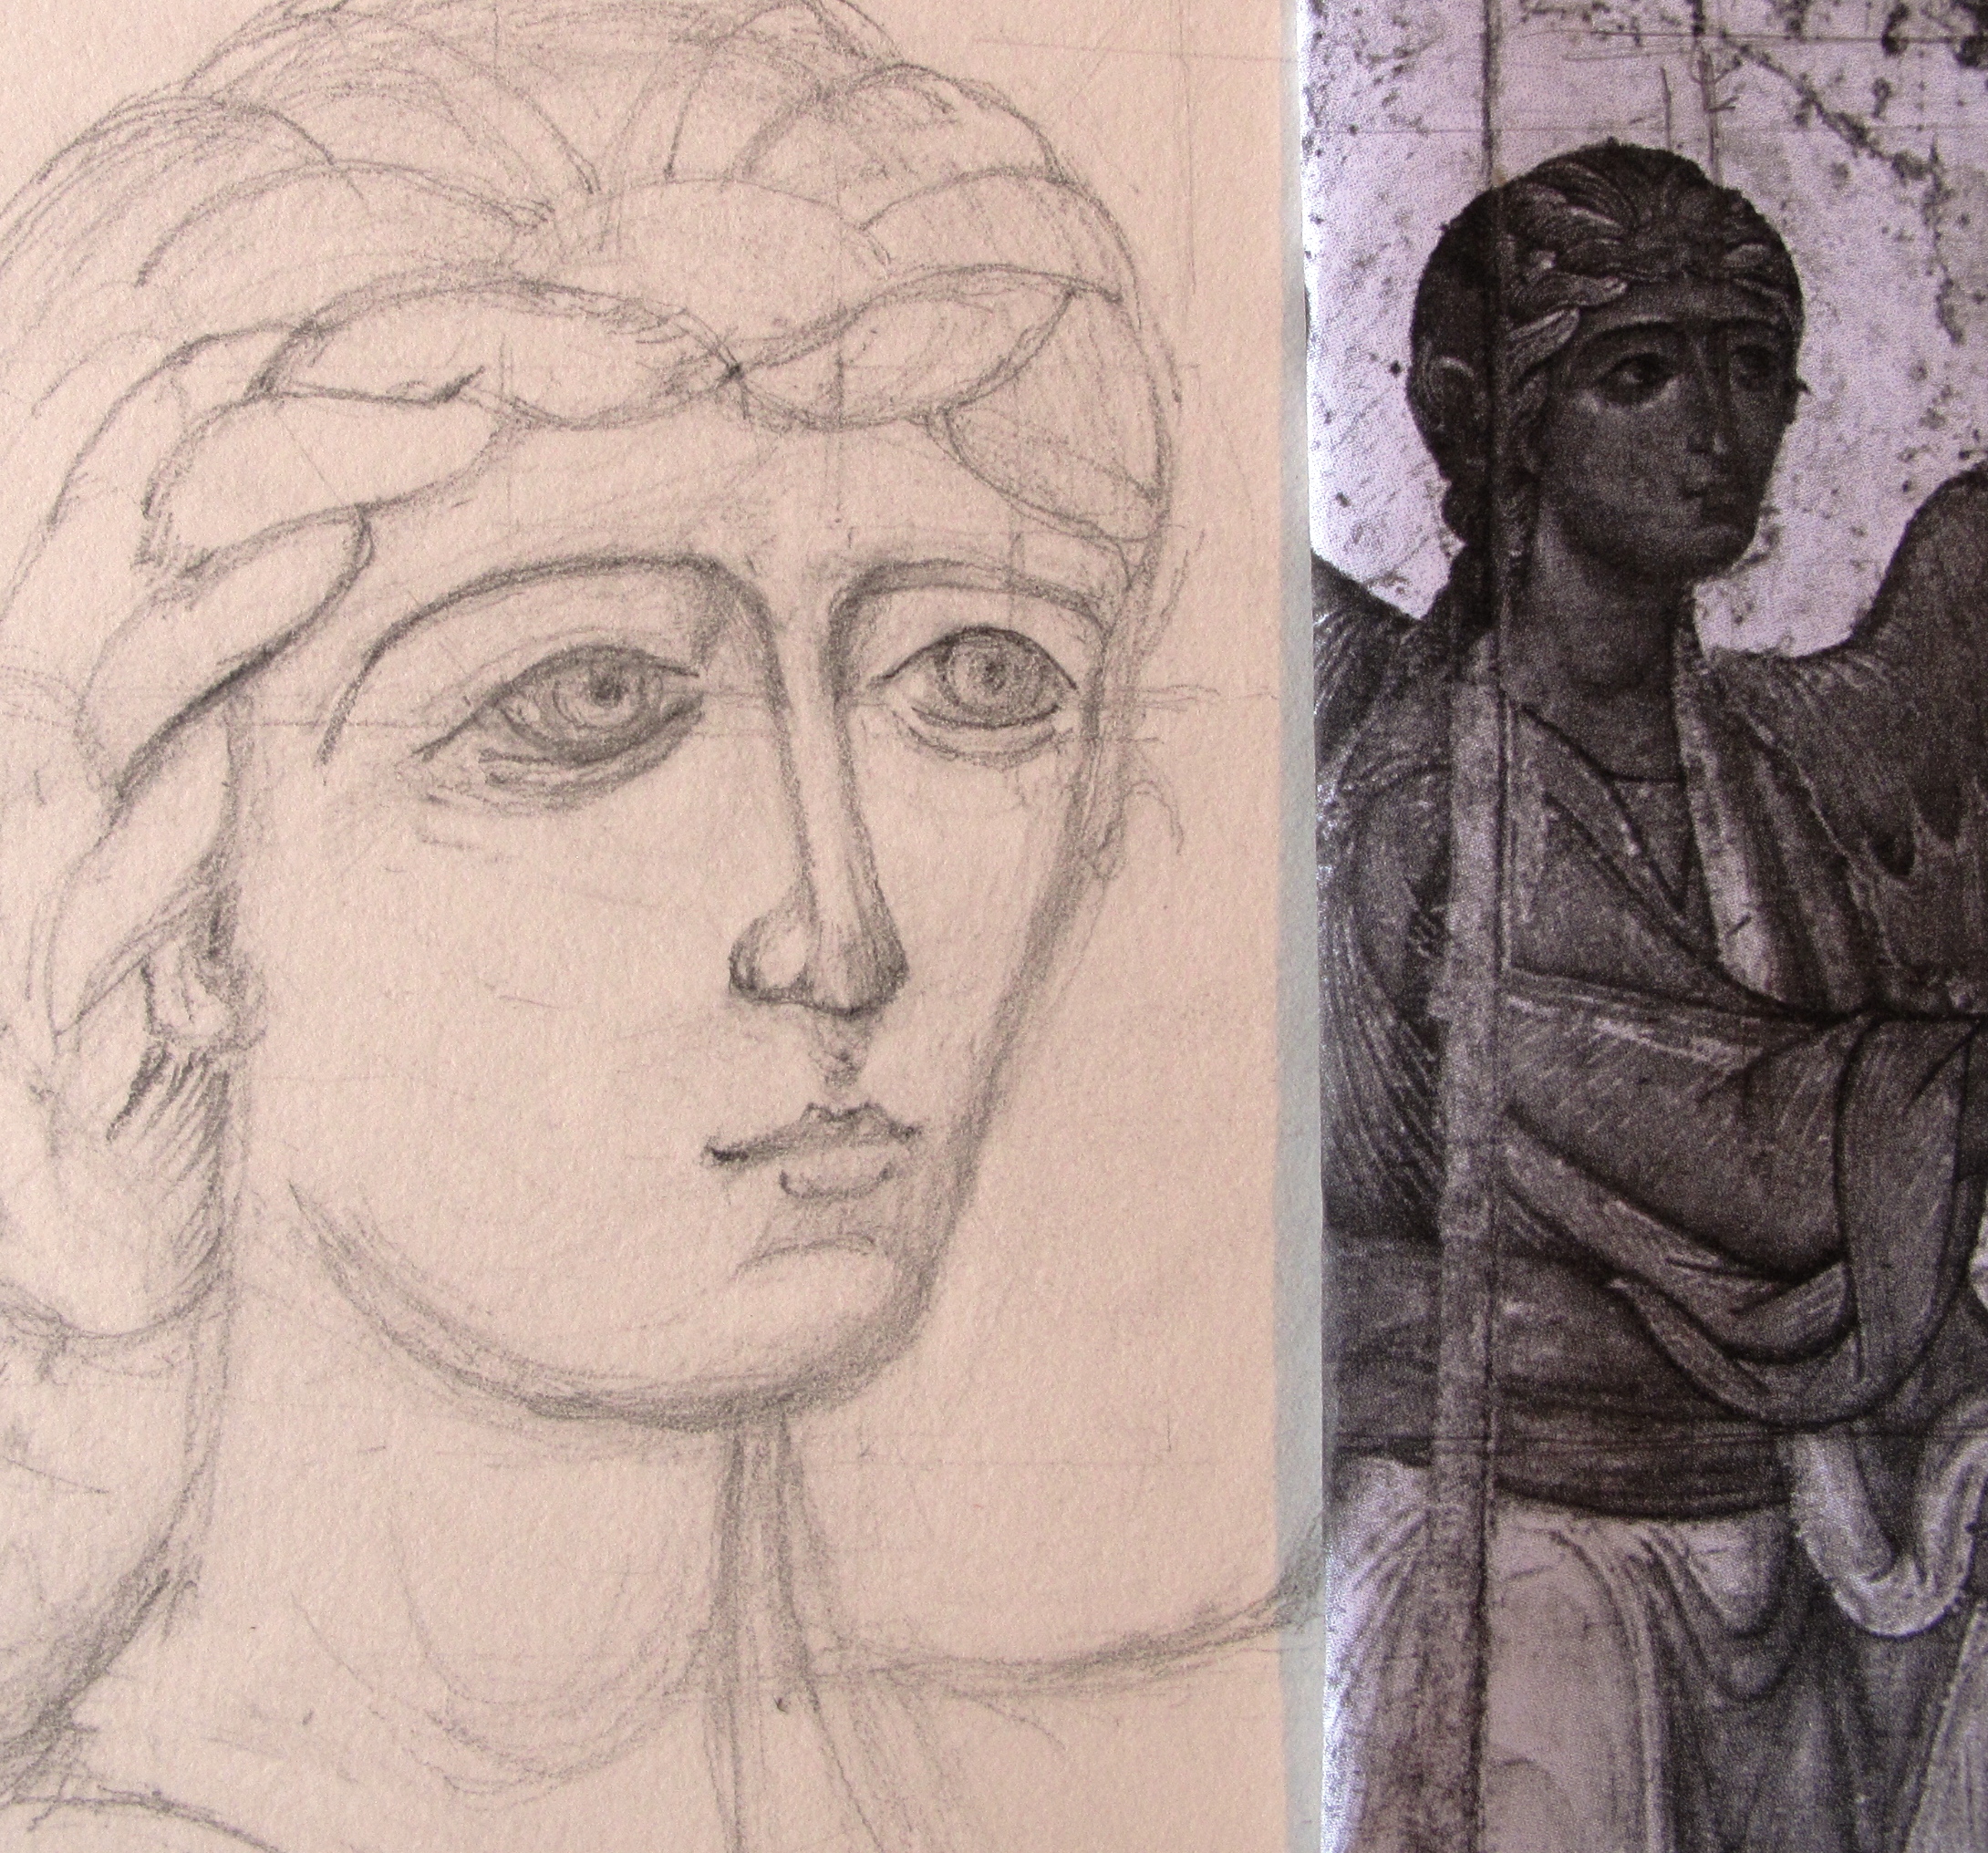
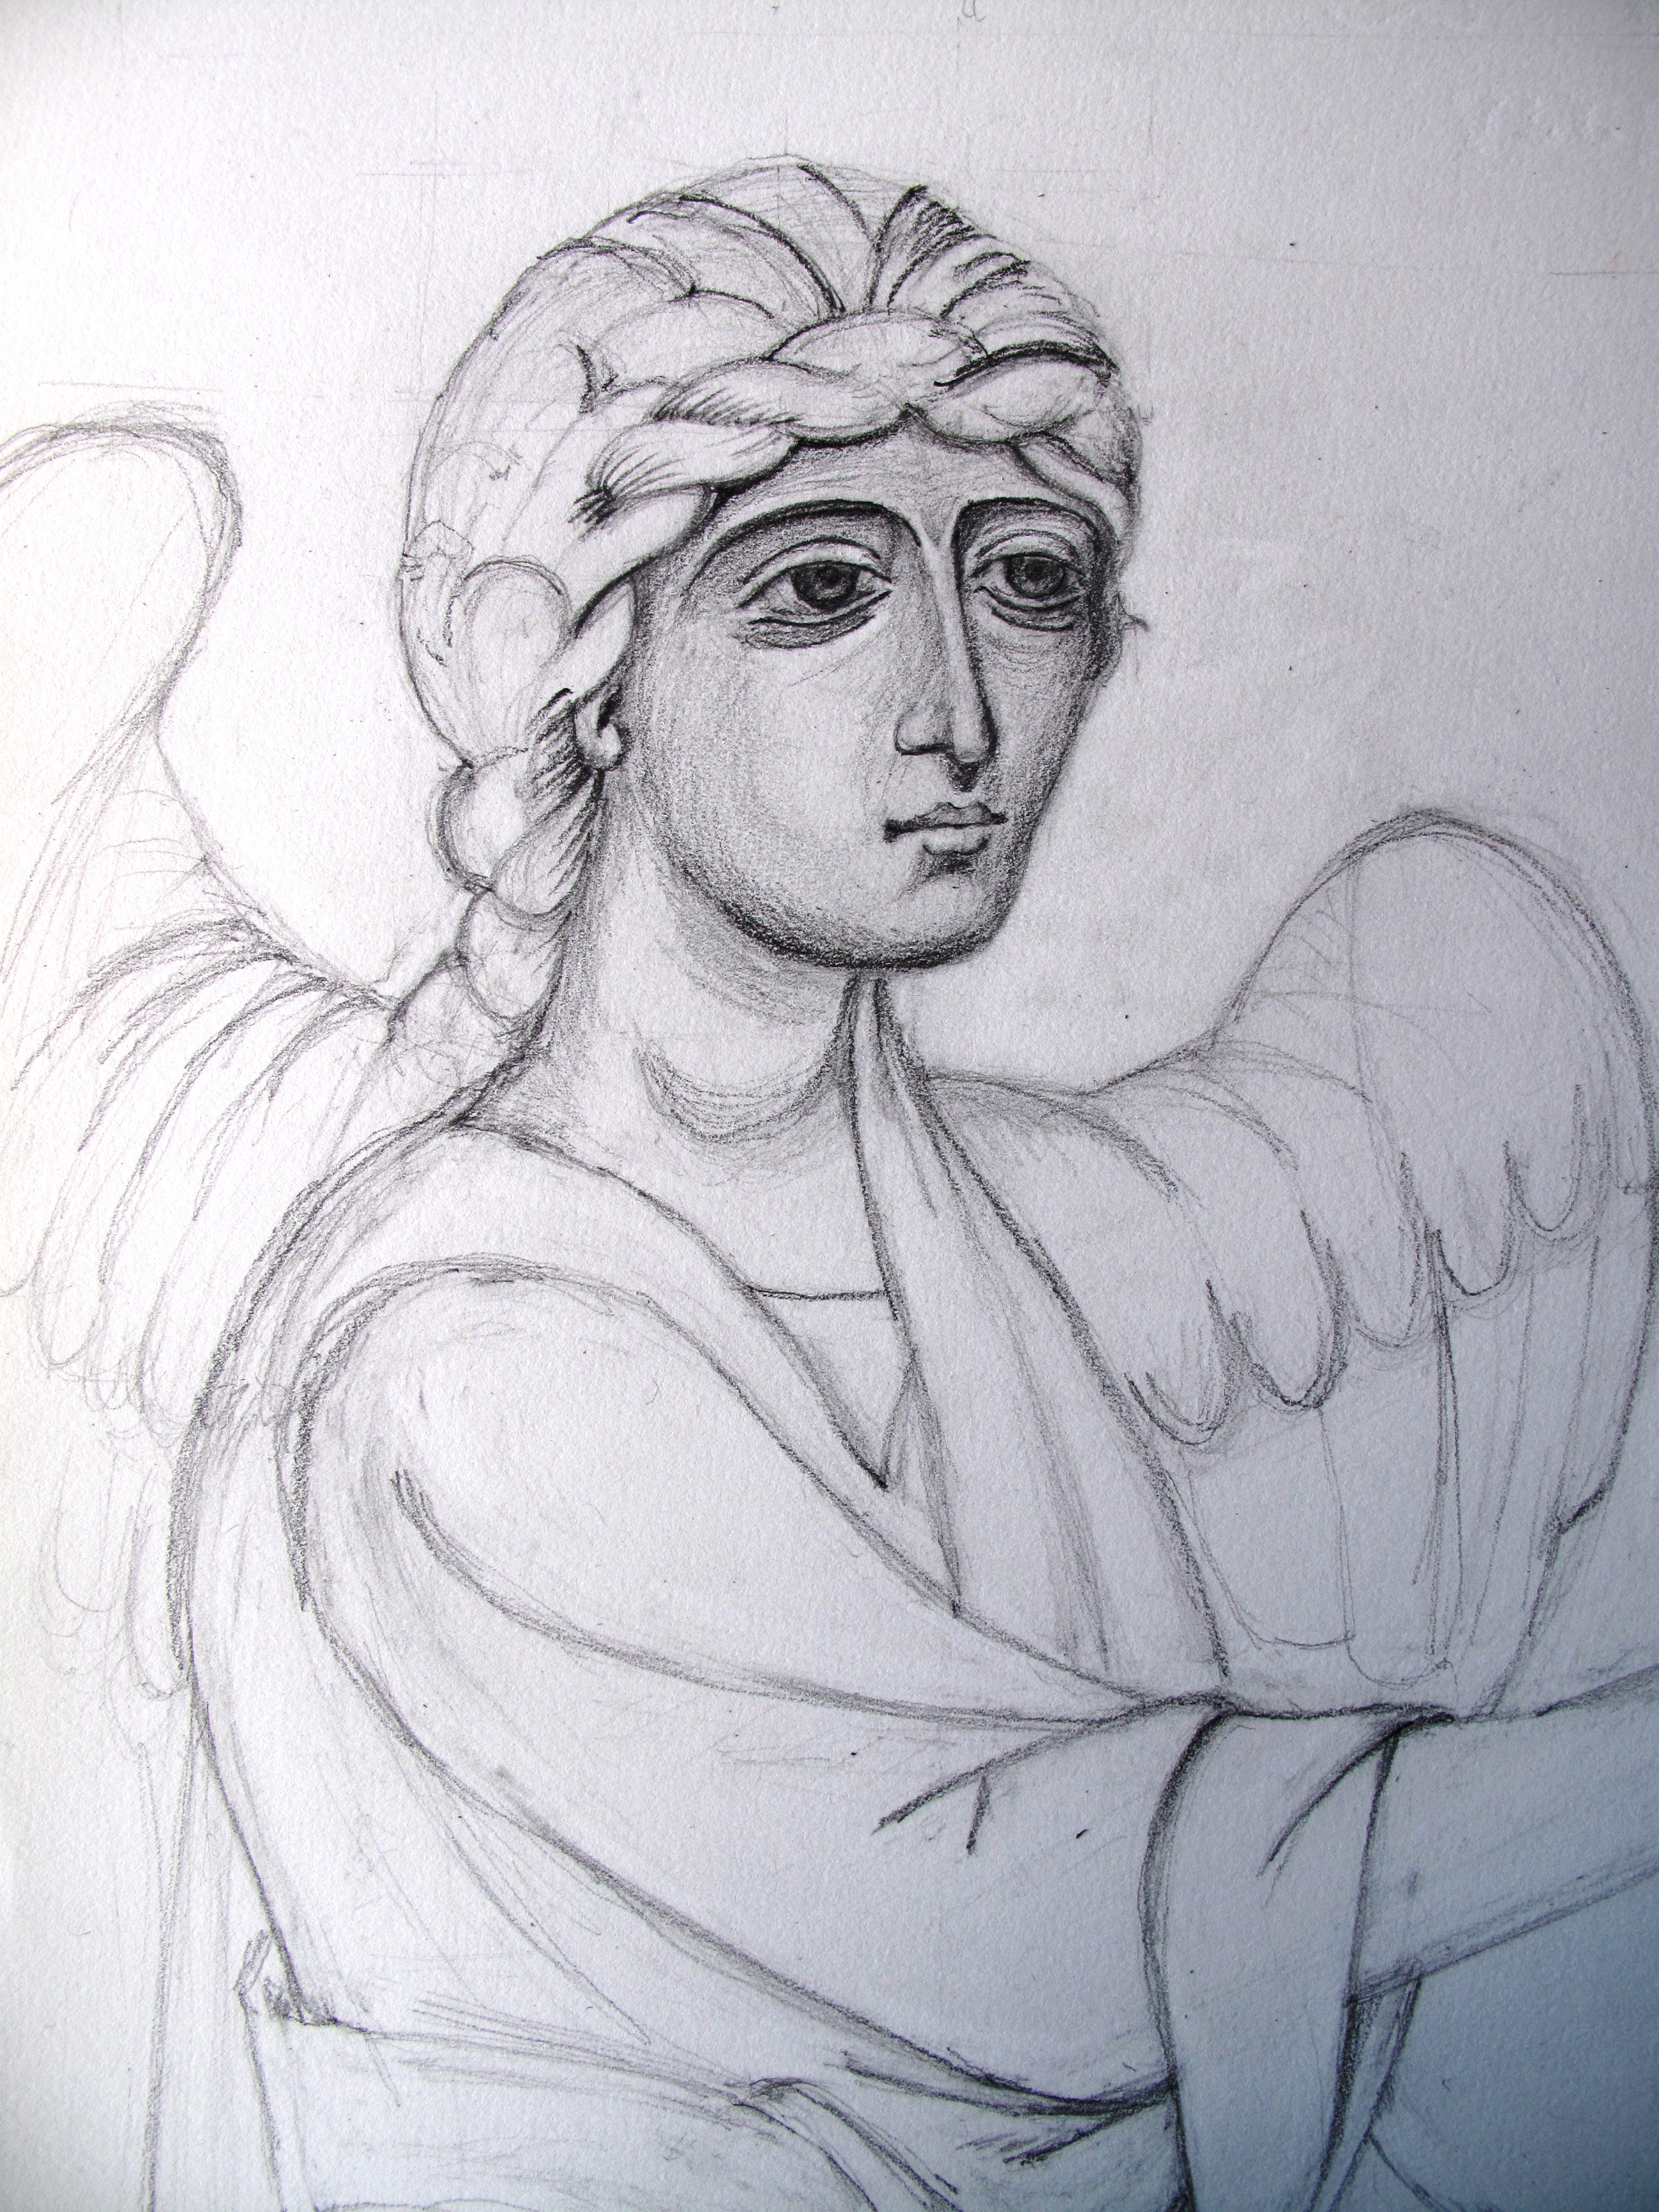
St Hilda (c614-680) showing adjustments I need to make to head and shoulders

My homework for the next diploma session, is an icon of St Hilda, referring to an image painted by Aidan Hart. The icon can be seen further below and also on his website Aidan Hart Icons. During my childhood, Whitby was a favourite seaside destination from our home in York. The sight of the ruined abbey looming over the cliffs was a vivid landmark against what was often a cloudswept sky. This dramatic photograph courtesy of Mark Davis Photography shows how the abbey forms such a striking silhouette against the east coast sky.

Whitby abbey

Photo of Whitby Abbey by  Mark Davis Photography  http://www.mark-davis-photography.com/yorkshire/whitby-and-the-east-coast/

To think that St Hilda founded an an abbey and community in this wild landscape is remarkable and gives an insight into the strength of her character.

Icon by Aidan Hart of St Hilda of Whitby

St Hilda of Whitby by Aidan Hart

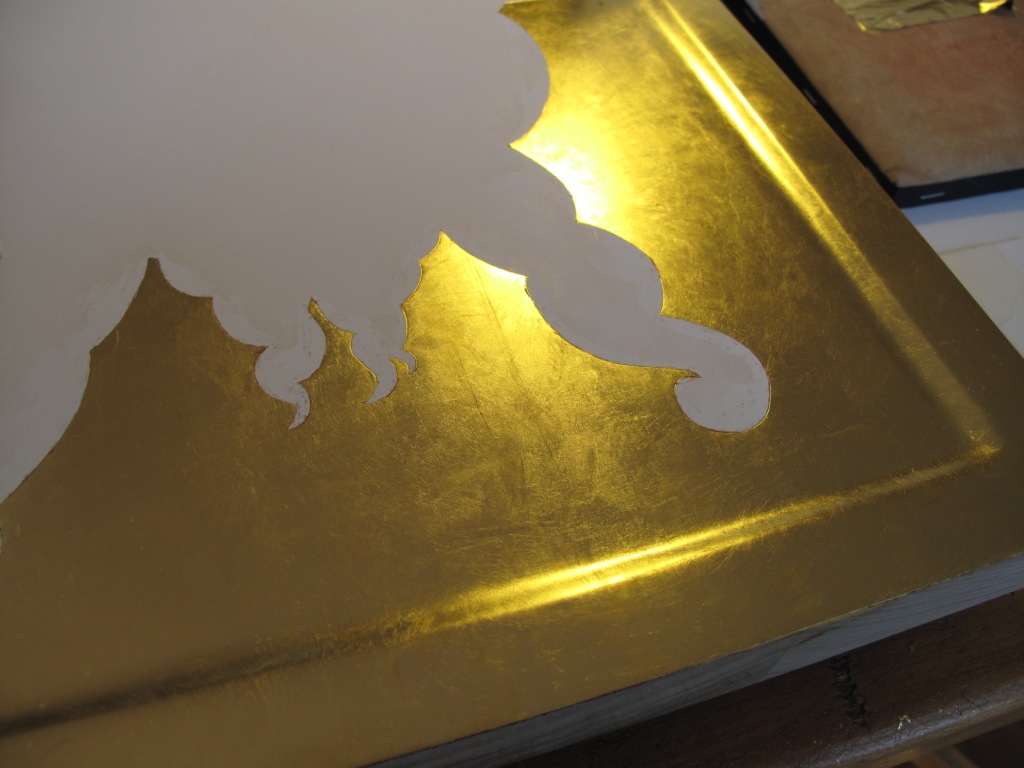
For this icon, I am using a flat plywood board.  I will oil gild the halo so the sanding only needs to be taken as far as 600 grit sandpaper. If you over-sand the gesso, the paint won’t stick.  I’m using an icon board which I gessoed last summer which I also sanded up to 120 grit paper. With hindsisght, I should have sanded it right up to 600 grit, as it is much easier to work outside in the warm than indoors in a UK January! Sanding gessoed boards is a dusty process so be prepared. Put a few sheets of newspaper over your worksurface and have your vacuum cleaner and a dust mask to hand. You will also need a medium sized dry paintbrush to brush the gesso dust out of the sandpaper, a cork sanding block and all the different grades of sandpaper to hand. Looking back on Dylan Hartley‘s notes which he gave us at our gessoing session last year (click here for a pdf copy SANDING ICON BOARDS by Dylan Hartley), Dylan reminds us that you should choose a place to sand where there is raking light ideally with one main light source. This helps to show up anomalies and scratches. The first sanding is done with 80 grit paper, then work up through 120, 180, 220, 320, 400 and 600 grades. It is important to use these in sequence and ensure that any grooves left by the gesso brushing are smoothed away.

Sandpaper

Splitting sandpaper sheets and filing them by grade

In the UK, sandpaper is sold in sheets about A4 size. I hadn’t realised until Aidan showed us, that if you fold and tear the paper in half lengthwise, then tear these strips into three, you can get six pieces ready to wrap around your block. Given that you go through sandpaper very quickly, it is worth spending time folding, tearing and filing the different sized papers into envelopes which does helps the flow of work.

brusgh off clogged sandpaper

Keep brushing off clogged sandpaper

It is really important to brush the sandpaper often – as soon as you have sanded the board a few times, lift the block and brush. You can also vacuum up the clogged paper to save dust clouds forming. The whole process is a bit of a faff as my glasses steam up when I wear a dust mask and they get covered with dust! Rubbing in a pinch of red ochre with cotton wool is a really effective way of seeing where the scratches are hiding. Even with good raking light, it is easy to miss a scratch until you start painting – and they are difficult to disguise later.

red ochre pigment on gesso

Identifying scratches in gesso by using red ochre pigment

Looking closely at the photo above, you can also see the horizontal marks made from clogged up sandpaper.

finished icon board

Icon board finished to 600 grit paper ready for painting and oil gilding

That’s the board now ready for me to trace on the drawing. More on that next time. Thanks for reading!   Ronnie

PS To see a demonstration by Dylan Hartley gessoing icon boards – there is a clip on You Tube here

An Archangel for Christmas

Archangel Gabriel on Watercolour Paper.

egg tempera painting

Archangel Gabriel on watercolour paper

Christmas greetings icon friends!

A few lines to say thank you for your companionship during my first year of icon painting. It has been lovely to have your quiet support and interest encouraging me to keep on posting and writing up notes etc!

There are a few more video clips of Aidan Hart’s in-class demonstrations over on You Tube and I have written up some supporting notes to go with them. These are not direct transcripts, simply notes to help as you try out the various stages of painting.

https://www.youtube.com/watch?v=N3a6puiMDuQ Aidan Hart demonstrates underpainting for the Membrane Technique Click here for Notes

https://www.youtube.com/watch?v=XaSi-WVHGaY Aidan Hart demonstrates applying flesh membrane to icon bust Click here for Notes

https://www.youtube.com/watch?v=Hr4R8BzMpPc Shadows and highlights on garments using membrane technique Click here for Notes

https://www.youtube.com/watch?v=CiFkJrsDS1s Aidan Hart demonstrating halos

https://www.youtube.com/watch?v=mFG-XxPqiSI Aidan Hart demonstrates painting Mandilion hair

https://www.youtube.com/watch?v=QbwE0QY1aOw Aidan Hart demonstrates painting garments Click here for Notes

I have enjoyed the monochrome icon studies on watercolour paper and thought I would have another go at the Archangel Gabriel based on the Annunciation of Ustyug. I stretched some Fabriano Artistico paper and painted using the membrane technique. The colours are much softer on paper – lines are not quite as crisp unless you go over them several times. However, it is a great way of practicing if you haven’t got a board prepared.

1 Angel gabriel study

Underpainting: the face is in Terre Verte and a touch of Yellow Ochre Maimeri, garments and wings in a mix of English red ochre, French ochre Sahara and Avana.

Yellow ochre Maimeri eith titanium white and red ochre light

Membrane applied to flesh parts.

Building up the hair and facial highlights.

4 Angel Gabriel study

Highlights added to wings and sleeves

Preparing to gild

Preparing to gild using Roberson’s gilders size – applied over the halo which has undercoat in red ochre.

Gilding the halo

Gilding the halo. Applying final facial highlights

9 Complete Angel Gabriel study

Finished angel with halo, staff and lettering.

It is a better attempt than my last one but there is a long way to go before I become fluent and produce anything nearly as elegant as the original. All the same, it comes with my very best wishes for a happy, peaceful and blessed Christmas wherever you are in the world. Thanks for reading.

Happy Christmas, Ronnie

PS…Some years later and I did revisit some of the finer details on Archangel Gabriel’s face – around the upper lip. I am now happy with this and it is listed here in my Etsy shop

Gilders’ Tips

scratched gilding

Thumbs down for the gilding. Mixing water and oil gilding too difficult to troubleshoot!

Hello Icon Friends, I have been quiet on the blog, sparing you the details of my gilding efforts until I had something useful to share.  I deliberately chose to work on bigger boards as I thought it would quickly show up all the places where I could go adrift. It did just that. Lesson one. Start with a small board, or even better, start with a practice board as Lee Harvey suggests. Water gilding is a difficult skill to master! Some of the students have made notes on their tips which you can read about here: Gilders Tips. Anyway, I wasn’t too pleased with the water gilding that I did in class for my mandilion so I sanded the lot off and applied 18 fresh layers of bole and started again – I think my bole consistency was a bit too thin. Once it had dried, I sanded and polished the bole and was really encouraged when I managed to get a deep shine. Good so far!

Bole layers

Fresh layers of bole applied to support water gilding – allow it to dry at least 24hrs before sanding and polishing.

However, the water gilding process got the better of me and even after quadruple gilding, four books of gold and five days solid of faulting and polishing, the results are still average! The final appearance looks much the same as one layer of oil gilding and only slightly better than what I had sanded off in the first place.

water gilding icon

Water gilding the mandilion

Third attempt at the monochrome of Christ for the Mandilion

Third attempt at the monochrome of Christ for the Mandilion

I also painted my third attempt at the monochromes of Christ (for the Mandilion) and the Virgin, which I was reasonably happy with, so all set to begin the transfer on to the gessoed icon boards next session. My next post will include links to another set of You Tube clips of Aidan Hart demonstrating the different stages of the membrane technique. My final note is to say a couple of farewells. We all wish our fellow student, Susan O all the very best. We will miss you on the course Susan and hope that you keep in touch. A fond farewell to my beloved pet Norman. He was a larger than life character who once trampled over my keyboard typing in the letters Vatopedi as he went and inadvertently googling images of a Greek Orthodox Monastery. He recently got sick with secondary poisoning and much as I tried to keep him indoors (shown here) this weekend he got killed on the road.

Norman the cat

Norman 1.8.13 to 27.9.14 – pictured after he sniffed up a leaf of gold which of course ended up down the hatch!

We are only ever their custodians and I am grateful for the delight he brought in his short life with us. Thanks for reading.

Meet my mistakes!

Annunciation of Ustyug, Novgorod, 12th Century

Annunciation of Ustyug, Novgorod, 12th Century

Hello icon friends,

It is one thing hearing how to do something and another altogether applying it via the end of a brush or pencil. I set out to try another upper body monochrome of the Archangel Gabriel from the beautiful image of the Annunciation above and in the course of this I have befriended a whole group of mistakes – let me introduce a few!

I lightly sketched out the image ready to paint over but saw immediately that I had run into difficulties. First of all, I didn’t get the overall composition right.

Preliminary sketch of Gabriel

Preliminary sketch of Gabriel

I had set out the upper body study on A3 paper but in doing so found I had cut off the hand. This seemed to lose the whole point as the hands are so expressive of the whole message that the image contains. Looking at it now, for this exercise I should have zoomed in and concentrated on the face and upper arm, but I had started so I carried on.

Sketch comparisons

Sketch comparisons, finding the centret to identify where I am going adrift

Secondly, I couldn’t get the face, in particular the eyes, quite right.  I did a cross check between the original and my drawing by forming a simple square to enclose the head, then joined the diagonals to find the centre point of reference. I was pleased to see that the point landed in exactly the same spot on my drawing, but it showed immediately where the rest of the face had gone astray. The nose leant too far over and the eyebrows had fallen down.

Adjusting the features but there is still something not right

Adjusting the features but there is still something not right – the eye on the right and the tilt of the head?

After a few days away from this drawing, I still couldn’t quite see where they were going adrift so I traced over the original eyes to clarify their shape and laid them over my drawing.

Tracing the profile of the originals to identify where I am going wrong

Tracing the profile of the original eyes to identify where I am going wrong

One slight move of of one feature has repercussions elsewhere so the brows, nose, mouth, cheek profile all got adjusted and brought into alignment. I suppose that speaks on another level too, to always go back to the source to bring something of ourselves that is out of step back into alignment.

The eyes on the left after being adjusted.

The eyes on the left after being adjusted.

Sketch of Gabriel near completion

Sketch of Gabriel near completion

With all the rubbing out and rearranging I had made quite a mess of my paper. I thought hard about all that I had learnt and decided that I would take a bit of a leap and redo the whole image again but on larger paper. So, next time I will tell you about how I made a fresh crop of mistakes as I move onto A2 paper. Thanks for reading!