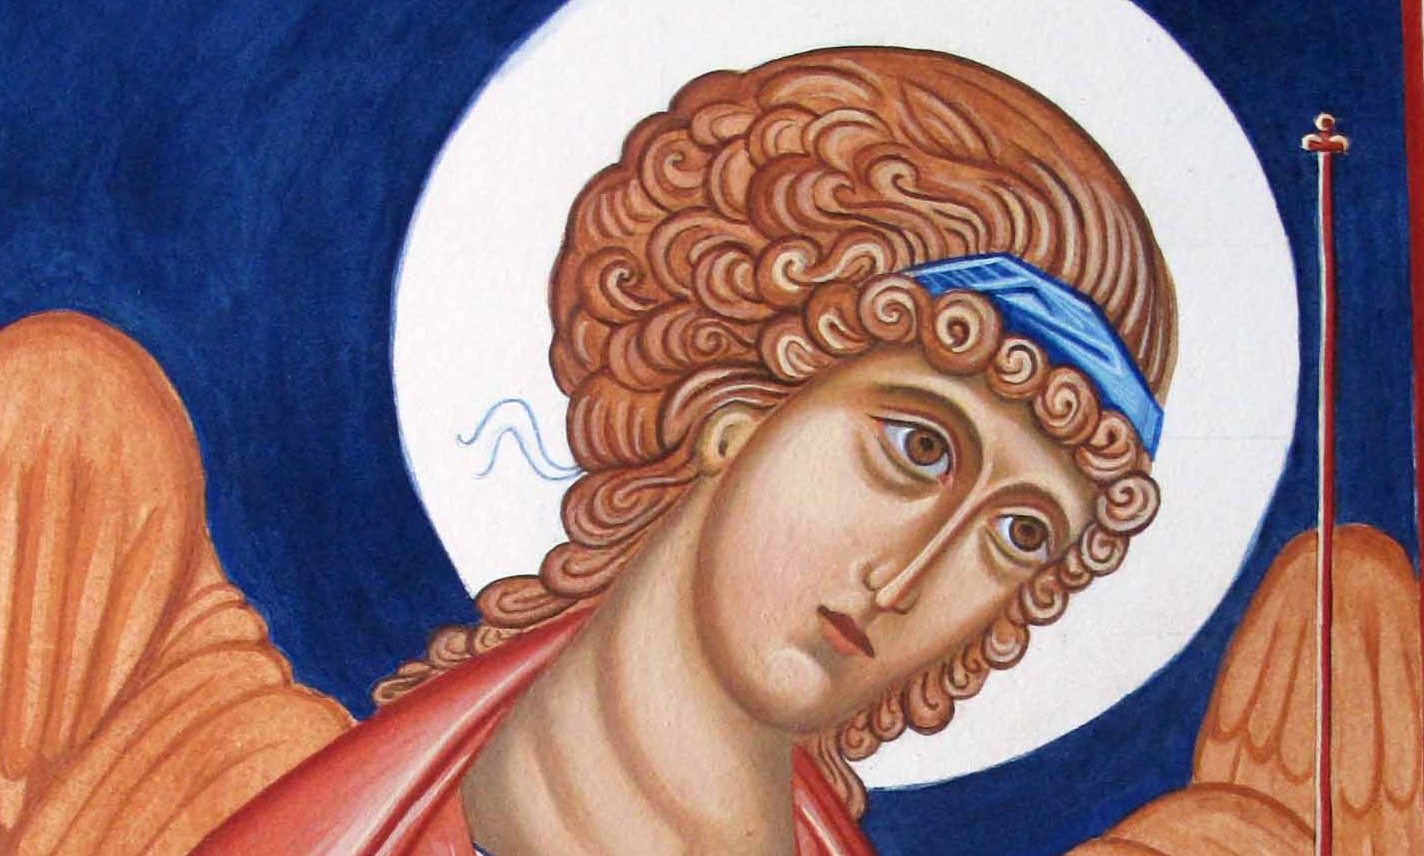
Archangel Gabriel – egg tempera on watercolour paper
Archangel Gabriel on water colour paper
Hello icon friends, While I was recovering from the fractures, I was keen to get my arm painting or drawing again in some way. Since I was pretty limited in my mobility, I decided to make use of some pre-stretched water colour paper which was mounted on a board light enough to handle. I really liked the monochrome studies which we painted in egg tempera on paper and thought I would tackle some different garments as a way of practice before returning to make amends to the hashed up garments of St Francis.
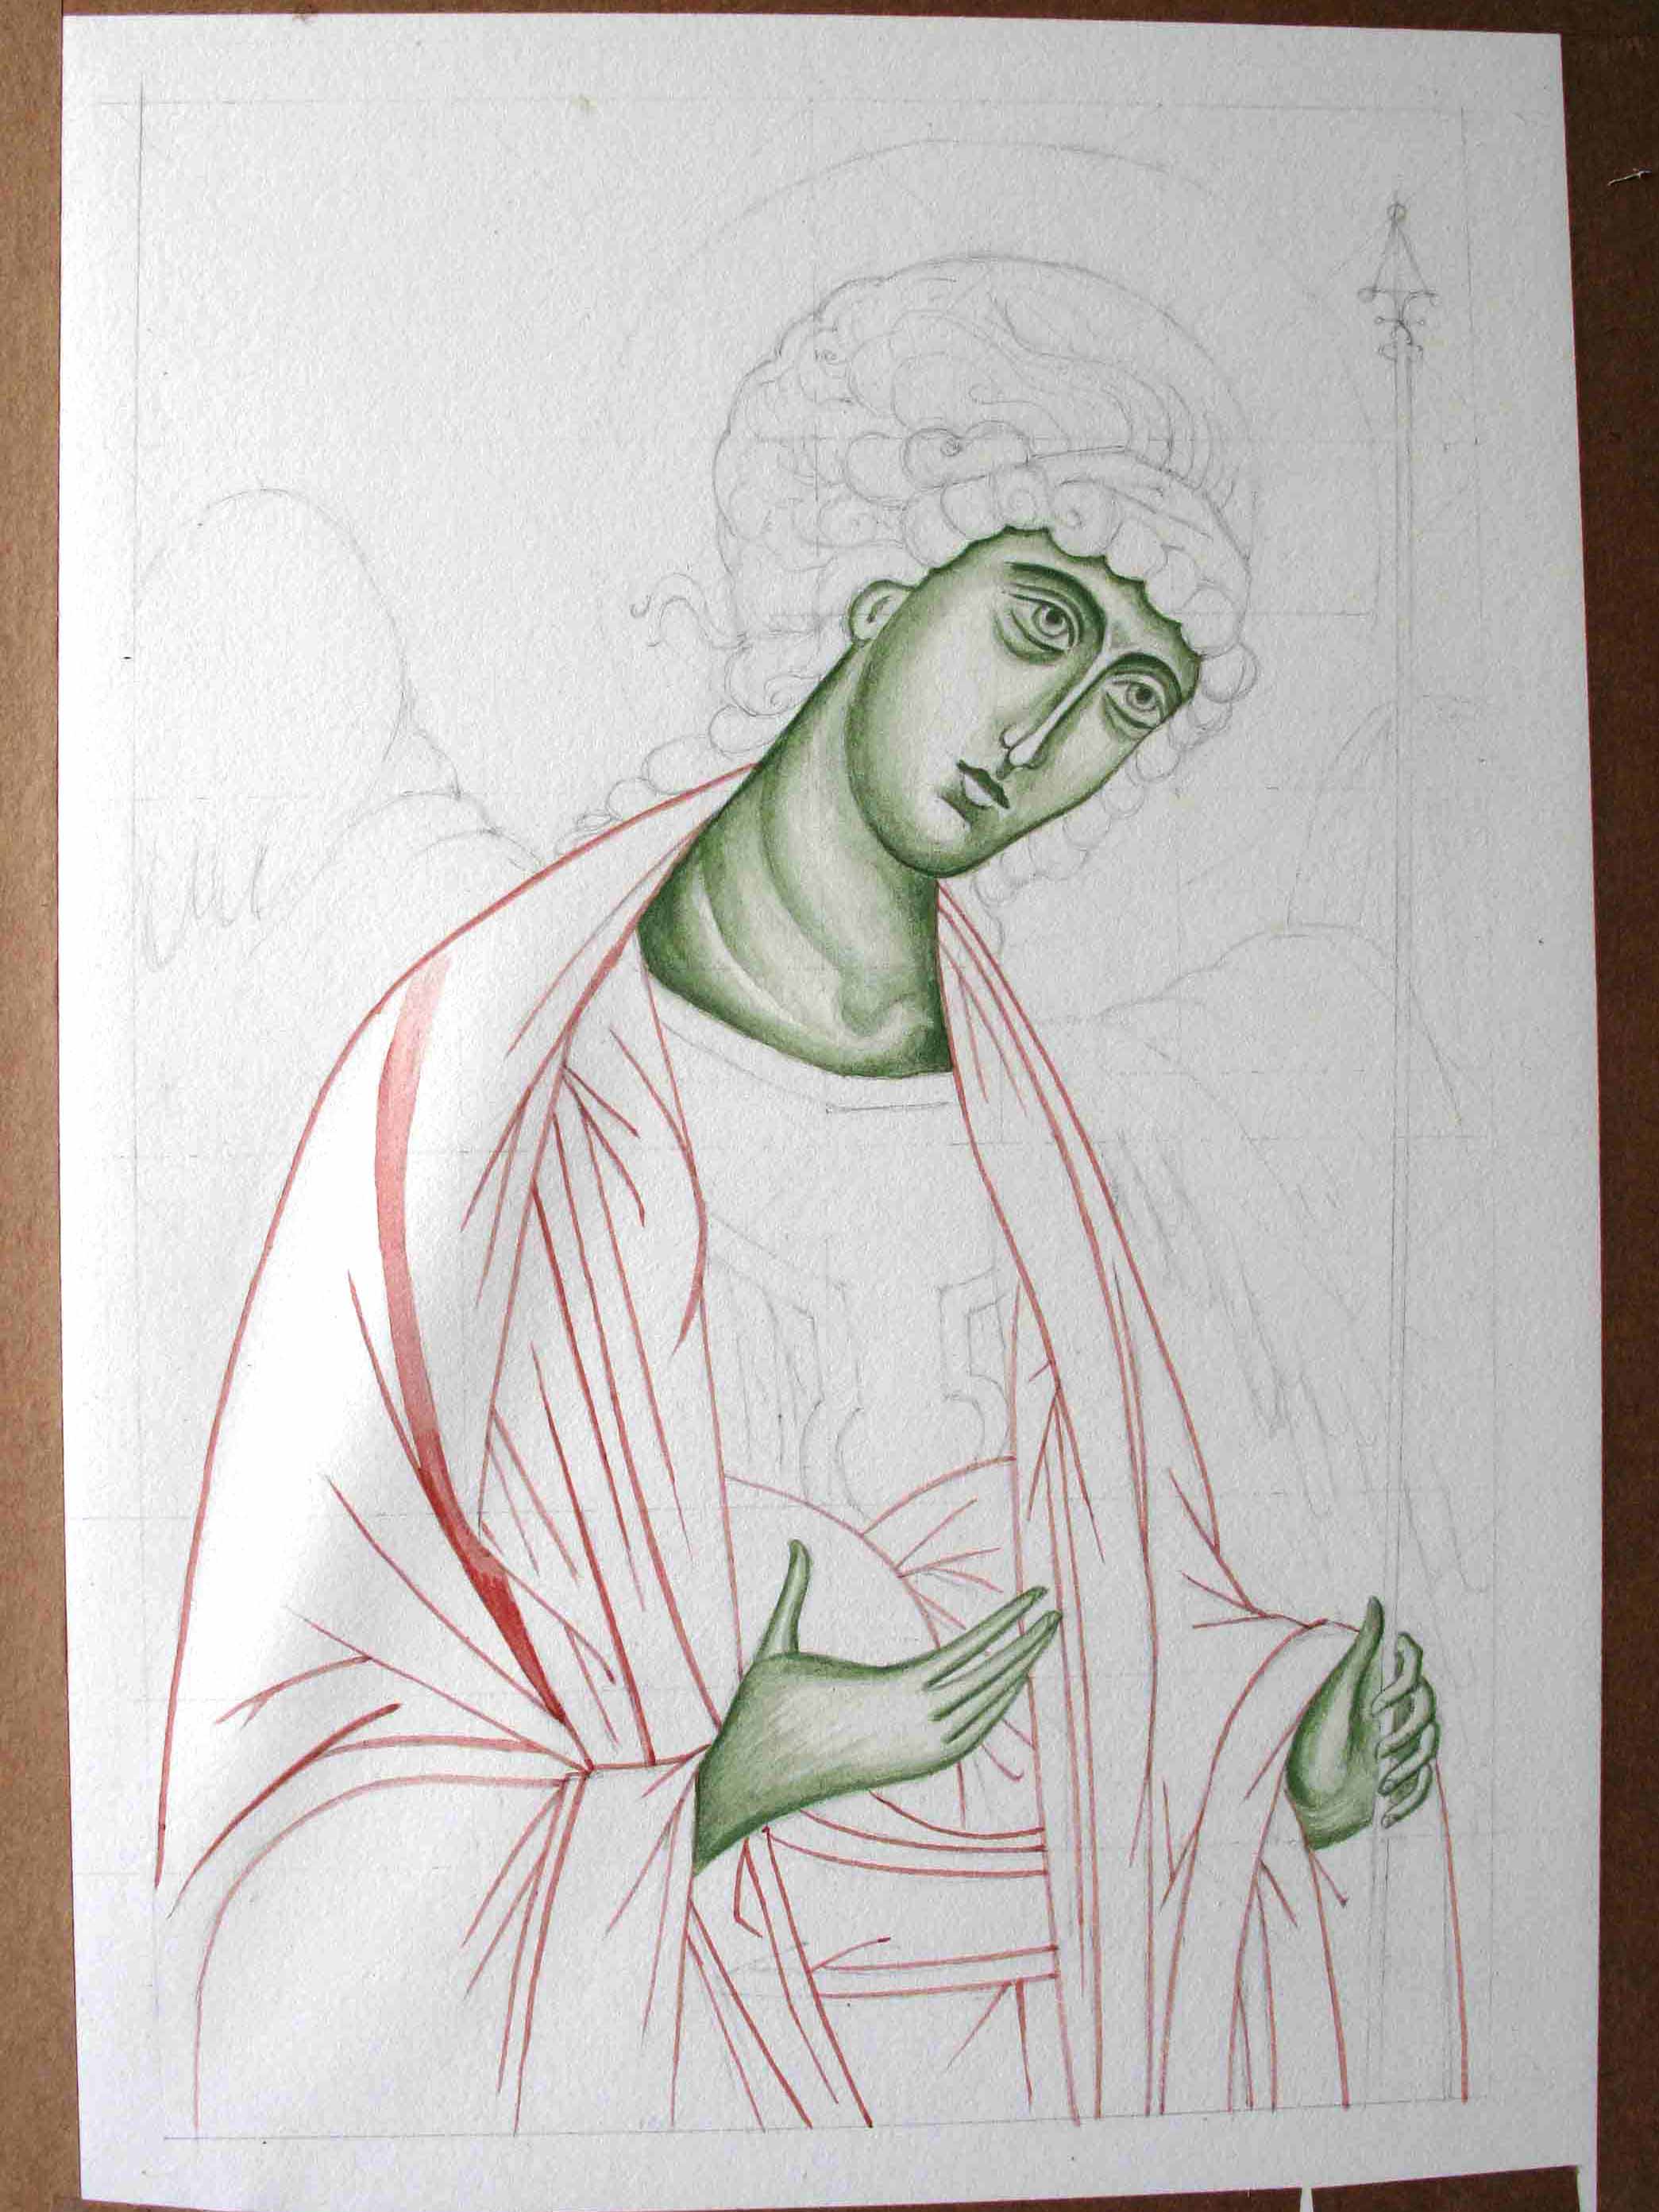
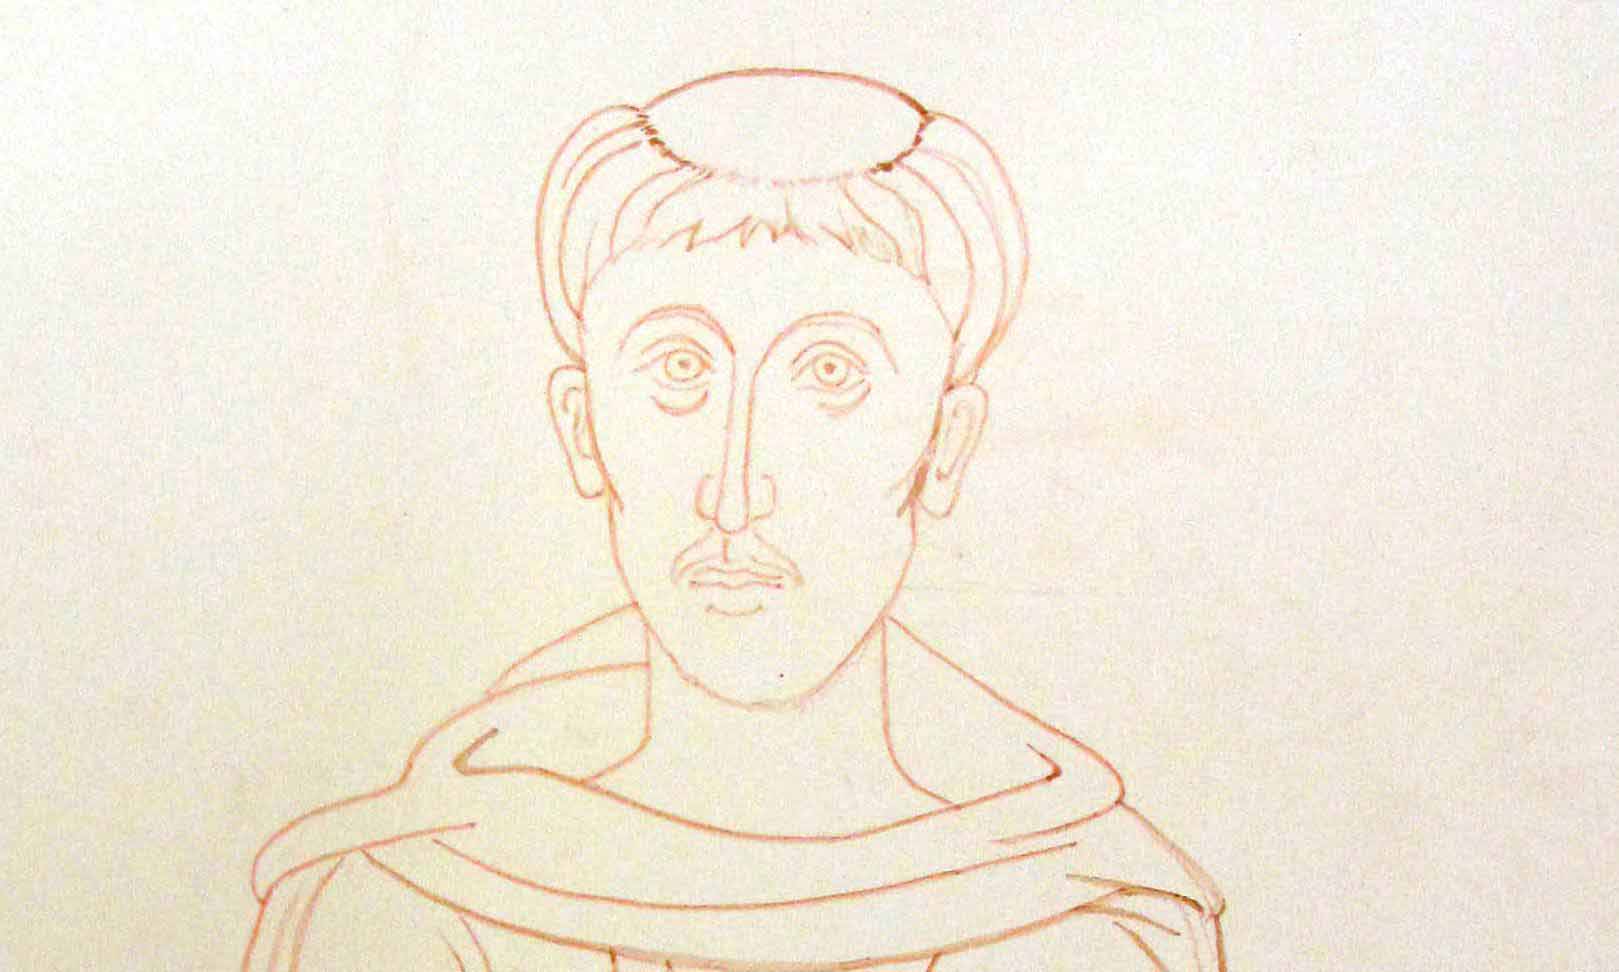
Drawing on to stretched water colour paper
This proved to be a delightful exercise and although it doesn’t have the translucency of painting on to a gessoed board, the results are surprisingly soft and gentle. It is also a great way of practicing if you don’t have an icon board to hand.

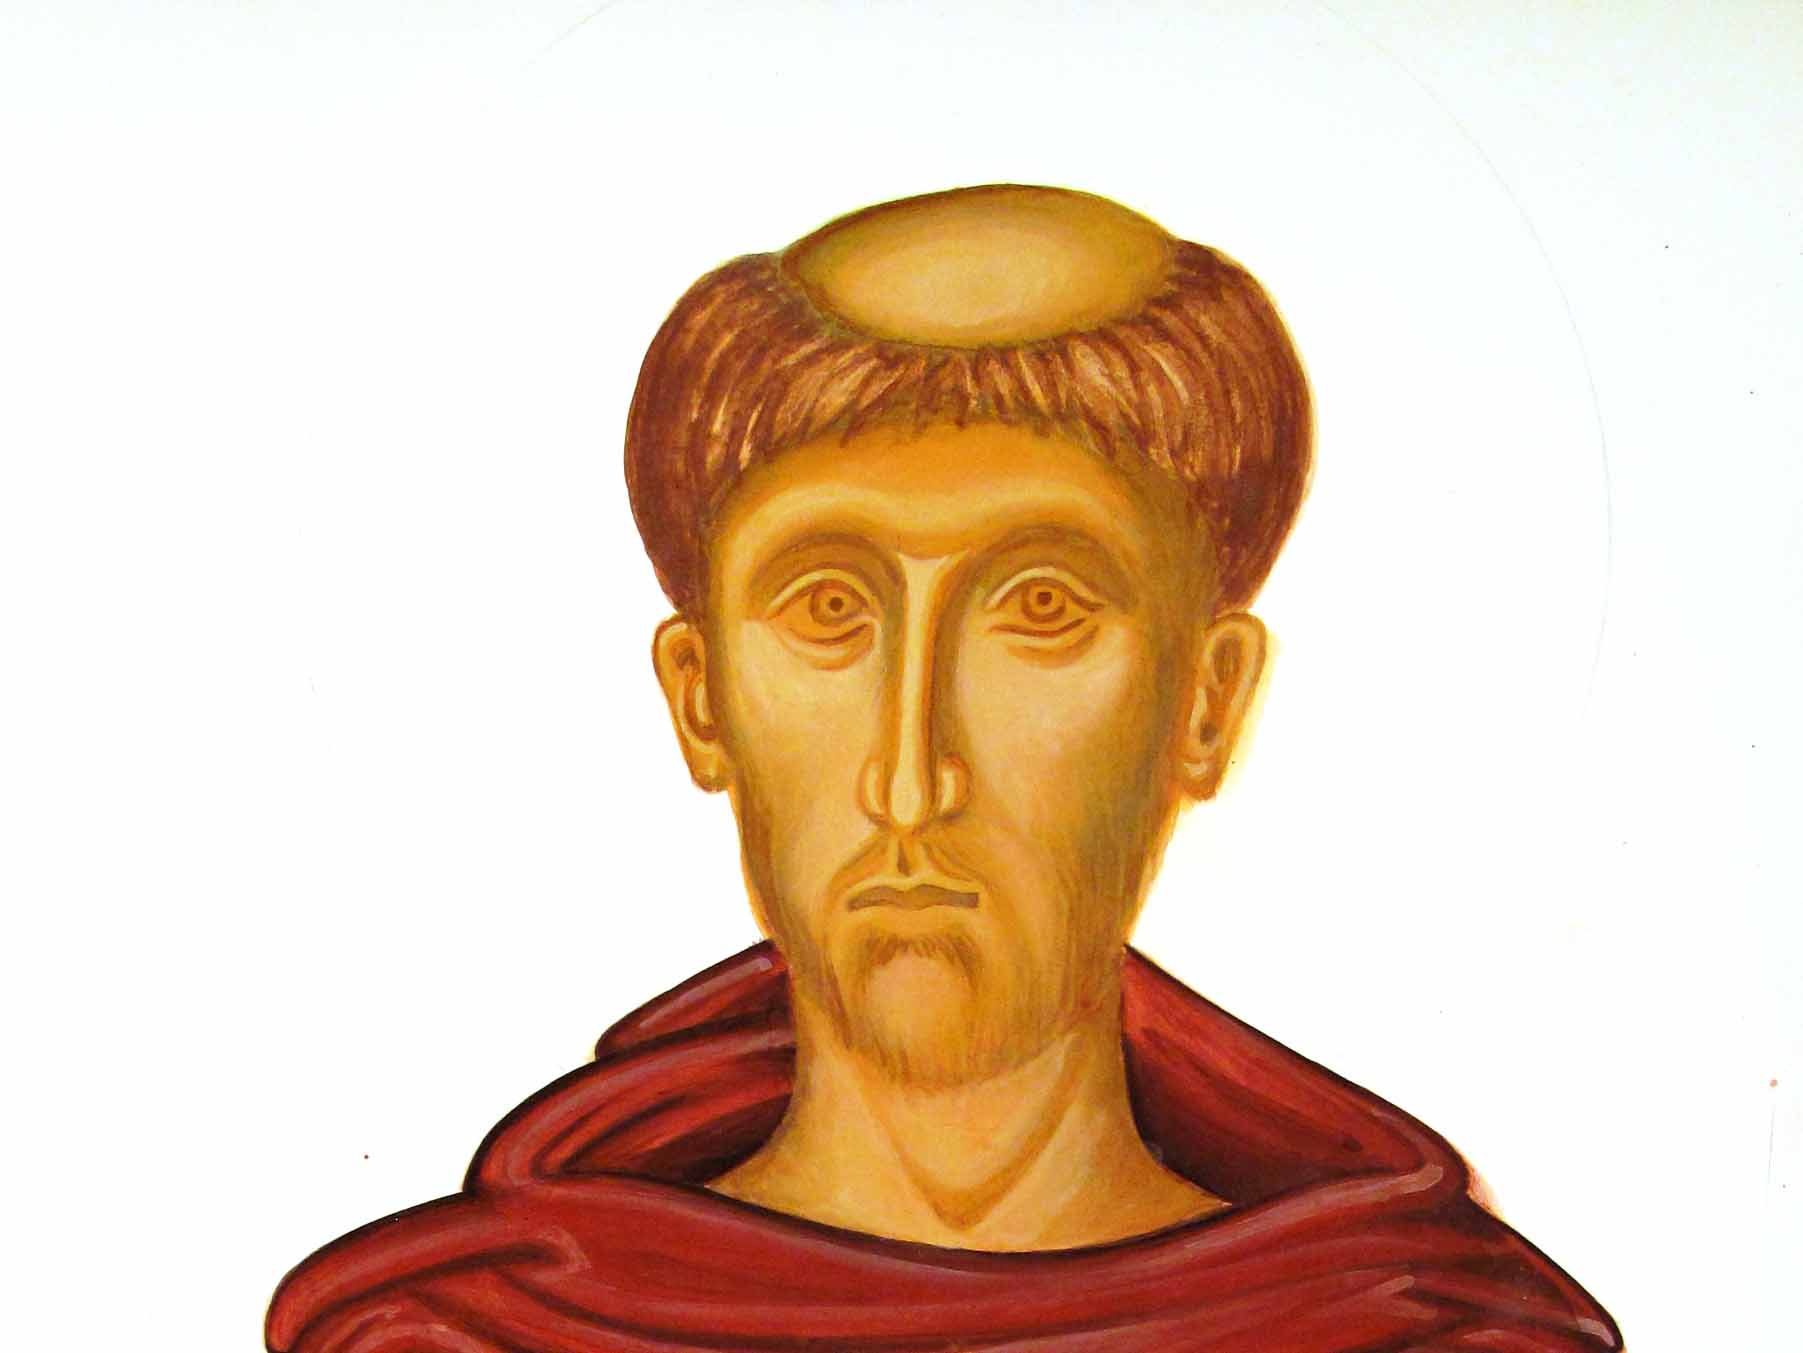
Underpainting garments, hair and face
The paper is 300gsm Fabriano cold pressed water colour paper, which accepts the pigment really easily once it has been stretched. I dampened the paper again where I was painting large areas which helped to blend the pigments.

Underpainting the wings and adding membrane to hair
For the garments, I chose English Red Deep with a little Raw Umber and for the wings, I chose French Ochre Havanna with a dash of English Red Deep. The blue in the garments and hair band is Ultramarine Blue light with a dash of Raw Umber and the background is the same blue but with a little Ivory black added.

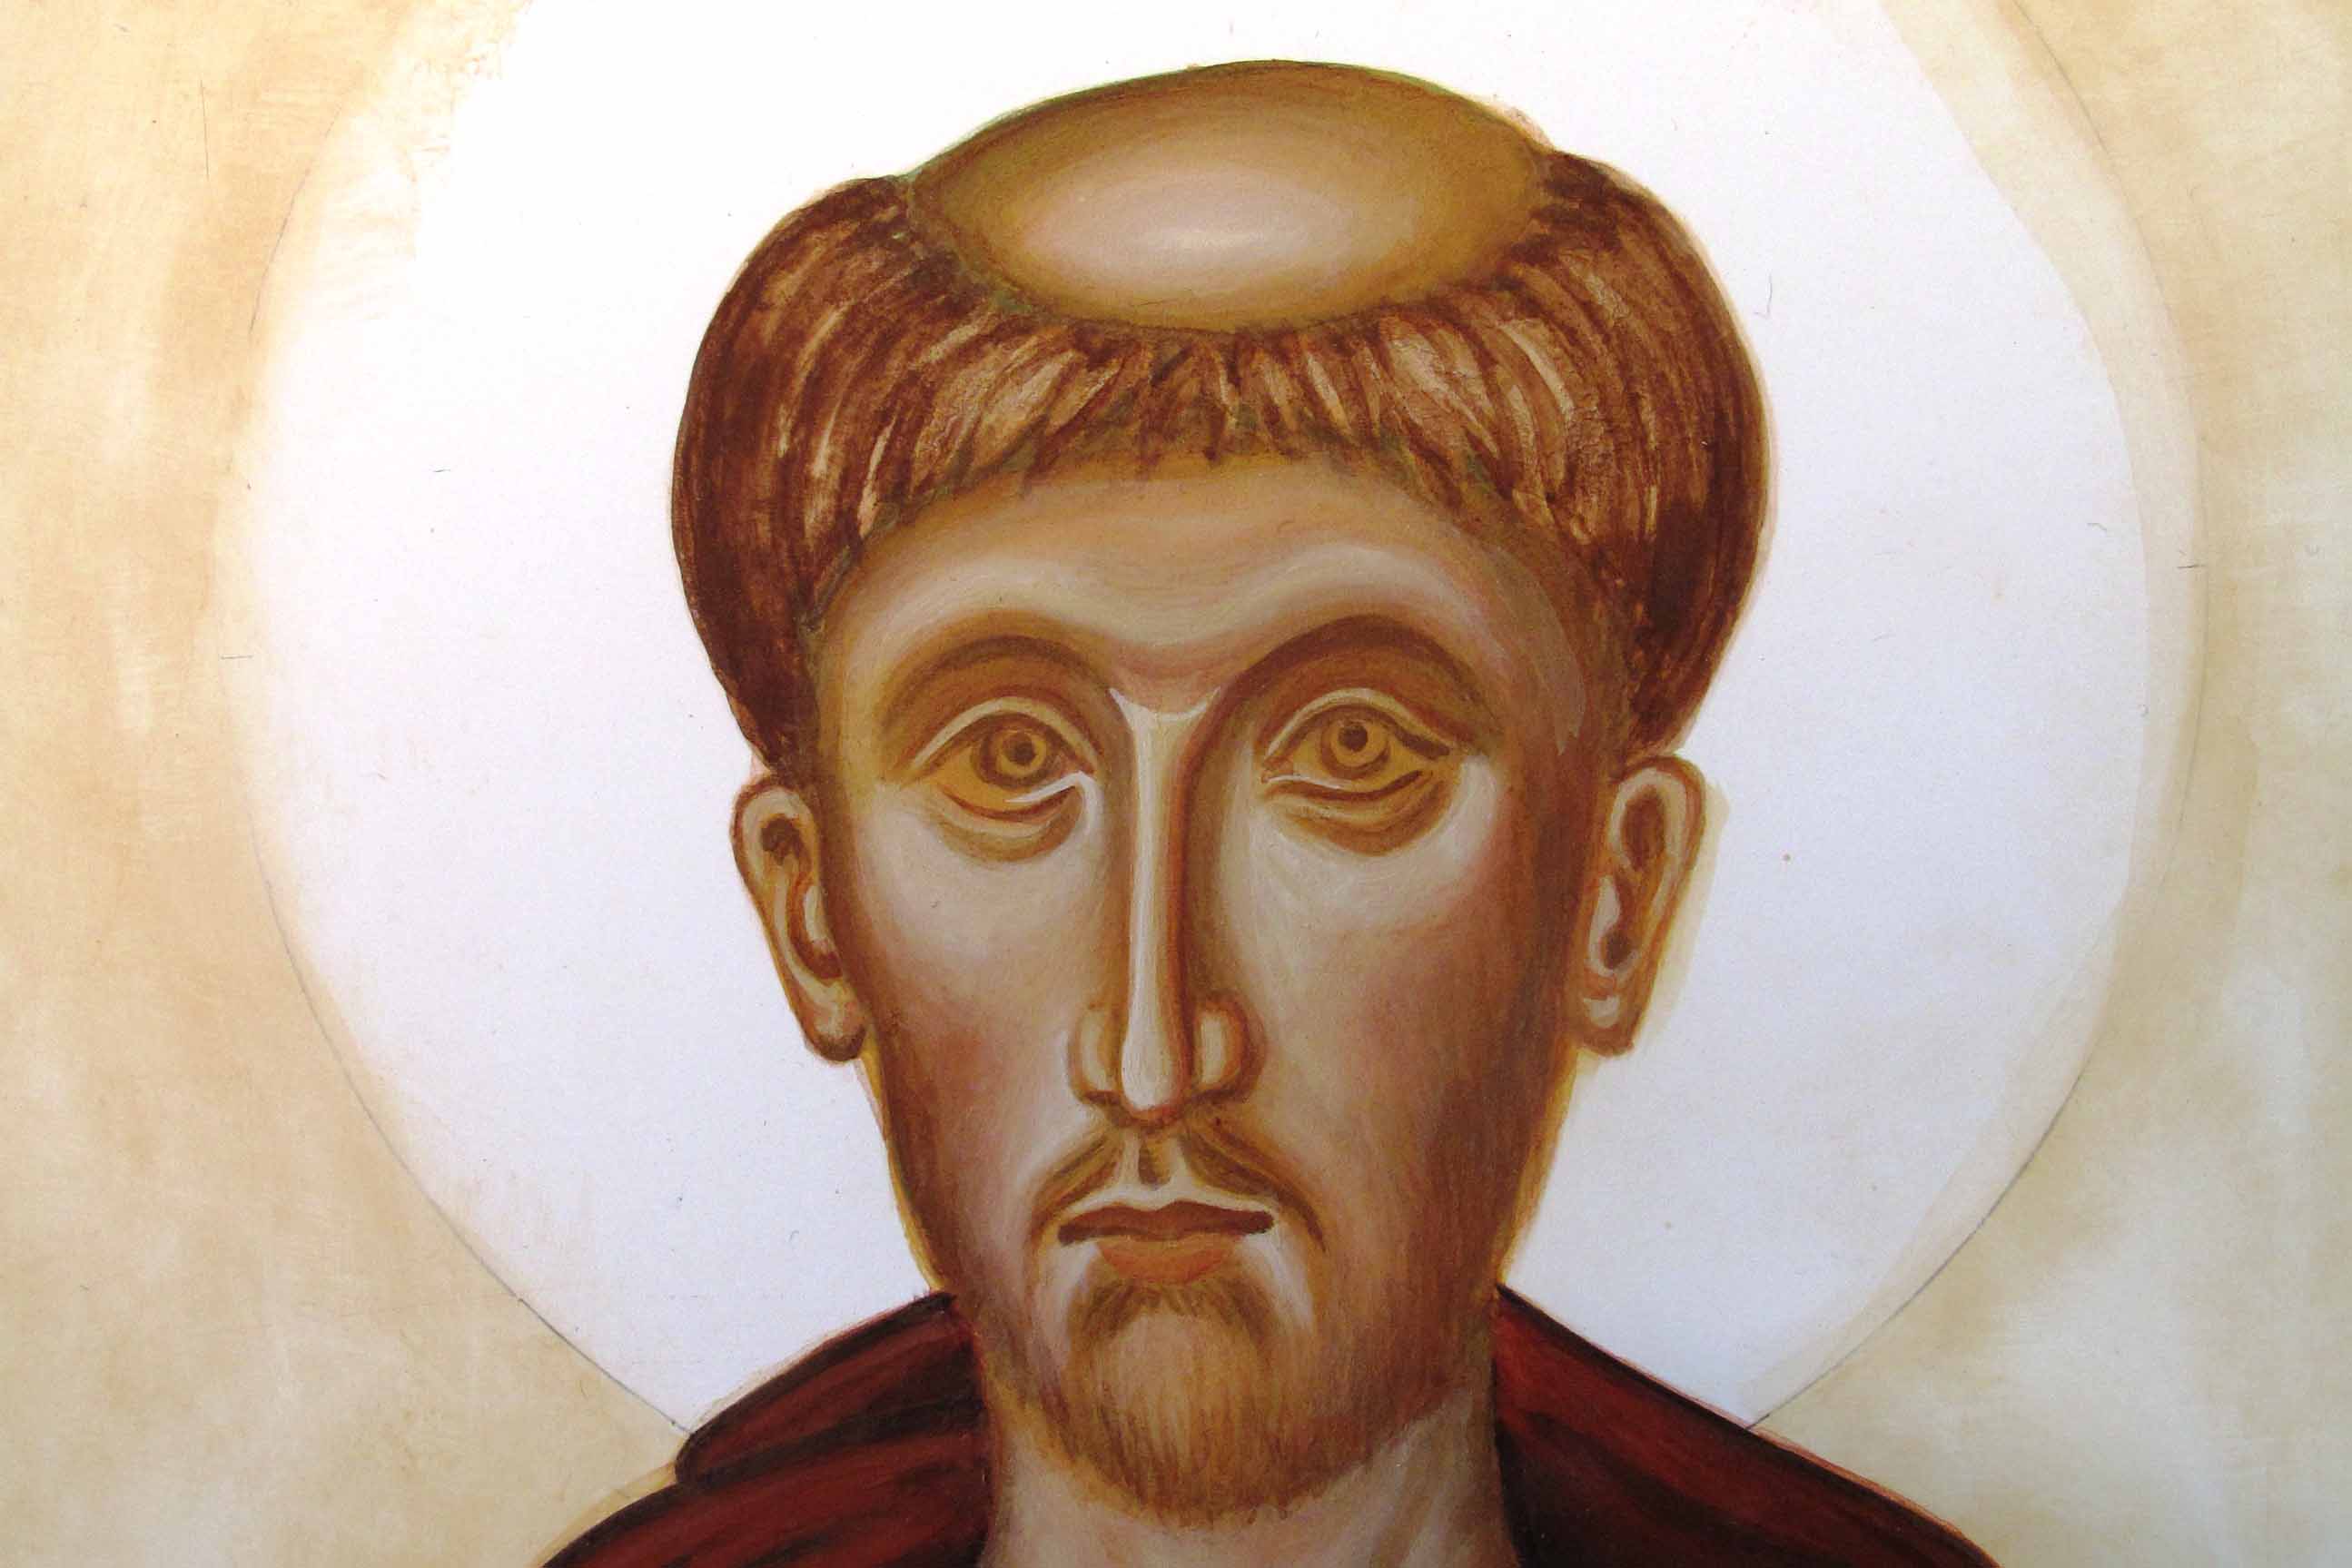
Adding membrane to the face and to garments


applying garment highlights

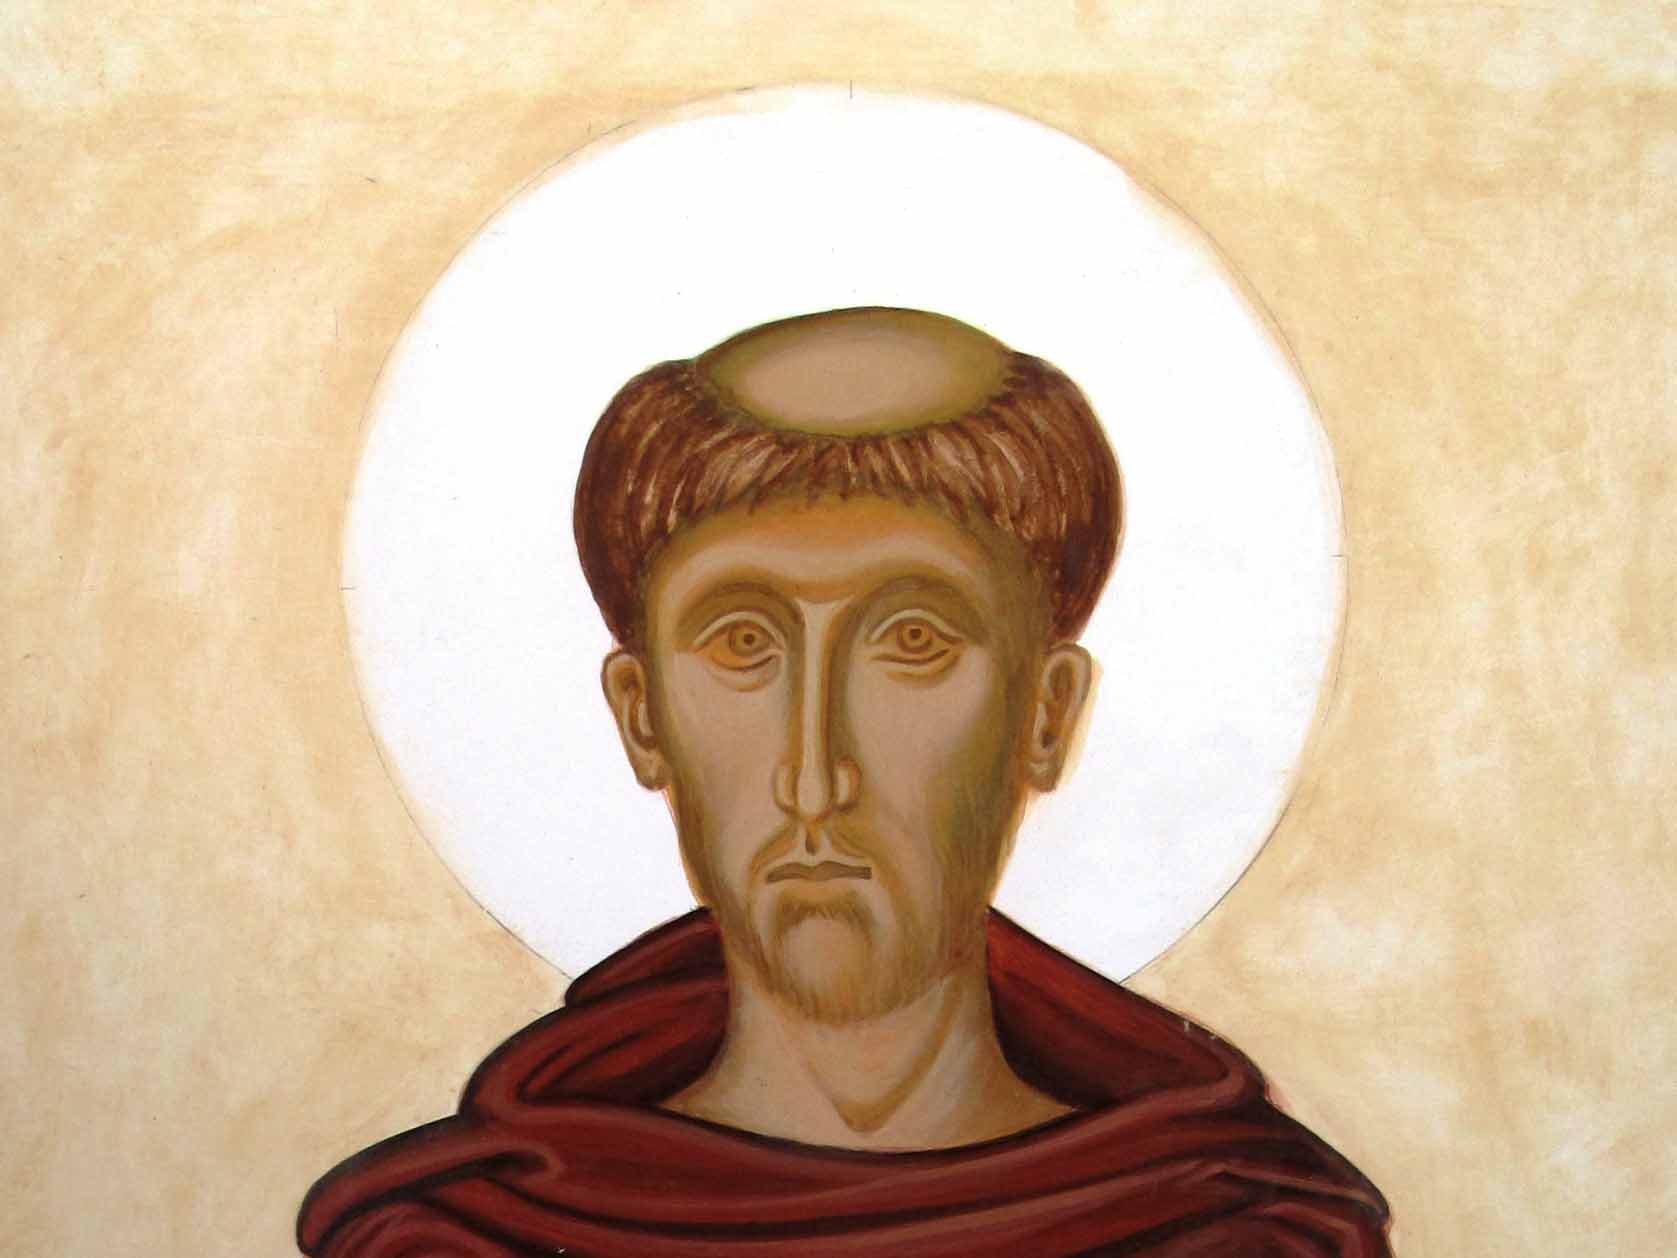
Highlights added to garments and face

Applying gold leaf to the halo and wings
The original framed icon is available to buy in my Etsy shop here.